ud83dudcda Bathroom Renovation Series u2014 2 of 25
u2190 Bathroom Renovation Vol.1: Project Overview u00b7 Series Index u00b7 Bathroom Renovation Vol.3: Vanity Unit Removal u2192
u270fufe0f Originally published: 2016-11-24 / ud83dudd04 Rewritten: May 7, 2026
2026 Update from DIY Dad: How to Tackle a Bathroom Renovation
ud83duded2 RECOMMENDED PRODUCTS
Mold-Resistant Bathroom Caulk
Re-caulk every 3u20135 years. Black mold on caulk is the #1 tenant complaint in Japan.
Bathroom and laundry rooms are trickier than other DIY projects because of the plumbing involved u2014 but if you know the key points, you can absolutely do it yourself.
The Full Scope of the Bathroom Renovation
ud83duded2 RECOMMENDED PRODUCTS
Bathroom Vanity & Mirror Cabinets
Mirror cabinets add storage and light u2014 tenants notice immediately.
Here’s everything DIY Dad tackled in this project:
- Remove switch and outlet cover plates
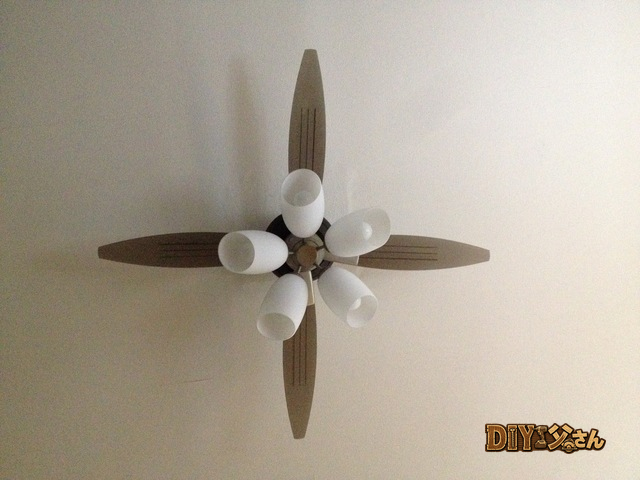
- Remove light fixtures and bath dryer control panel
- Remove and replace the vanity unit
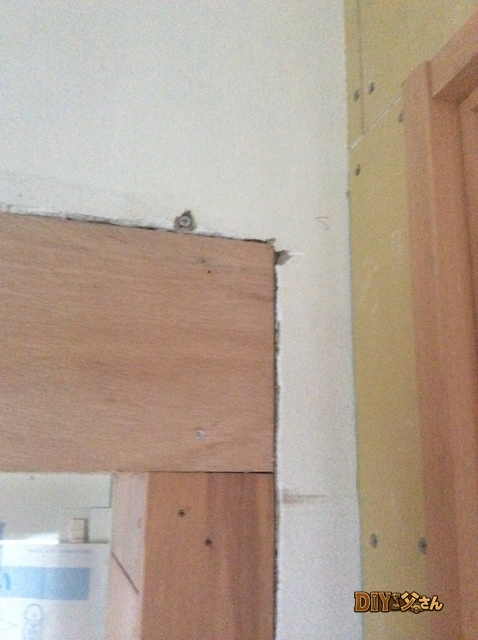
- Replace wall wallpaper
- Replace floor cushion flooring
- Reinstall the bath dryer control panel
The trickiest part is the bath dryer control panel u2014 it’s wired into the unit bath system, and incorrect wiring causes serious problems.
Removing the Bath Dryer Control Panel
DIY Dad’s method:
- Turn off the circuit breaker
- Remove screws and ease the panel away from the wall
- Photograph the wiring extensively with your phone
- Label each wire with tape and a marker before disconnecting
- Reconnect in reverse order after the wallpaper is done
This process prevents the “wait u2014 where does this wire go?” panic during reassembly.
Choosing and Replacing a Vanity Unit
Dimensions are everything. Triple-check depth, width, and height against the opening. Confirm supply and drain connection types before ordering.
What Matters Most (Landlord’s Perspective)
- Vanity with mirrored medicine cabinet for better storage
- Waterproof floor tiles last longer than cushion flooring
- Always test the ventilation fan u2014 essential for mold prevention
- Caulk all joints thoroughly
For Anyone Considering a Bathroom Renovation
ud83duded2 RECOMMENDED PRODUCTS
Grout Cleaners & Tile Restoration
Clean grout transforms a dated bathroom without any demolition.
Always confirm sizing and pipe types first u2014 a bad connection means an immediate leak.
![]()
Hey there u2014 DIY Dad here.
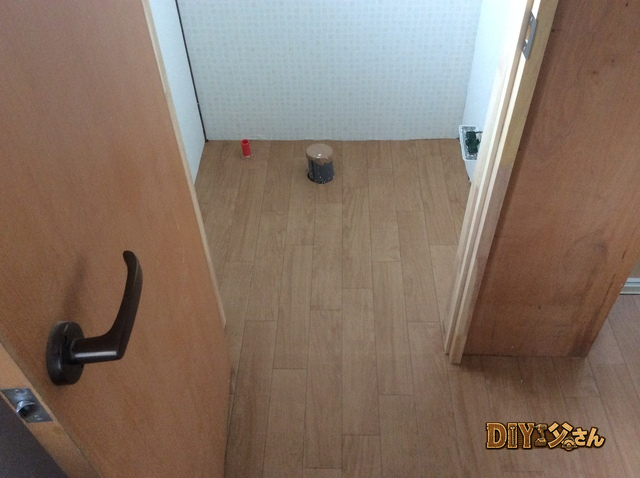
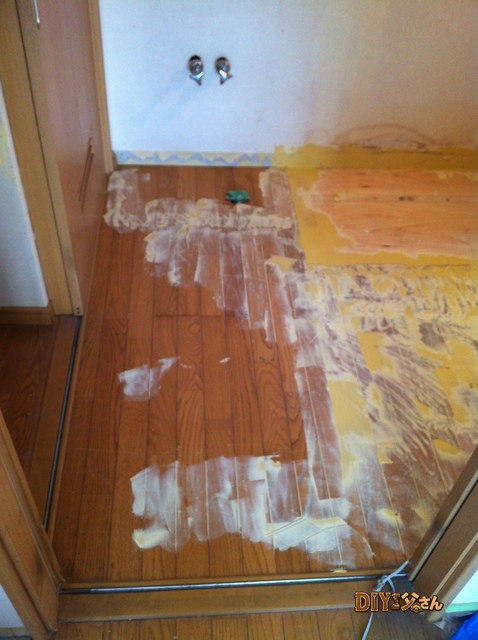
Continuing the first-floor bathroom and laundry room renovation series.
Now that the project scope is clear, it’s time to get to work. First up: removing the switch and outlet cover plates, light fixtures, and bath dryer control panel.
Tools and materials: impact driver, screwdrivers, masking tape.
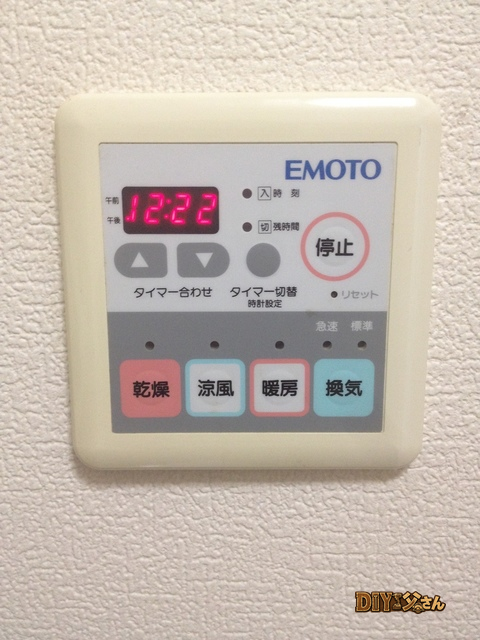
Standard first step for any renovation. In the bathroom/laundry room, there’s a control panel for the unit bath’s dryer system mounted on the wall.
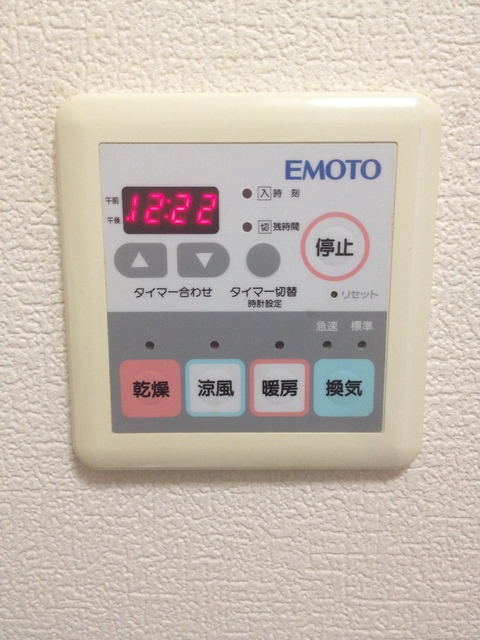
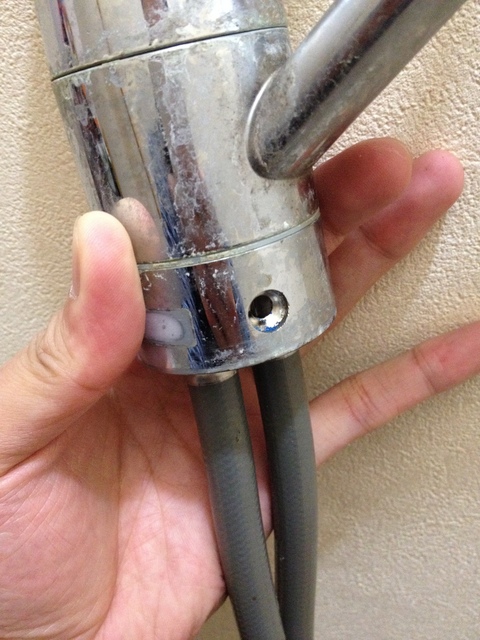
The bath dryer control panel.
Remove the cover u2014 it’s a snap-fit design, so you just pull it off with a click.
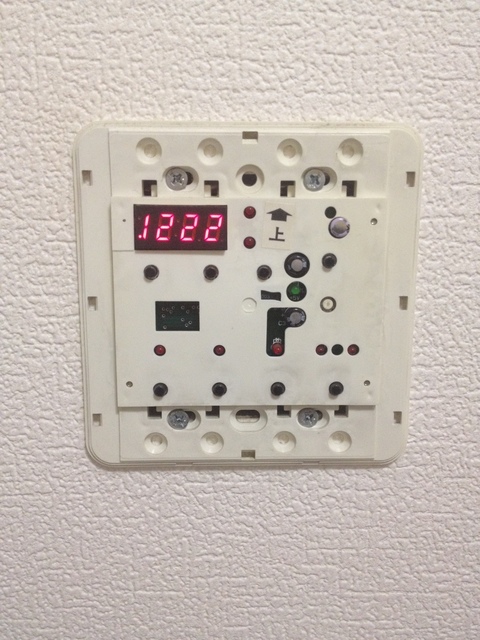
Cover removed. Back out the four screws at the top and bottom.
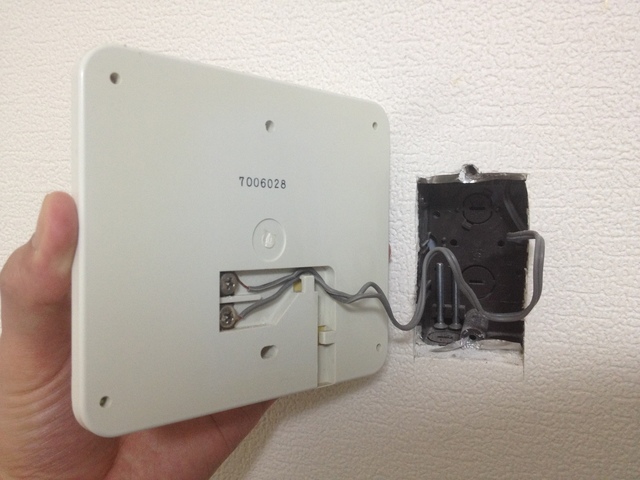
The back of the panel. The wires are thin u2014 handle carefully to avoid breaking them.
That’s it for today u2014 see you next time!
ud83dudcda Bathroom Renovation Series u2014 2 of 25
u2190 Bathroom Renovation Vol.1: Project Overview u00b7 Series Index u00b7 Bathroom Renovation Vol.3: Vanity Unit Removal u2192
DIY Renovation Quote Review Manual
How to read, compare, and negotiate contractor quotes. This manual saved me u00a5800,000 on a single renovation project.
ud83cudfe0 More from DIY Father
15 years of landlord experience u00b7 3 apartment buildings u00b7 DIY renovations that saved millions of yen. Browse all articles at diytosan.com