ud83dudcda Bathroom Renovation Series u2014 22 of 25
u2190 Bathroom Renovation Vol.21: Vanity Installation Pt.2 u00b7 Series Index u00b7 Bathroom Renovation Vol.23: Washing Machine Setup u2192
u270fufe0f Originally published: 2016-12-14 / ud83dudd04 Rewritten: May 8, 2026
u270fufe0f 2026 Update from DIY Dad: Looking Back on the Finished Bathroom/Laundry Room
ud83duded2 RECOMMENDED PRODUCTS
Mold-Resistant Bathroom Caulk
Re-caulk every 3u20135 years. Black mold on caulk is the #1 tenant complaint in Japan.
This is the final chapter of the bathroom/laundry room renovation series. With the switches reinstalled, washing machine in place, and storage shelves up, I can now speak from experience about what was worth doing u2014 and what I’d do differently next time.
Reinstalling Switches and Outlets u2014 What You Must Do
ud83duded2 RECOMMENDED PRODUCTS
Bathroom Vanity & Mirror Cabinets
Mirror cabinets add storage and light u2014 tenants notice immediately.
When reinstalling switches and outlets after a wallpaper replacement, always wait until the wallpaper has fully dried u2014 at least 24 hours. Installing them too early causes the wallpaper to shrink and leave gaps around the plate covers.
For the bathroom dryer control panel, refer to photos taken before you disconnected the wiring and work through it one wire at a time. If you’re unsure about any wire, use a multimeter to check. Always do a function test after reinstalling everything.
Reflecting on the Completed Renovation
This series ran a full 25 episodes u2014 essentially a near-complete renovation of the space. The biggest lesson: plumbing DIY is all about planning ahead. After 15 years as a landlord, I’ve seen it firsthand: a well-finished bathroom and laundry room improves occupancy rates and holds rent value. Wet-area investment always pays off.
ud83dudebf For Anyone Considering a Vanity or Wet Area Renovation
ud83duded2 RECOMMENDED PRODUCTS
Grout Cleaners & Tile Restoration
Clean grout transforms a dated bathroom without any demolition.
Always confirm dimensions and pipe types before you start.
![]()
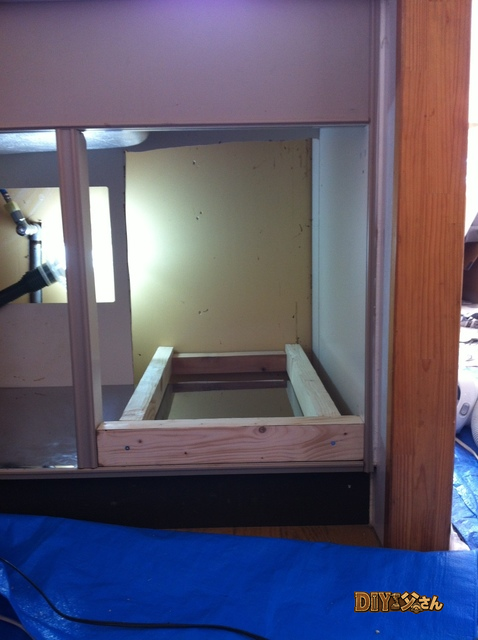
Hi, it’s DIY Dad! Continuing the first-floor bathroom/laundry room renovation u2014 now for the finishing hardware.
Tools and materials used: switch panels, outlet panels, impact driver, screwdriver.
This renovation uses Panasonic’s Cosmo Series Wide 21 illuminated (pilot light) switches throughout. Older-style switch panels can make a room feel dated, but swapping to wide-format panels instantly makes the interior feel like a modern home u2014 it’s amazing what a small change can do.
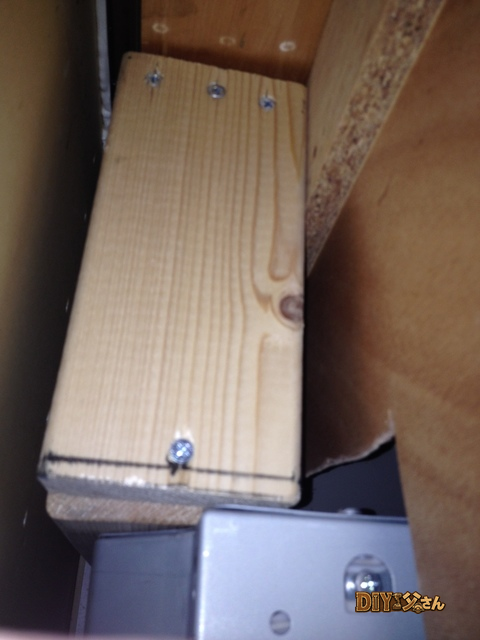
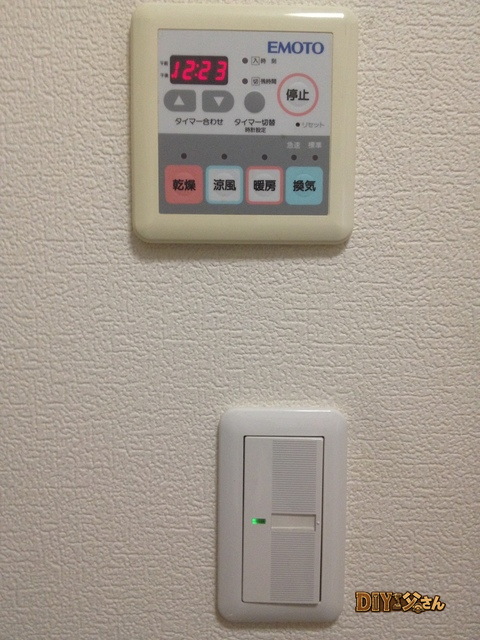
Starting with the bathroom dryer control panel u2014 wire connections are secured with screws. A light tighten and the panel seats properly. Then I reverse the disassembly sequence to reinstall everything.
Light switches go in next.
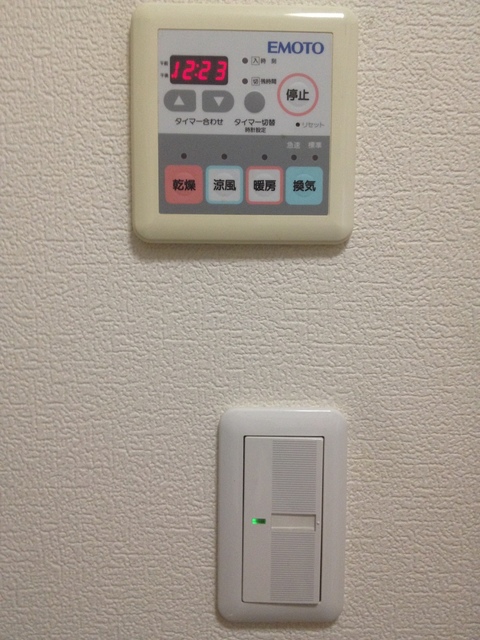
Bathroom dryer control panel and light switch u2014 both installed. That’s all for today u2014 see you next time!
ud83dudcda Bathroom Renovation Series u2014 22 of 25
u2190 Bathroom Renovation Vol.21: Vanity Installation Pt.2 u00b7 Series Index u00b7 Bathroom Renovation Vol.23: Washing Machine Setup u2192
DIY Renovation Quote Review Manual
How to read, compare, and negotiate contractor quotes. This manual saved me u00a5800,000 on a single renovation project.
ud83cudfe0 More from DIY Father
15 years of landlord experience u00b7 3 apartment buildings u00b7 DIY renovations that saved millions of yen. Browse all articles at diytosan.com