ud83dudcda Bathroom Renovation Series u2014 17 of 25
u2190 Bathroom Renovation Vol.16: Ceiling Access Hatch u2014 Design u00b7 Series Index u00b7 Bathroom Renovation Vol.18: Wallpaper Finishing Pt.1 u2192
u270fufe0f Originally published: 2016-12-09 / ud83dudd04 Updated: May 8, 2026
- 2026 Update from DIY Dad: Finishing the Bathroom/Laundry Room Renovation
- Tips for Wallpapering in the Bathroom/Laundry Room
- DIY Dad’s Wallpaper Selection Criteria
- Steps for Installing the Vanity Unit
- Restoring Switches and Outlets
- Final Step u2014 Installing the Washing Machine and Storage Shelves
- From a Landlord’s Perspective u2014 Cost-Effectiveness of the Bathroom Renovation
- ud83dudebf For Anyone Considering a Vanity or Wet-Area Renovation
- Ceiling Access Hatch u2014 Installation
2026 Update from DIY Dad: Finishing the Bathroom/Laundry Room Renovation
ud83duded2 RECOMMENDED PRODUCTS
Mold-Resistant Bathroom Caulk
Re-caulk every 3u20135 years. Black mold on caulk is the #1 tenant complaint in Japan.
We’ve reached the finishing stage of the bathroom/laundry room renovation. Getting to the wallpaper installation and vanity unit mounting feels like the home stretch u2014 but this is actually where careful, precise work matters most.
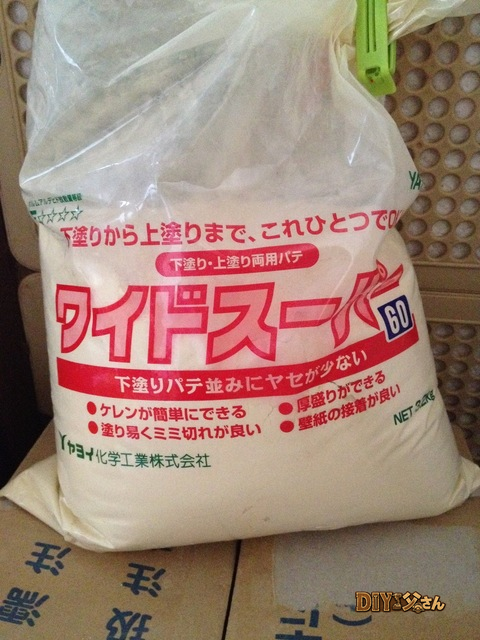
Tips for Wallpapering in the Bathroom/Laundry Room
Unlike a regular room, wallpaper in a wet area like this absolutely needs to be mold-resistant and moisture-resistant. The bathroom/laundry room is exposed to post-bath humidity, steam from the washing machine, and water splashes around the vanity u2014 it’s a harsh environment.
DIY Dad’s Wallpaper Selection Criteria
- Mold-resistant and antibacterial treatment (look for it clearly stated on manufacturer products)
- Easy-to-wipe surface material (vinyl wallpaper is ideal)
- Bright white to light gray color (creates a sense of cleanliness and spaciousness)
- 1.0mm or more in thickness (thin wallpaper lets imperfections in the substrate show through)
Since the bathroom/laundry room is a small space, it’s actually easier to achieve precision from adhesive application to final installation. That said, there are still awkward cuts around the ventilation fan and vanity, so it does take some effort.
Steps for Installing the Vanity Unit
When mounting the vanity unit, three things matter most: level, connections, and caulking.
- Place the unit in position temporarily. Check level front-to-back and side-to-side with a spirit level.
- Connect to the cold and hot water shutoff valves (using flex hose or shower hose).
- Connect the drain trap (S-trap or P-trap).
- Secure the unit body to the wall with screws.
- Apply caulk (waterproof sealant) to the gap between the vanity and the wall.
- Run water to check for leaks.
The most common problem is a drain trap shape mismatch. If the type of existing drain pipe (floor drain or wall drain) doesn’t match the trap on the new vanity, you’ll need an adapter. Checking this before purchasing the unit saves a lot of headaches.
Restoring Switches and Outlets
After replacing wallpaper, wait until it’s completely dry before re-installing switch and outlet plates. For the bathroom heater/dryer panel, refer to photos of the wiring taken before the job, and reconnect each wire one by one. DIY Dad labeled every wire with tape before starting, so the restoration went smoothly.
Final Step u2014 Installing the Washing Machine and Storage Shelves
The washing machine is installed by connecting the drain hose to the drain port in the waterproof pan, and don’t forget the ground wire. Grounding is essential for electrical appliances near water.
Storage shelves should be screwed into wall studs or plywood backing. Mounting into spots without structural backing will cause the shelves to wobble u2014 use a stud finder to check first. DIY Dad uses a stud sensor. For shelves that will hold weight, anchoring to the structure is non-negotiable.
From a Landlord’s Perspective u2014 Cost-Effectiveness of the Bathroom Renovation
The total material cost for this entire bathroom/laundry room renovation came to roughly 250,000 yen. Hiring contractors to do all of this would typically run 800,000u20131,200,000 yen. That means DIY saved somewhere between 550,000 and 950,000 yen.
It takes time, but as a landlord your skills deepen, your understanding of the property grows, and you get faster and more confident dealing with the next vacancy. DIY Dad sees DIY renovation as an investment.
ud83dudebf For Anyone Considering a Vanity or Wet-Area Renovation
Replacing a vanity unit is doable as a DIY project, but mistakes with shutoff valve operation or drain pipe connections can lead to leaks immediately. DIY Dad has lived the experience of “I thought I had it figured out, but the drain pipe shape was completely wrong” u2014 it was a moment of panic (laughs). Strongly recommended: confirm measurements and pipe types before starting.
![]()
Ceiling Access Hatch u2014 Installation
ud83duded2 RECOMMENDED PRODUCTS
Bathroom Vanity & Mirror Cabinets
Mirror cabinets add storage and light u2014 tenants notice immediately.
Hi, this is DIY Dad! This is a continuation of the first-floor bathroom/laundry room renovation series.
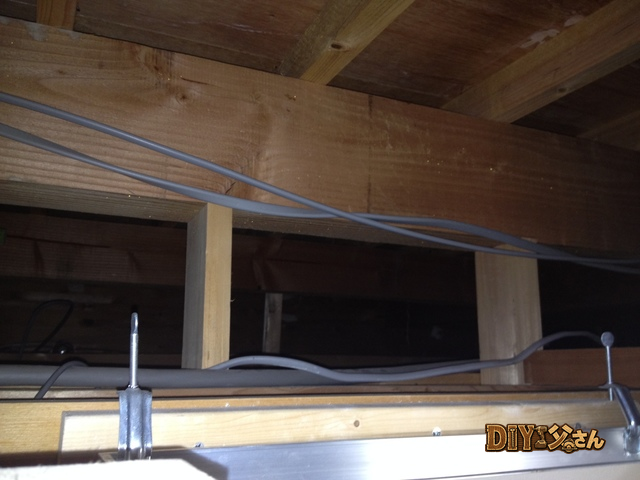
The ceiling joists have been reinforced. Now it’s time to fit the access hatch frame into the cut-out opening. The frame is secured by sandwiching the reinforcement material and ceiling board together and tightening screws against them. Be careful not to overtighten u2014 pressing too hard can crack the gypsum board ceiling substrate. Tighten gently.
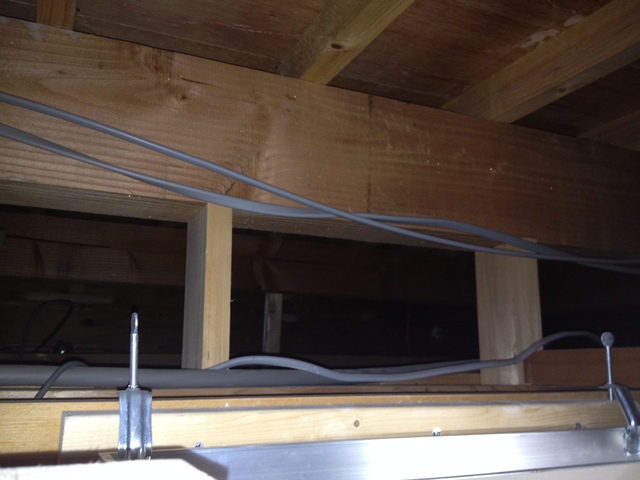
u2191 The screw section.
u2191 The frame.
Making the Access Panel Lid
The lid is made by cutting the gypsum board that was removed during the opening to just the right size. The board is then fitted into the lid frame u2014 but this must be done gently, or the gypsum board will crack. DIY Dad forced it a bit and got a small crack. (Lesson learned.)
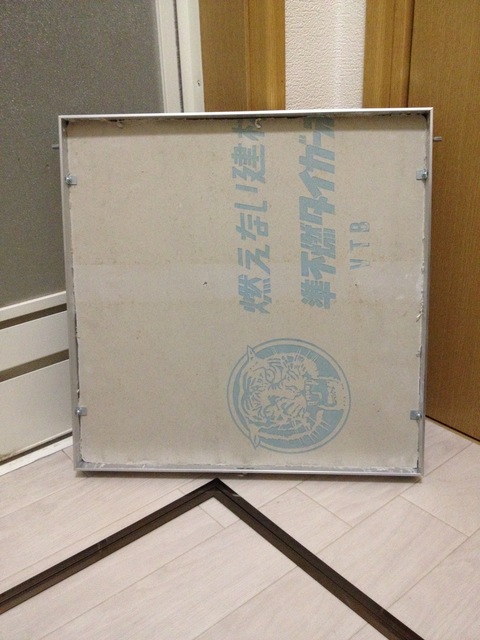
u2191 The completed lid.
The lid is fitted into the access hatch using a snap-in system.
u2191 Lid fitted in place.
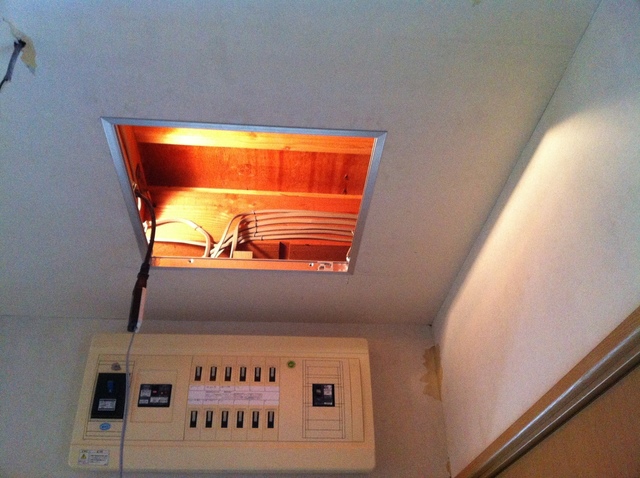
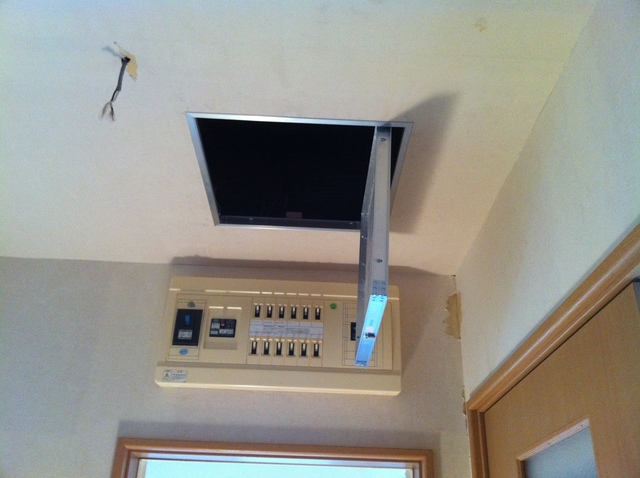
Done! The ceiling access hatch is complete.
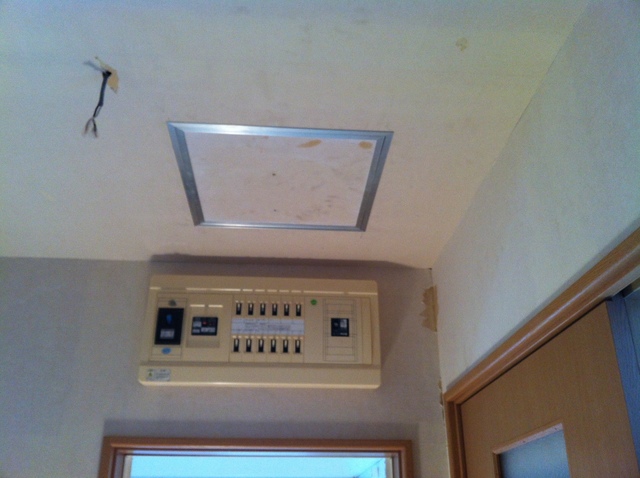
u2191 The ceiling access hatch u2014 finished (before wallpaper).
Ideally the hatch would have been installed after finishing the wallpaper, but the sequence of work tasks didn’t allow for it. Since wallpaper still needs to be applied, the hatch will be removed and reinstalled at that point. Pricing and specs for the ceiling access hatch are covered in the DIY Dad Equipment Guide u2014 Bathroom/Laundry Room Edition. Check that out too!
That’s it for today u2014 see you next time!
ud83dudcda Bathroom Renovation Series u2014 17 of 25
u2190 Bathroom Renovation Vol.16: Ceiling Access Hatch u2014 Design u00b7 Series Index u00b7 Bathroom Renovation Vol.18: Wallpaper Finishing Pt.1 u2192
DIY Renovation Quote Review Manual
How to read, compare, and negotiate contractor quotes. This manual saved me u00a5800,000 on a single renovation project.
ud83cudfe0 More from DIY Father
15 years of landlord experience u00b7 3 apartment buildings u00b7 DIY renovations that saved millions of yen. Browse all articles at diytosan.com