ud83dudcda Toilet Renovation Series u2014 23 of 25
u2190 Toilet Renovation Vol.22: Wall Shelf Installation u00b7 Series Index u00b7 Toilet Renovation Vol.24: Silicone Caulking u2192
u270fufe0f Originally published: 2017-01-27 / ud83dudd04 Updated: May 8, 2026
2026 Update from DIY Dad: Toilet Complete! u2014 From Accessories to Finish
ud83duded2 RECOMMENDED PRODUCTS
Washlet Toilet Seats (Bidet)
A washlet seat is the single upgrade that impresses every tenant in Japan.
With the toilet bowl set in place, it’s time for the final accessories. Once the paper holder, towel ring, and washlet are installed, the toilet is done. ^ ^
Order of Accessory Installation
ud83duded2 RECOMMENDED PRODUCTS
Toilet Repair Kits
Keep a repair kit stocked u2014 toilet calls come without warning at midnight.
- Wall shelf
- Towel ring
- Toilet paper holder
- Washlet (electronic bidet seat)
- Replace the outlet cover plate last
Install top-down u2014 lower items can get in the way and be damaged if you install them first. m(_ _)m
Installing the Washlet
Installing a washlet is easier than you’d think:
- Set the mounting plate on the bowl (2 bolts)
- Slide the seat body onto the plate until it clicks
- Install the diverter valve on the shutoff valve
- Plug the power cord into the outlet
- Turn on the water and check for leaks
- Test all functions
Check your shutoff valve’s thread size before purchasing u2014 buy the matching diverter fitting. ^ ^
Renovation Summary
ud83duded2 RECOMMENDED PRODUCTS
Toilet Accessories Sets
Matching accessories cost u00a52,000 and make a small toilet feel designed.
Total materials: approx. u00a5120,000. Contractor quote: u00a5400,000u2013u00a5600,000. DIY saved a huge amount.
24-Hour Emergency Plumbing u2014 Water Rescue Squad u00bb
Hello, I’m DIY Dad. ^ ^
This week the weekend shift at work might get me u2014 I’m trying to dodge it, but no luck yet. Anyway u2014 continuing the 1st-floor toilet renovation. This time I’m installing the washlet (electronic bidet seat).
Materials used: washlet unit, hex wrench. A new washlet comes with an installation guide, and the process is quite straightforward. ^ ^
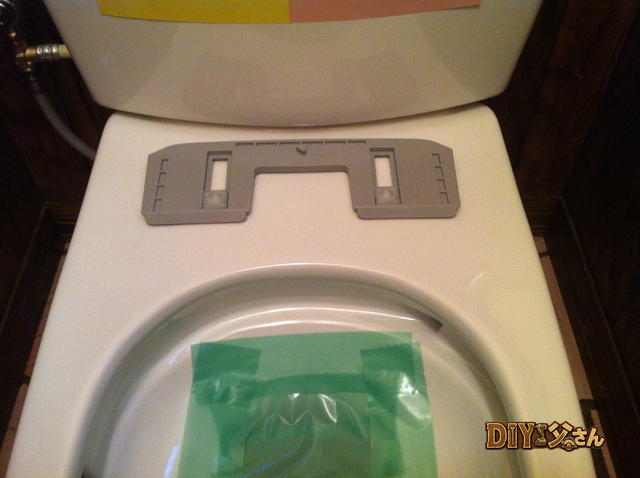
Mount the seat bracket on the toilet bowl. The bracket has bolt holes that align with the bowl u2014 pass the bolts through and tighten from underneath with nuts.
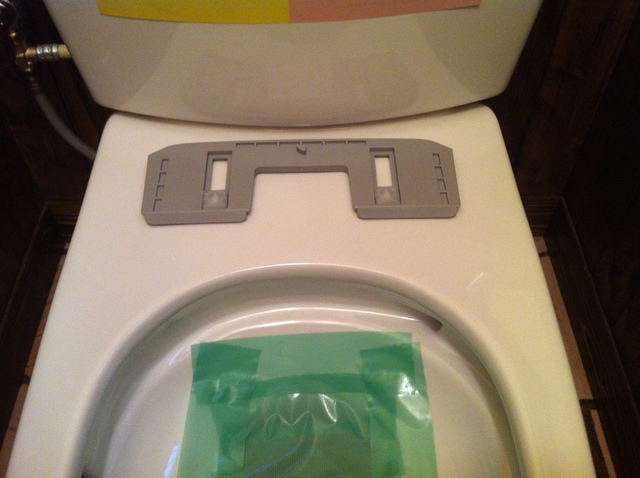
The mounting bracket.
Attach the seat to the bracket u2014 it’s a clip-on. You’ll hear a click when it’s locked in. d(^_^o)
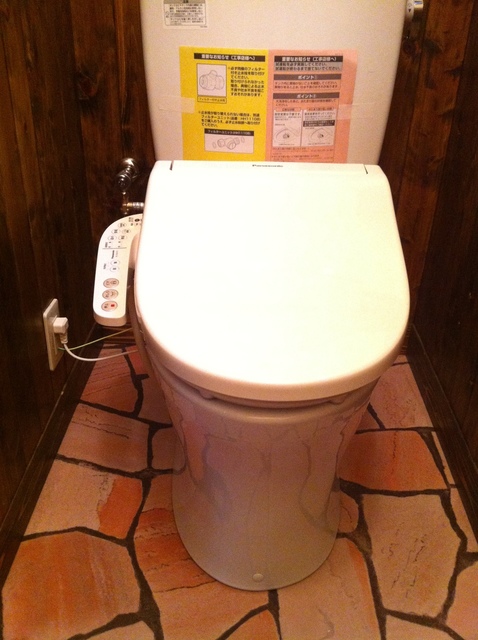
The washlet installed.
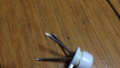
The washlet needs water supply and power. For water, I’m tapping into the tank’s supply line with a diverter. First, close the main shutoff valve. Protect the surrounding area well with towels u2014 if you don’t, you’ll soak the floor and walls you just finished.
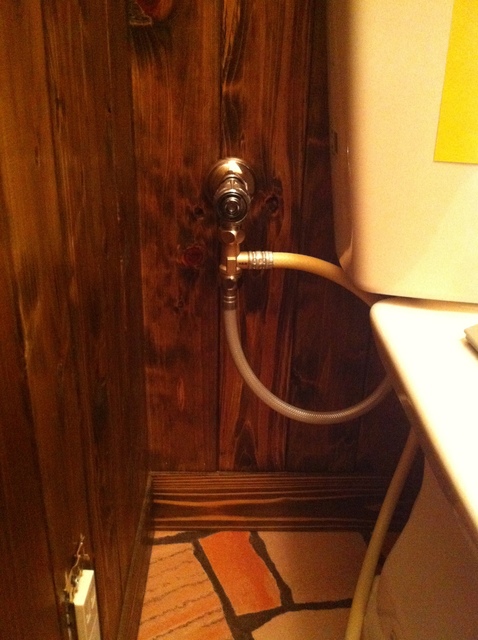
The water supply diverter fitting.
Power comes from the outlet:
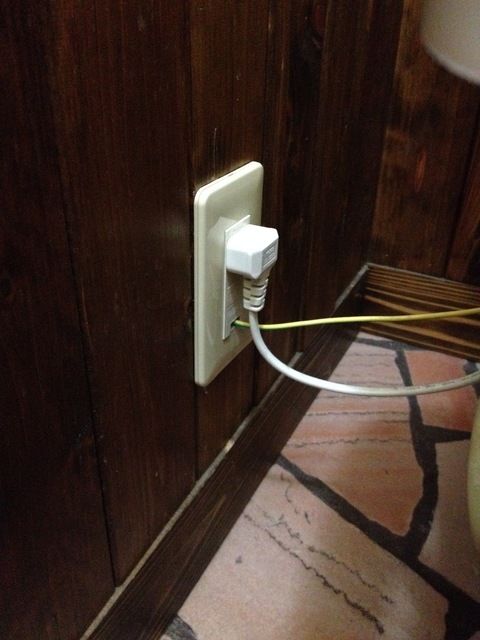
The outlet.
The washlet installation is complete. ^ ^ That’s the end of DIY Dad’s role on this one. I’m actually not a fan of using washlets myself, so I’ll skip the test run u2014 I’ll leave that to my wife when she uses it for the first time. For info on washlet pricing and specs, check “DIY Dad’s Equipment Introduction: Toilet Edition.”
That’s all for today! (^^)/~~~
ud83dudcda Toilet Renovation Series u2014 23 of 25
u2190 Toilet Renovation Vol.22: Wall Shelf Installation u00b7 Series Index u00b7 Toilet Renovation Vol.24: Silicone Caulking u2192
DIY Renovation Quote Review Manual
How to read, compare, and negotiate contractor quotes. This manual saved me u00a5800,000 on a single renovation project.
ud83cudfe0 More from DIY Father
15 years of landlord experience u00b7 3 apartment buildings u00b7 DIY renovations that saved millions of yen. Browse all articles at diytosan.com