ud83dudcda Kitchen 2 Renovation Series u2014 14 of 45
u2190 Kitchen2 Vol.13: Faucet Installation u00b7 Series Index u00b7 Kitchen2 Vol.15: Outlet Addition Pt.1 u2192
u270fufe0f Originally published: 2017-01-01 / ud83dudd04 Updated: May 8, 2026
2026 Update u2014 Kitchen Complete! Ventilation Fan Reinstall Wraps It Up
ud83duded2 RECOMMENDED PRODUCTS
Modern Kitchen Cabinet Handles
New handles cost u00a53,000u20138,000 and make a kitchen feel 10 years newer instantly.
The final installment of the kitchen series. Reinstall the cleaned ventilation fan and the kitchen is done. Just getting the fan clean makes a remarkable difference to the whole room. ^ ^
Final Checks After Reinstalling the Fan
ud83duded2 RECOMMENDED PRODUCTS
Kitchen Faucets
A faucet upgrade is the single highest-impact kitchen DIY per yen spent.
After installation, always verify:
- u2460 All speed settings (high, low, off) work correctly
- u2461 No unusual noise or vibration (usually means the propeller isn’t secured properly)
- u2462 The grease tray is correctly seated
- u2463 The power cord has no loose connections
If everything checks out, the kitchen is complete. DIY Dad is always surprised by how much a freshly cleaned fan changes the look of the whole kitchen.
Kitchen Series u2014 All 14 Episodes Recap
The full sequence: fan cleaning u2192 gas equipment removal (contractor) u2192 faucet replacement u2192 wallpaper replacement u2192 lighting swap u2192 fan reinstall. Total material cost: approximately 60,000 yen. The same job with a contractor would run 300,000u2013500,000 yen. DIY delivers serious savings. (u2312u25bdu2312)
Now to the Step-by-Step u2014 Fan Reassembly
ud83duded2 RECOMMENDED PRODUCTS
Kitchen Backsplash Tile Kits
A tiled backsplash protects the wall and dramatically upgrades the kitchen appearance.
Hi, it’s DIY Dad! ^ ^
Happy New Year!! u30fe(@u2312u30fcu2312@)u30ce Thank you for your continued support!
What are your resolutions for this year? DIY Dad’s three pillars for 2017: household safety, good health, and business prosperity. There are also four things I want to acquire u2014 I’ll write about those in a separate post. For now, focusing steadily on those three fundamentals.
Continuing with the 1F kitchen renovation. Following the single-handle faucet installation, it’s time to reinstall the ventilation fan. Tools and materials used: fan filter, impact driver, screwdriver.
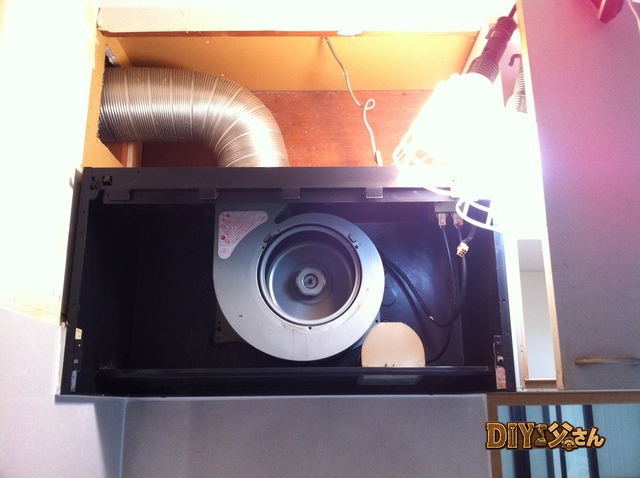
Reassemble in the reverse order of disassembly. Screw the fan body in place. Reconnect the power cable. Tighten the fan blade with the retention screw.
^ Reassembly in progress.
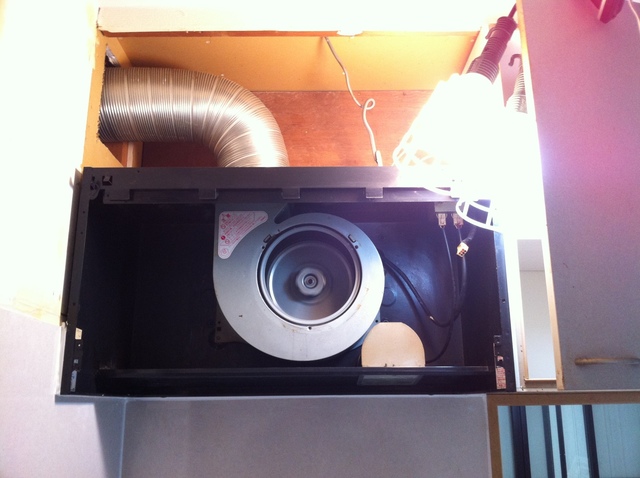
Attach the decorative cover. Apply a fan filter over the grille. Set the grille back in place.
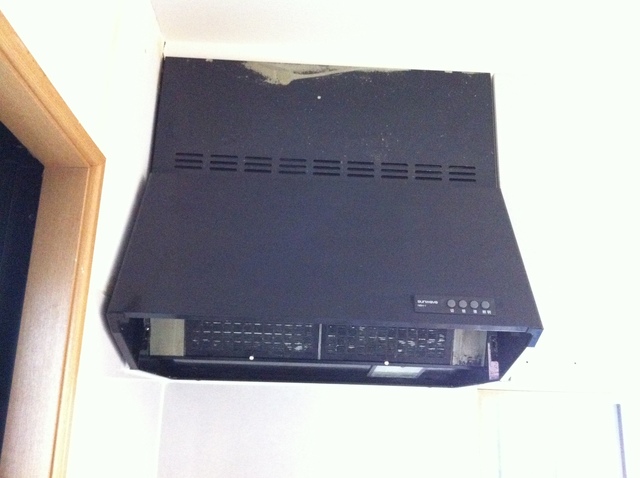
^ The reinstalled fan. The decorative cover has some paint damage u2014 the Kabikiller (mold remover) used during cleaning was too aggressive and stripped the surface coating. ^^;
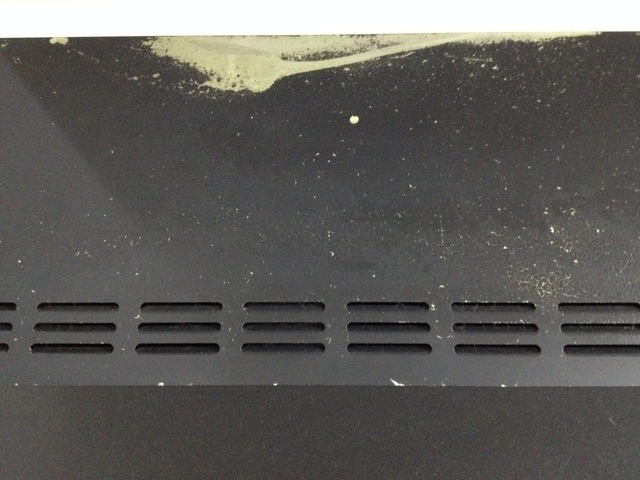
^ Paint damage from the mold cleaner. A lesson learned u2014 go easy with Kabikiller on painted surfaces.
Thinking About a Kitchen Renovation?
Visiting a showroom to see the real thing helps avoid unwanted surprises. Most showrooms are free to visit u2014 take advantage of them. ^ ^
![]()
That’s all for today! (^^)/~~~
ud83dudcda Kitchen 2 Renovation Series u2014 14 of 45
u2190 Kitchen2 Vol.13: Faucet Installation u00b7 Series Index u00b7 Kitchen2 Vol.15: Outlet Addition Pt.1 u2192
DIY Renovation Quote Review Manual
How to read, compare, and negotiate contractor quotes. This manual saved me u00a5800,000 on a single renovation project.
ud83cudfe0 More from DIY Father
15 years of landlord experience u00b7 3 apartment buildings u00b7 DIY renovations that saved millions of yen. Browse all articles at diytosan.com