u2192 Back to all English articles
u270fufe0f Originally published: 2021-10-17 / ud83dudd04 Updated: May 2026
Hi, it’s DIY Dad! Continuing the tategu (u5efau5177 u2014 all the moveable door and panel elements in a Japanese room) renovation for the 2nd-floor Japanese room. This time I’m wrapping the fusuma sliding panels and the hinged door in wallpaper (cross) for a fresh finish.
- 2026 DIY Dad Notes: Kitchen Walls and Tategu Renovation
2026 DIY Dad Notes: Kitchen Walls and Tategu Renovation
ud83duded2 RECOMMENDED PRODUCTS
Fusuma Replacement Paper Kits
Fusuma renewal is the fastest Japanese-room refresh u2014 paper, paste, and 2 hours.
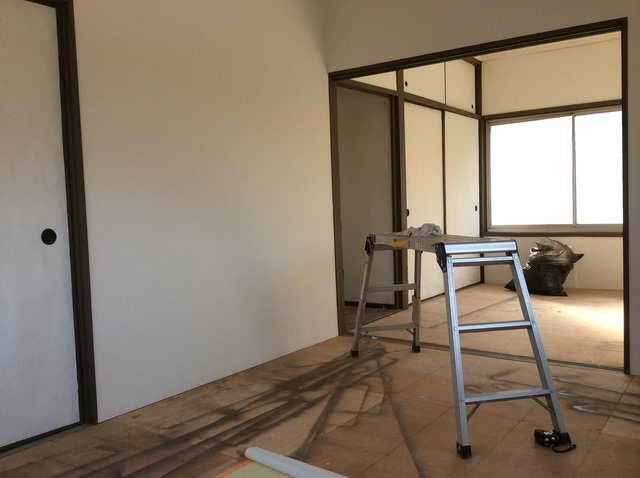
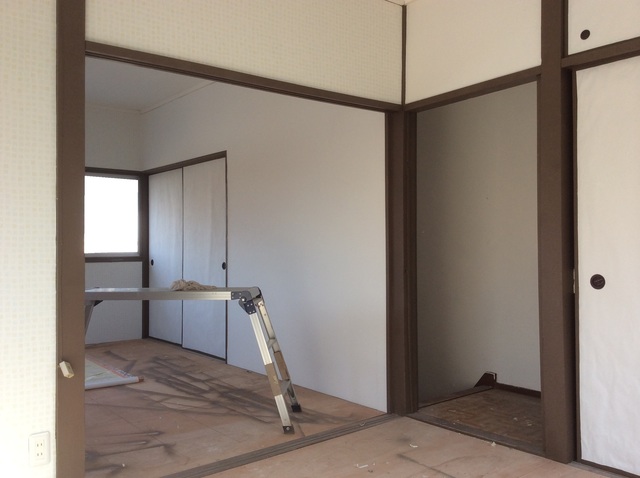
With the 1st-floor kitchen walls finished, work moves to the final touches and tategu renovation of the 2nd-floor Japanese room. Apt. 1’s renovation is steadily closing in on completion.
Kitchen Wall Finish: Choosing Between Wallpaper and Paint
When choosing a finish for kitchen walls:
Wallpaper (cross):
- Choose a stain-resistant type u2014 grease wipes off easily
- Anti-mold feature is ideal for the humid kitchen environment
- White or light colors give a clean look and make stains easy to spot early
Paint:
- Use a water-based paint rated for kitchens and bathrooms (high mold and moisture resistance)
- A gloss or semi-gloss finish makes stains easier to wipe off
- Near the stove, a kitchen panel is also worth considering
From a rental cost-management perspective, DIY Dad opts for wallpaper finishes.
2F Japanese Room Wall Renovation Complete (Vol.11: Wallpaper)
The long-running 2nd-floor Japanese room wall renovation is finally done u2014 from the very first underlay prep in Vol.1, all the way through to wallpapering in Vol.11. After the job is finished, check these points:
- Are the wallpaper seams invisible? (check at an oblique angle with light)
- Are the corners cleanly finished?
- Are switch and outlet cutouts precise?
- Has all the air been worked out and the paper bonded fully?
- Are the baseboard and ceiling molding lines clean?
Tategu Renovation: Fusuma, Shoji, and Doors
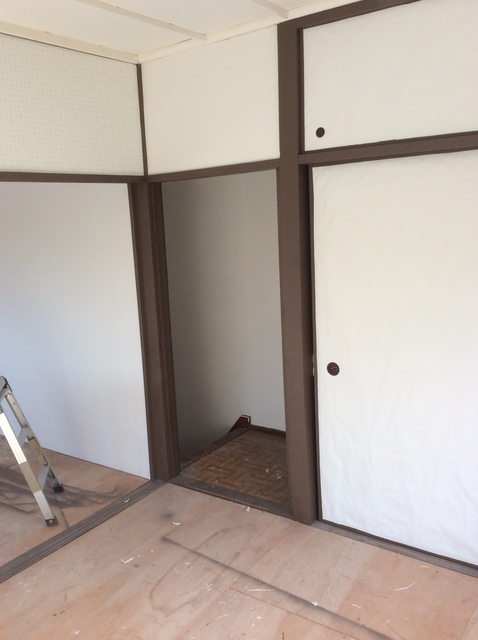
The tategu u2014 the moveable panels and doors u2014 has as much visual impact as the walls, ceiling, and floor. The 2nd-floor Japanese room tategu renovation covered:
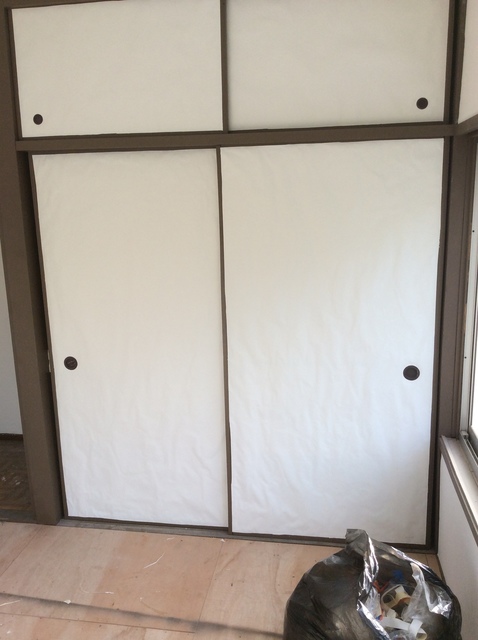
- Fusuma (u8956): Solid sliding door panels covered with decorative paper or fabric. Here, I top-coated them with wallpaper instead of re-papering with traditional fusuma paper.
- Shoji (u969cu5b50): Lightweight sliding screens made of translucent paper over a wood lattice. Either re-paper with shoji paper, or convert to wallpaper.
- Door frames: Wrap the frame edges in matching wallpaper for a unified look.
How to Re-Paper Fusuma
- Remove the old fusuma paper (dampening it with water makes it peel more easily)
- Check the wooden frame and make any repairs
- Dampen the new fusuma paper if using a water-tension type
- Press from the center outward, pushing air to the edges
- As it dries, the paper tightens for a smooth finish
Iron-on fusuma paper is more beginner-friendly and forgiving. Available at any home improvement store.
Cost vs. Impact of Tategu Renovation
- Fusuma paper (set of 4): u00a52,000u20133,000
- Shoji paper (one room): u00a51,000u20132,000
- Paint for door frames: materials only, u00a51,000u20132,000
For roughly u00a55,000u20137,000 in materials, the entire room changes its feel. In terms of renovation ROI, this is one of the best DIY moves you can make.
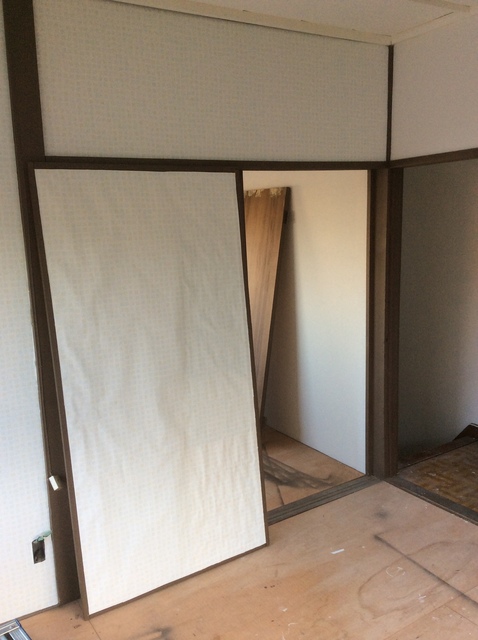
Now, here’s the actual work u2014 applying wallpaper directly over the fusuma panels and the hinged door.
Wrapping fusuma with wallpaper (rather than replacing the fusuma paper) isn’t the most common approach, but it works well. The sliding door got the same treatment. I used a textured fabric-weave, pre-pasted wallpaper.
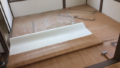
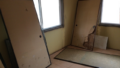
No in-progress photos, but here’s what it looked like after applying:
Fusuma u2014 wallpaper finish
Fusuma u2014 wallpaper finish
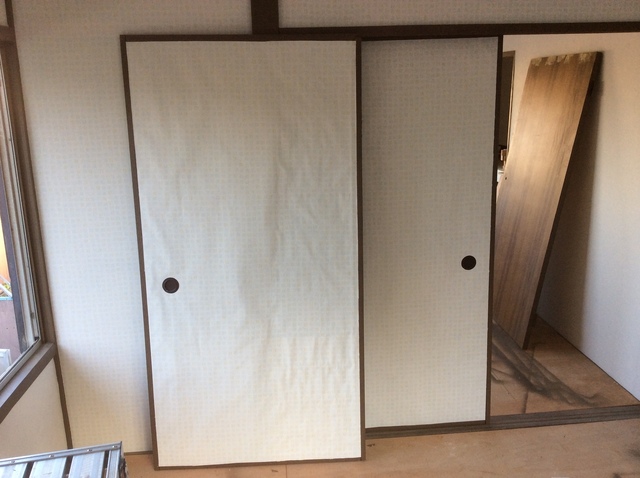
Fusuma u2014 wallpaper finish
Fusuma u2014 wallpaper finish
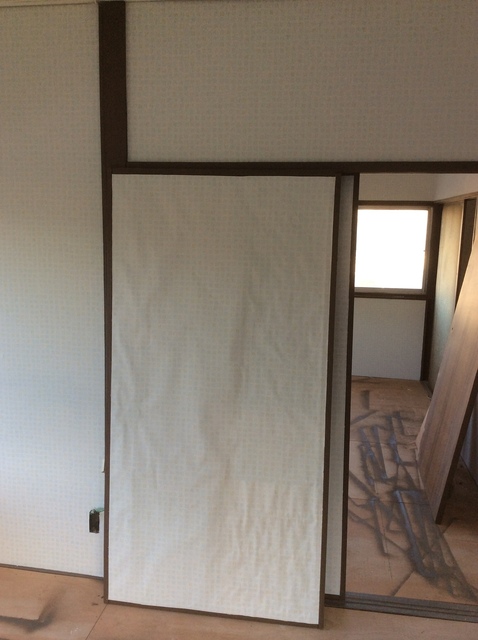
Right after pasting, the paper looks bubbly as you can see u2014 but once it dries it pulls tight and the bubbles disappear.
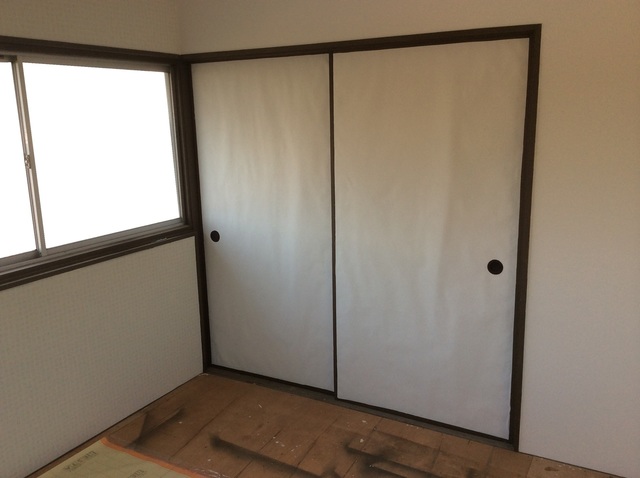
Fusuma u2014 wallpaper finish

Fusuma u2014 wallpaper finish
Fusuma u2014 wallpaper finish
Fusuma u2014 wallpaper finish
Fusuma u2014 wallpaper finish
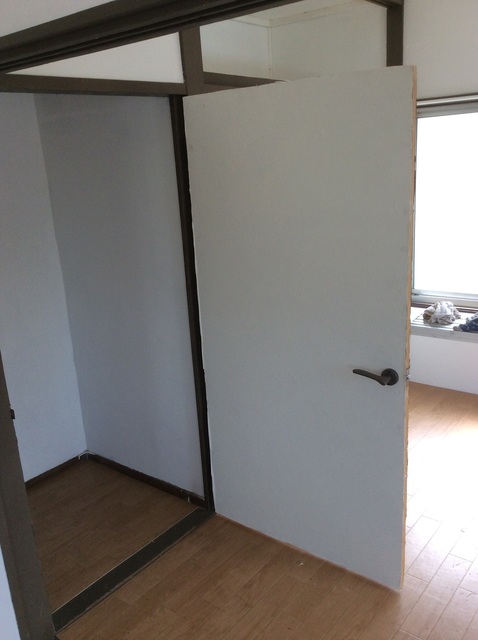
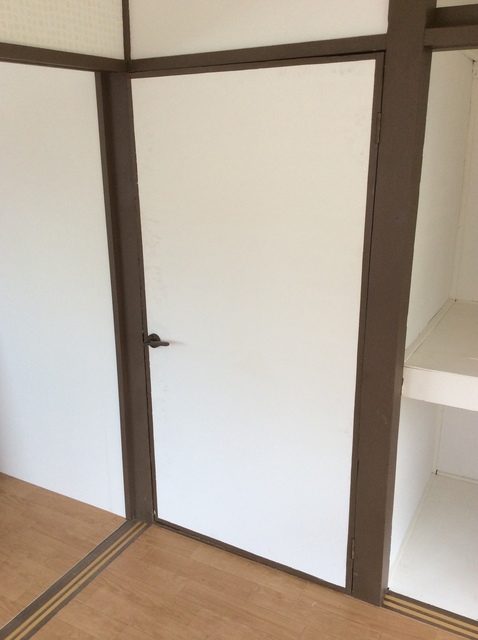
Hinged door u2014 wallpaper finish

Hinged door u2014 wallpaper finish
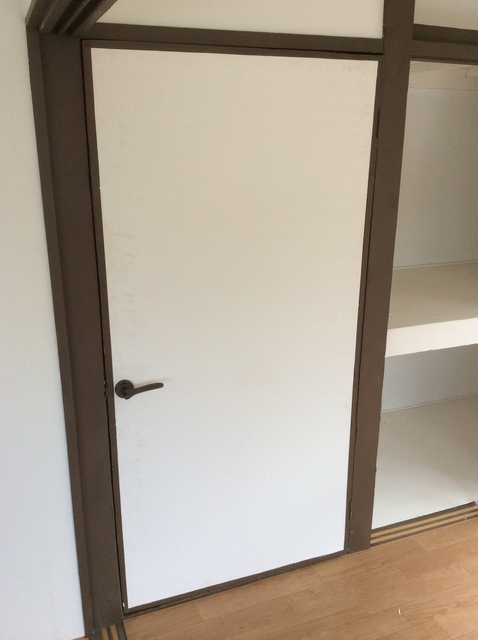
Hinged door u2014 wallpaper finish
Hinged door u2014 wallpaper finish
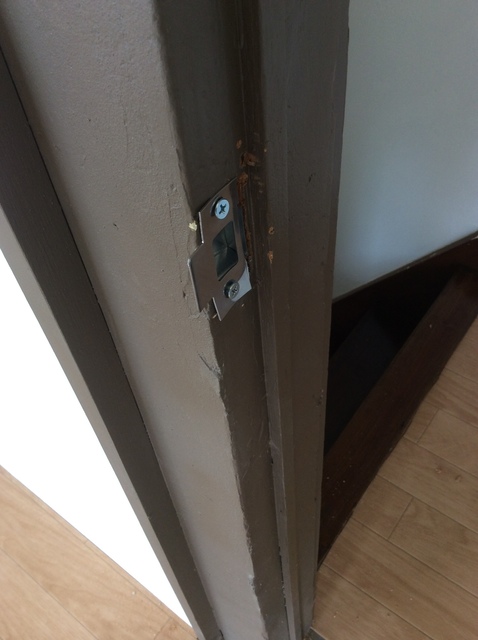
The door frame was badly warped so the latch plate is deformed too. As long as the door closes, it’s fine, right? (laughs)
Hinged door u2014 wallpaper finish
Hinged door u2014 wallpaper finish
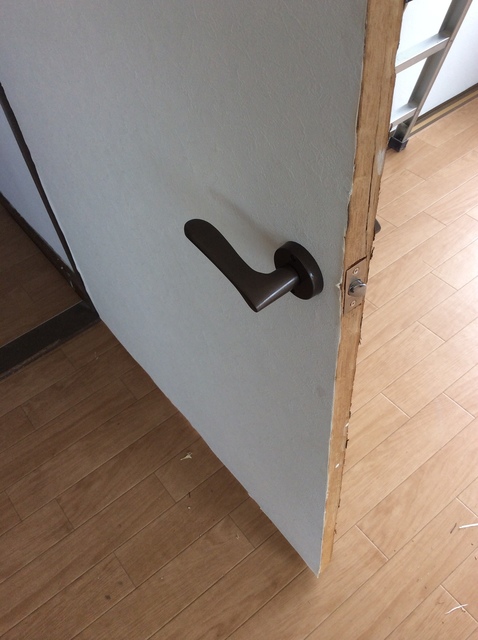
I replaced the door handle with a brand-new one. Anything a tenant’s hand touches directly gets fully replaced u2014 it matters for that clean, fresh impression.
Fixing the Fusuma Gap with Sliding Tape
The 2nd-floor fusuma had two problems: the painting job I’d done on them had made them sticky and stiff, and the building had settled enough that the kamoi (u9d28u5c45 u2014 the upper track/lintel above sliding doors) had sagged, turning the frame into a parallelogram. The result u2014 the fusuma panels didn’t fully close, leaving a visible gap.
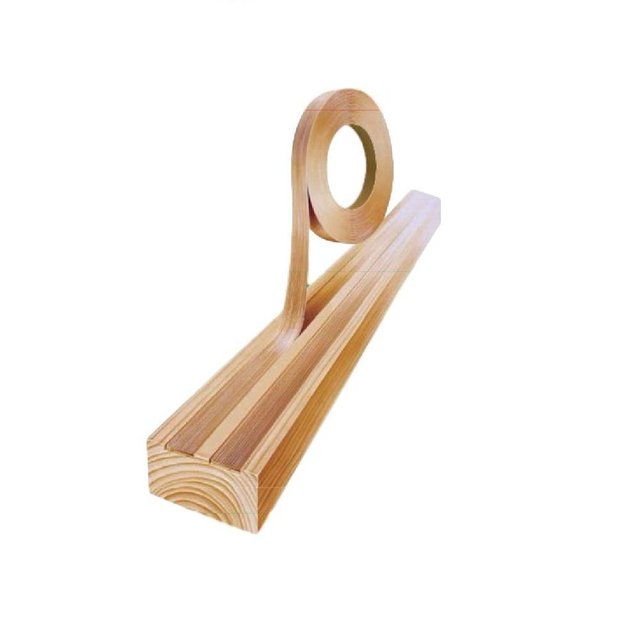
My fix: apply sliding tape to the shikii (u6577u5c45 u2014 the lower track/sill with door grooves), and stack strips of gap-sealing tape along the bottom edge of the fusuma where the two panels meet. It doesn’t completely eliminate the gap, but it’s noticeably better than doing nothing.
Surprisingly, a lot of people I’ve talked to have never heard of this trick!
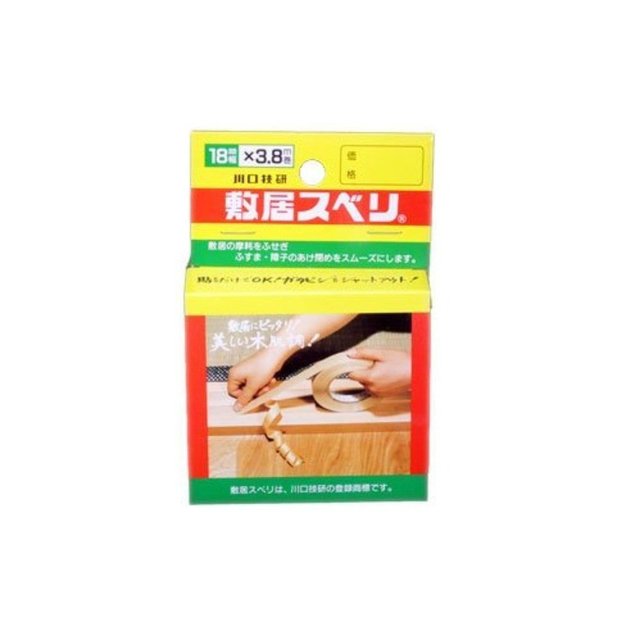
Sliding tape
Sliding tape
Sliding tape applied to the shikii (lower door track)
The original gap was quite large, so it’s not perfect u2014 but “better than nothing” is the realistic outcome here. That’s all for today. See you next time!
![]()
DIY Renovation Quote Review Manual
How to read, compare, and negotiate contractor quotes. This manual saved me u00a5800,000 on a single renovation project.
ud83cudfe0 More from DIY Father
15 years of landlord experience u00b7 3 apartment buildings u00b7 DIY renovations that saved millions of yen. Browse all articles at diytosan.com