u2192 Back to all English articles
Hi there, DIY Dad here! Continuing the 1st-floor Japanese room renovation.
With the wall penetration hole drilled, I headed back inside. Time to connect the copper refrigerant lines, drain hose, and VVF power cable to the indoor unit.
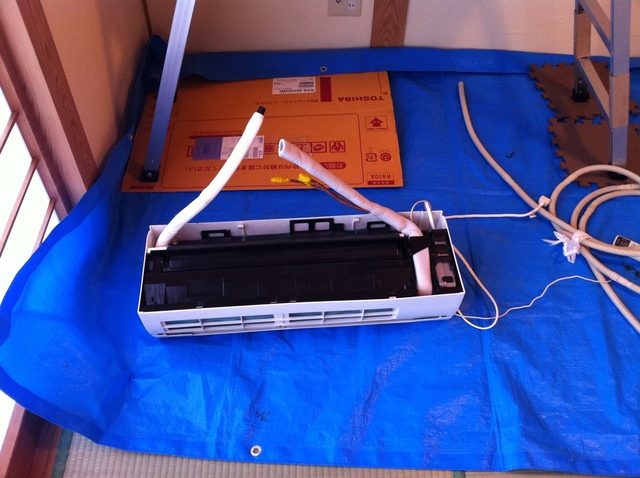
u2191 Back of the indoor unit
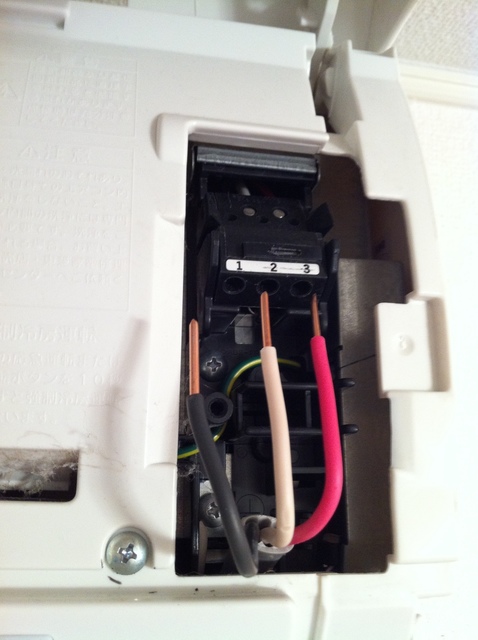
u2191 Wiring the indoor unit
Once the sleeve was inserted in the hole, I fed the copper pipe, drain hose, and VVF cable through the wall.
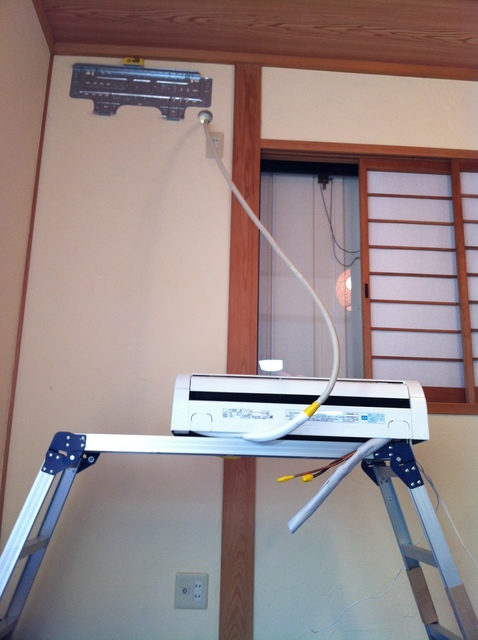
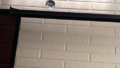
u2191 View from inside
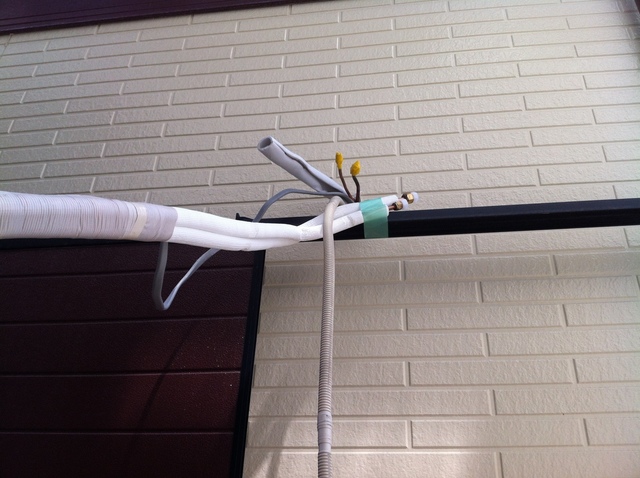
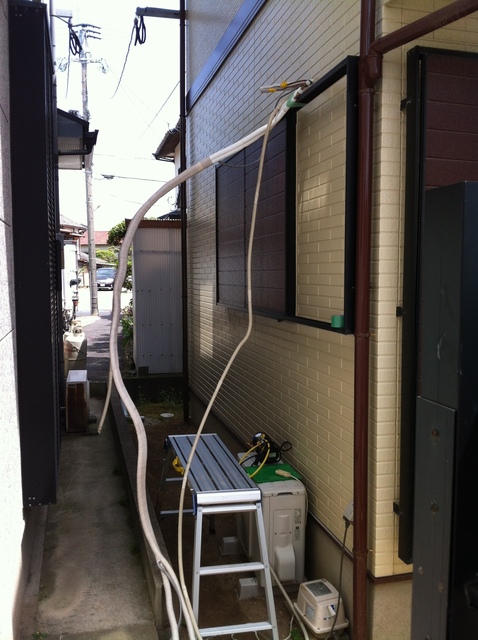
u2191 View from outside u2014 pipes and cable emerging from the wall
The indoor unit hooks onto the top edge of the backplate; a click means it’s locked in. Outside, I installed the outdoor unit, bundled the pipes and cable together, wrapped them with protective tape, and connected the copper pipes and VVF cable to the outdoor unit. The drain hose was run to discharge onto the ground.
Since I was reusing the pair coil from my previous apartment, I had to redo the flare fittings at the connection points. Copper flare fittings work by deforming the tube end to create a metal-to-metal seal. If the tubing has already been compressed once, remaking those flare joints is strongly advisable u2014 a leak at the fitting means the air conditioner simply won’t work.
With the copper pipes connected, it was time to evacuate the lines u2014 enter the vacuum pump.
u2191 Vacuum pump setup
Working at the outdoor unit:
u2191 Pump connected and ready
After connecting the pump to the service port and switching the valve, I ran the pump to evacuate all air from the lines. Switch on!
A white mist comes out when the pump starts. Not knowing that beforehand would be alarming u2014 and even knowing it, DIY Dad still panicked momentarily wondering if something had broken.
After running for the required time, I switched the valve, checked the manifold gauge to confirm the vacuum held, then shut off and removed the pump, and opened the refrigerant service valves. Installation was complete u2014 but to confirm there were no gas issues or faults, I powered up the unit for a test run. Cool air from the remote, warm air from the remote u2014 all working.
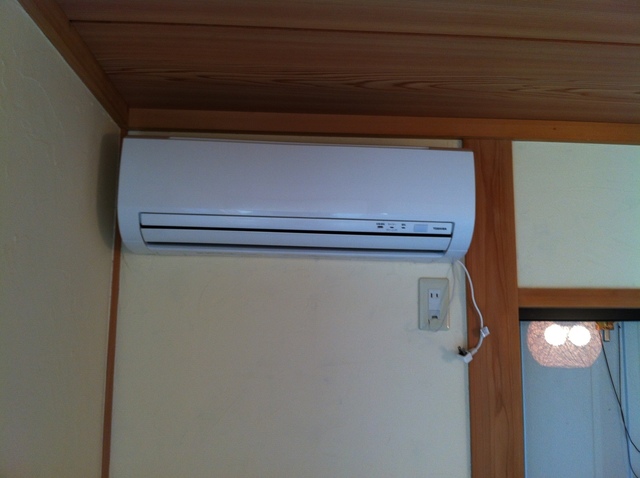
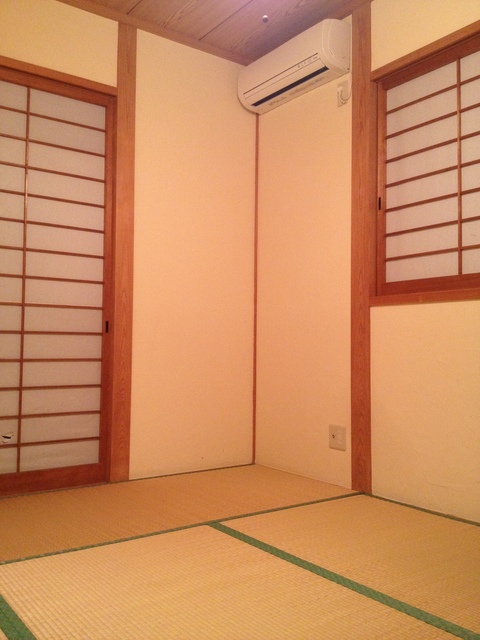
u2191 Indoor unit u2014 installed!
The air conditioner is in. The Japanese room renovation checklist is cleared.
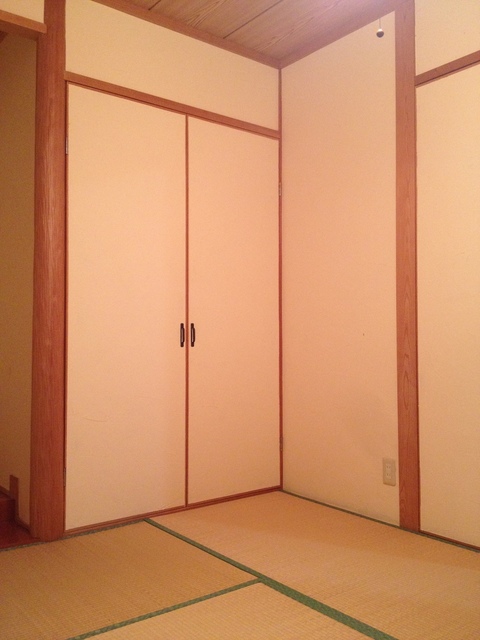
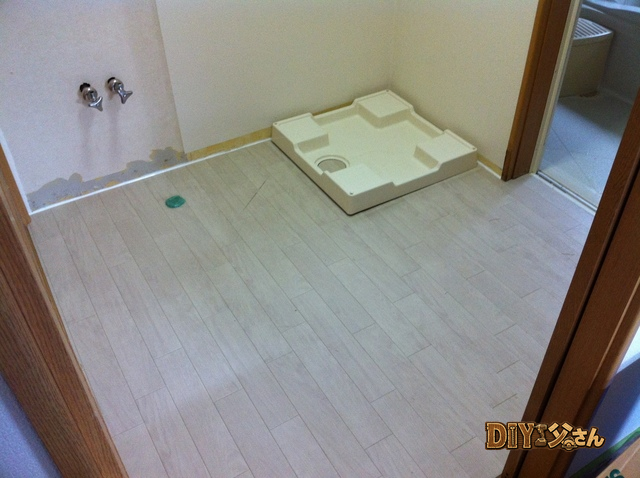
u2191 Full room view
u2191 View from the other side
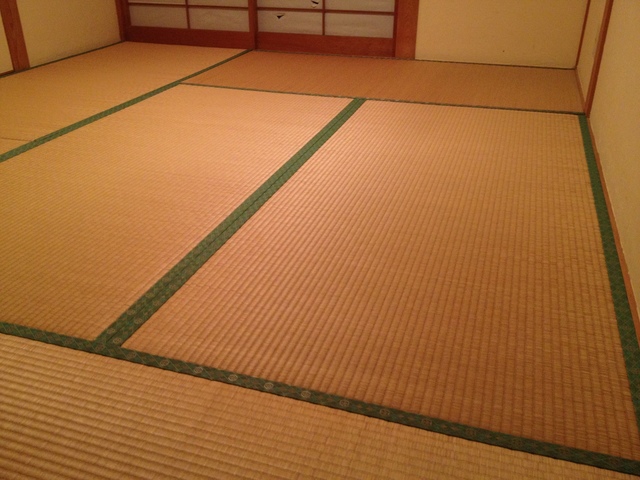
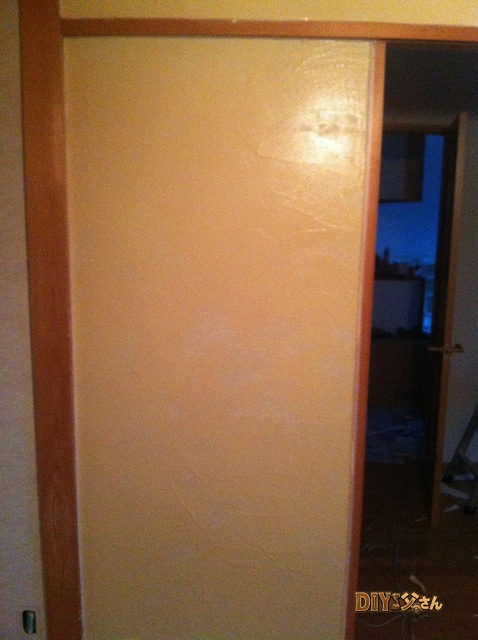
u2191 The tatami floor u2014 the shoji (paper sliding screen) has already been torn before the room was even finished.
The Japanese room is complete! That’s all for today u2014 see you next time!
u270fufe0f Originally published: November 22, 2016 (former Seesaa blog) | ud83dudd04 Updated: May 7, 2026
- 2026 DIY Dad’s Update: The Complete DIY Air Conditioner Install Story
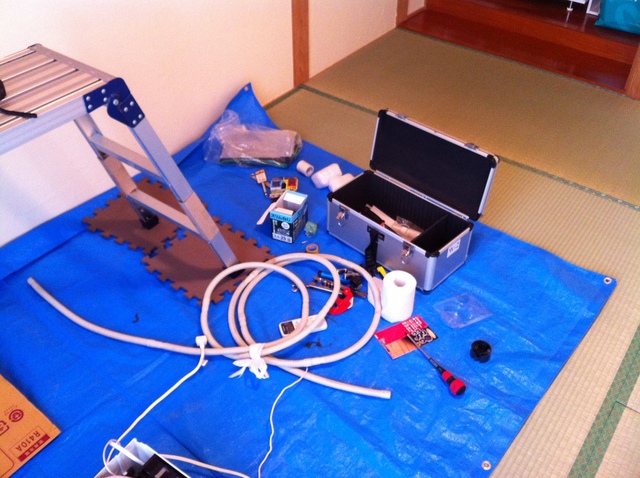
- Tools and Materials Required
- Before Drilling the Wall Penetration Hole
- Flare Fitting the Copper Refrigerant Line
- Vacuum Evacuation Determines Whether the Unit Actually Works
- u2744ufe0f Know the Risks Before DIY-ing Air Conditioner Work
2026 DIY Dad’s Update: The Complete DIY Air Conditioner Install Story
ud83duded2 RECOMMENDED PRODUCTS
Fusuma Replacement Paper Kits
Fusuma renewal is the fastest Japanese-room refresh u2014 paper, paste, and 2 hours.
Installing an air conditioner was one of the higher-difficulty tasks in this entire renovation. But as a mechanical design engineer, the mindset of “once you understand how it works, there’s nothing to fear” carried me through.
Tools and Materials Required
ud83duded2 AVAILABLE ON AMAZON JAPAN
Tatami Repair Materials (Amazon Japan)
Fresh tatami edges signal a well-maintained property u2014 tenants feel it immediately.
- Flaring tool (expands the copper tube end for flare fittings)
- Vacuum pump (removes air and moisture from the refrigerant lines)
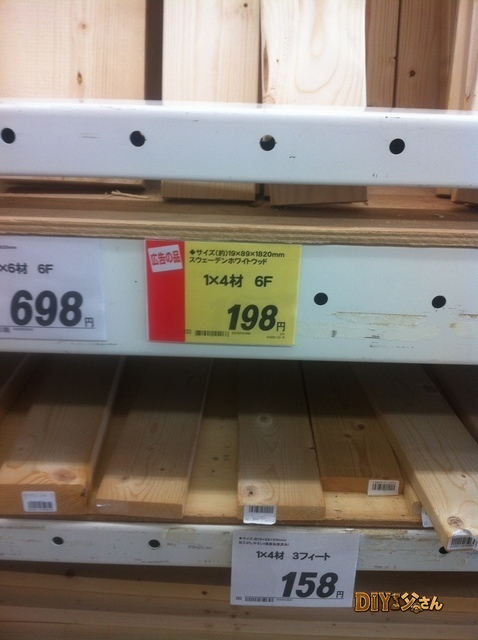
- Pair coil (copper pipe + drain tube bundled together)
- VVF cable (power wiring)
- Hole saw (for drilling the wall penetration)
- Insect-proof cap and pipe sleeve
- Level and impact driver
Both the flaring tool and vacuum pump were rented. Tool rental shops charge a few thousand yen per day u2014 a smart choice for specialized tools you don’t need to own permanently.
Before Drilling the Wall Penetration Hole
The backplate marks the center point for the hole. Before drilling, confirm there is no diagonal brace (u7b4bu4ea4u3044, suji-kai) inside the wall at that location u2014 drilling through a structural brace would reduce earthquake resistance. In DIY Dad’s case, drilling from the interior wall side avoided all braces and wiring. Big relief.
The hole should be drilled at a slight downward angle toward the exterior so water cannot flow back in u2014 the same principle as drainage slope design in mechanical engineering.
Flare Fitting the Copper Refrigerant Line
ud83duded2 RECOMMENDED PRODUCTS
Shoji Screen Paper & Repair Kits
Replace shoji paper every 3u20135 years u2014 it yellows faster than any other surface.
The end of the pair coil copper tube is flared to mate with the flare nut on the air conditioner. A poor flare lets refrigerant gas leak, and the unit simply won’t cool. The process is simpler than it sounds: clamp the tube in the tool and turn the handle u2014 the end expands automatically. Take your time on the first one as practice.
Vacuum Evacuation Determines Whether the Unit Actually Works
The vacuum pump removes all air and moisture from the refrigerant lines. Skipping this step leaves a mixture of air and refrigerant gas in the system, reducing cooling efficiency and risking component damage. DIY Dad ran the pump for 30 minutes u2014 the minimum is 15u201320. After confirming vacuum on the manifold gauge, open the refrigerant valve and the job is done.
u2744ufe0f Know the Risks Before DIY-ing Air Conditioner Work
Removing an existing unit is fairly DIY-friendly, but refrigerant recovery, flare fitting, and vacuum evacuation require specialized tools and knowledge. DIY Dad rented the necessary equipment. Note that air conditioner installation generally requires an electrical contractor’s license in Japan. When in doubt, consult a professional.
DIY Renovation Quote Review Manual
How to read, compare, and negotiate contractor quotes. This manual saved me u00a5800,000 on a single renovation project.
ud83cudfe0 More from DIY Father
15 years of landlord experience u00b7 3 apartment buildings u00b7 DIY renovations that saved millions of yen. Browse all articles at diytosan.com