u2192 Back to all English articles
Hi there, DIY Dad here! Continuing the 1st-floor Japanese room renovation.
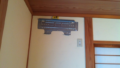
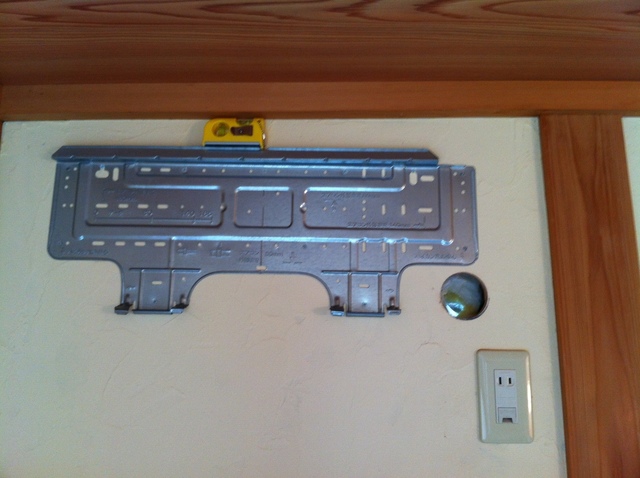
With the hole saw ready, it was time to drill the wall penetration for the pipes and wiring. The air conditioner backplate marks the center of the hole u2014 I scribed the layout line there, then drilled from the interior wall.
Two things were worrying DIY Dad at this point:
- If a diagonal brace (u7b4bu4ea4u3044, suji-kai) happened to be at the hole position, drilling straight through it would compromise earthquake resistance.
- If electrical wiring ran through that spot, cutting it would mean a very difficult repair.
The odds were low, but not zero. At least I cut the breaker first to avoid any shock risk. And honestly u2014 worrying wouldn’t change where the hole needed to go. No way to avoid it, so I just went for it!
No diagonal brace. No wiring. Lucky!
Next: drilling through the exterior wall. Finding a shared reference point between interior and exterior walls to accurately transfer the hole position is tedious u2014 so DIY Dad cheated a little. I drilled a pilot hole from inside, aiming for the center of the penetration, right through the exterior wall siding. A standard wood-working bit worked fine u2014 it grabbed and punched through without much trouble. Then from outside, I used that pilot hole as a guide for the hole saw.
The hole saw bit u2014 it bit in but barely moved. Had I burned out the blade? There was no stopping halfway. DIY Dad bore down harder…
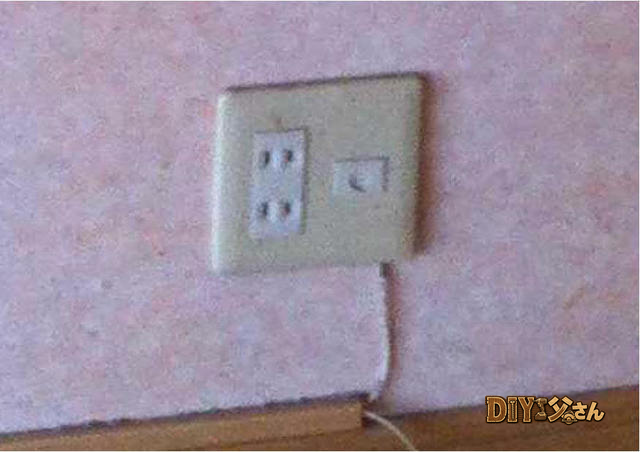
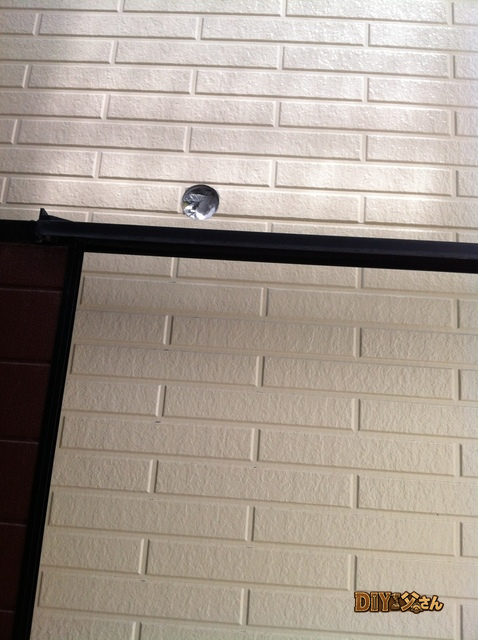
A clean hole appeared in the wall!
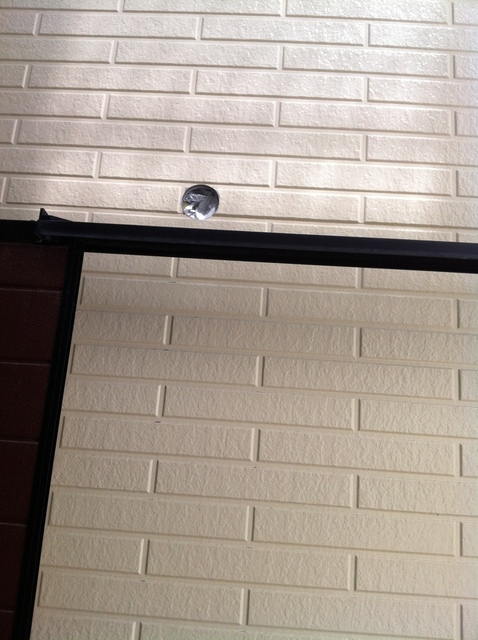
u2191 Wall penetration hole (exterior)
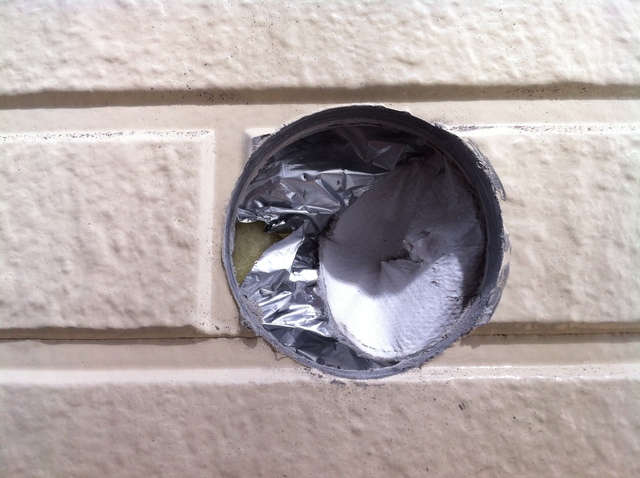
u2191 Close-up view
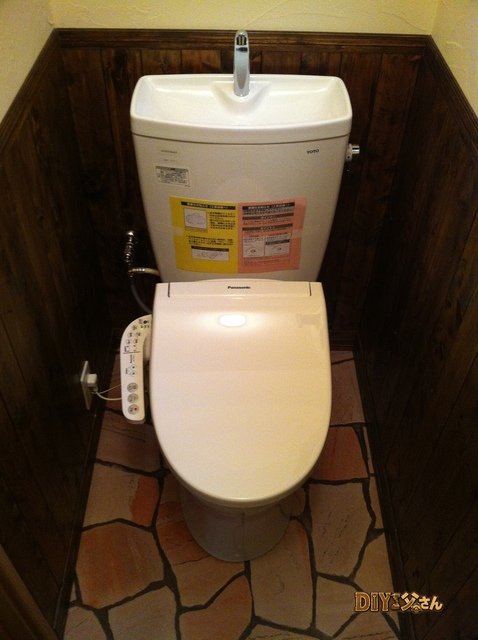
u2191 View from inside
Total success! The hole saw blade might be toast u2014 but that was the necessary sacrifice. The air conditioner being reused here was moved from my previous apartment. See Living Room Chapter Vol.7 for that story.
That’s all for today u2014 see you next time!
u270fufe0f Originally published: November 21, 2016 (former Seesaa blog) | ud83dudd04 Updated: May 7, 2026
2026 DIY Dad’s Update: The Complete DIY Air Conditioner Install Story
ud83duded2 RECOMMENDED PRODUCTS
Fusuma Replacement Paper Kits
Fusuma renewal is the fastest Japanese-room refresh u2014 paper, paste, and 2 hours.
Tools and Materials Required
ud83duded2 AVAILABLE ON AMAZON JAPAN
Tatami Repair Materials (Amazon Japan)
Fresh tatami edges signal a well-maintained property u2014 tenants feel it immediately.
- Flaring tool (expands the copper tube end)
- Vacuum pump (removes air and moisture from refrigerant lines)
- Pair coil (copper pipe + drain tube)
- VVF cable (power wiring)
- Hole saw (wall penetration)
- Insect-proof cap and pipe sleeve
- Level and impact driver
The flaring tool and vacuum pump were rented u2014 a few thousand yen per day each, and much smarter than buying tools you’ll rarely use.
Before Drilling the Wall Penetration Hole
Check for diagonal bracing inside the wall at the backplate’s marked center position before drilling. DIY Dad’s biggest fear was drilling through a structural brace u2014 but punching through from the interior side avoided everything. Big relief.
Drill at a slight downward angle toward the exterior to prevent water from flowing back in u2014 the same principle as drainage slope design.
Flare Fitting the Copper Line
ud83duded2 RECOMMENDED PRODUCTS
Shoji Screen Paper & Repair Kits
Replace shoji paper every 3u20135 years u2014 it yellows faster than any other surface.
The pair coil end is flared to mate with the flare nut on the unit. A poor flare allows refrigerant gas to leak and the unit will not cool. The tool is straightforward u2014 clamp the tube, turn the handle, done. Take your time on the first one.
Vacuum Evacuation Determines Performance
Running the vacuum pump for at least 15u201320 minutes (DIY Dad used 30) removes all air and moisture. Skip this and the unit will underperform or fail. Confirm vacuum on the manifold gauge, then open the refrigerant valve.
u2744ufe0f Know the Risks Before DIY-ing Air Conditioner Work
Refrigerant recovery, flare fitting, and vacuum evacuation require specialized tools and knowledge. Air conditioner installation generally requires an electrical contractor’s license in Japan. When in doubt, consult a professional.
DIY Renovation Quote Review Manual
How to read, compare, and negotiate contractor quotes. This manual saved me u00a5800,000 on a single renovation project.
ud83cudfe0 More from DIY Father
15 years of landlord experience u00b7 3 apartment buildings u00b7 DIY renovations that saved millions of yen. Browse all articles at diytosan.com