ud83dudcda Apt.1 Toilet Series u2014 5 of 6
u2190 Apt.1 Toilet Vol.4: Ceiling Paint, Wall & Floor u00b7 Series Index u00b7 Apt.1 Toilet Vol.6: Silicone Caulking & Finish u2192
u270fufe0f Originally published: 2021-11-14 / ud83dudd04 Updated: May 8, 2026
2026 Update from DIY Dad: Full Renovation of the 1st-Floor Toilet
ud83duded2 RECOMMENDED PRODUCTS
Washlet Toilet Seats (Bidet)
A washlet seat is the single upgrade that impresses every tenant in Japan.
This is a complete overhaul u2014 tearing out the old toilet and starting fresh with new walls, flooring, and the toilet unit itself. Renovating the toilet in an older apartment is one of the highest-value improvements you can make. ^ ^
Full Renovation Workflow
ud83duded2 RECOMMENDED PRODUCTS
Toilet Repair Kits
Keep a repair kit stocked u2014 toilet calls come without warning at midnight.
- Vol.1: Demolition (remove toilet, strip wall material, pull up flooring)
- Vol.2: Entrance, wall & floor substrate framing (plywood & drywall)
- Vol.3: Wall putty work & wood frame painting
- Vol.4: Ceiling paint, wall wallpaper & cushion floor
- Vol.5: Combined toilet unit installation
- Vol.6: Silicone caulking & final inspection
By doing the full renovation myself, I brought the cost to roughly one-tenth of contractor pricing. m(_ _)m
Choosing & Installing a Combined Toilet Unit
A “combined toilet” (kumawase benki) is one where the bowl and low-tank are assembled from separate parts.
Features
- Less expensive than integrated or tankless models (roughly u00a520,000u2013u00a550,000)
- Designed to be DIY-friendly
- Easy to repair and replace parts (low running costs)
Installation Steps
- Check and replace the flange (the drain connection fitting)
- Set the bowl onto the flange and secure with bolts
- Attach the tank to the bowl
- Connect the water supply line (a flexible hose makes this easy)
- Open the shutoff valve, run a test flush, and check for leaks
Always replace supply-line washers with new ones u2014 never reuse old gaskets. m(_ _)m
Renovation Cost Breakdown (Real Numbers)
ud83duded2 RECOMMENDED PRODUCTS
Toilet Accessories Sets
Matching accessories cost u00a52,000 and make a small toilet feel designed.
- Combined toilet unit: approx. u00a525,000
- Wallpaper & cushion floor: approx. u00a55,000
- Substrate materials: approx. u00a58,000
- Paint & sealer: approx. u00a53,000
- Caulk: approx. u00a5500
- Total: approx. u00a541,500
![]()
Hello, I’m DIY Dad. ^ ^
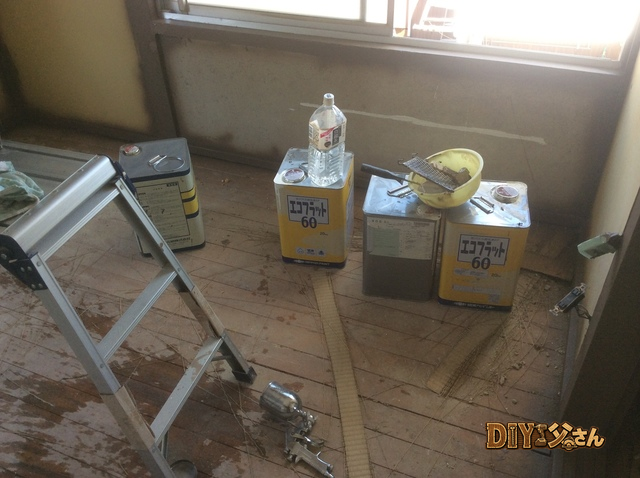
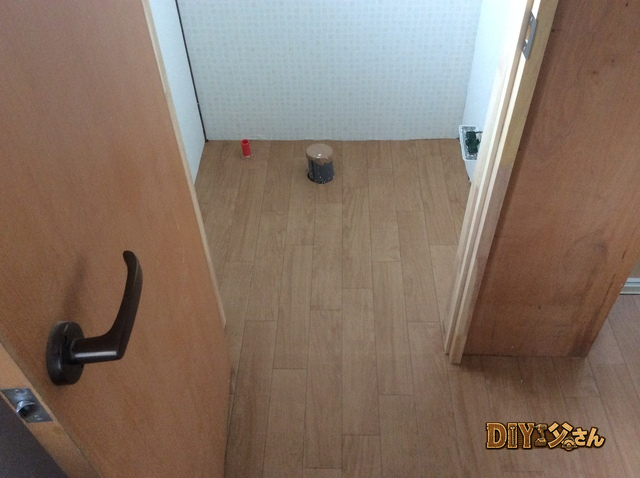
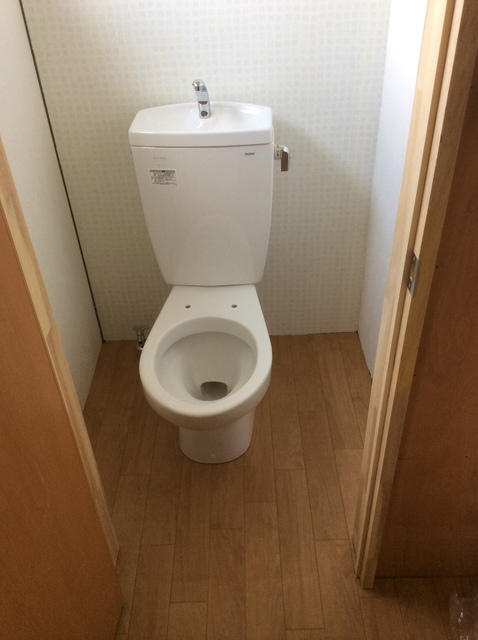
With the floor and walls all finished, it’s time to install the combined toilet unit.
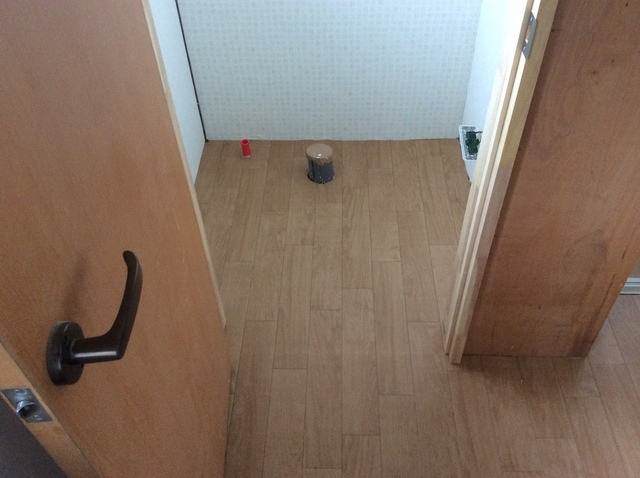
u2192 Before toilet installation
I’m using the TOTO “Combined Toilet CFS371A.”
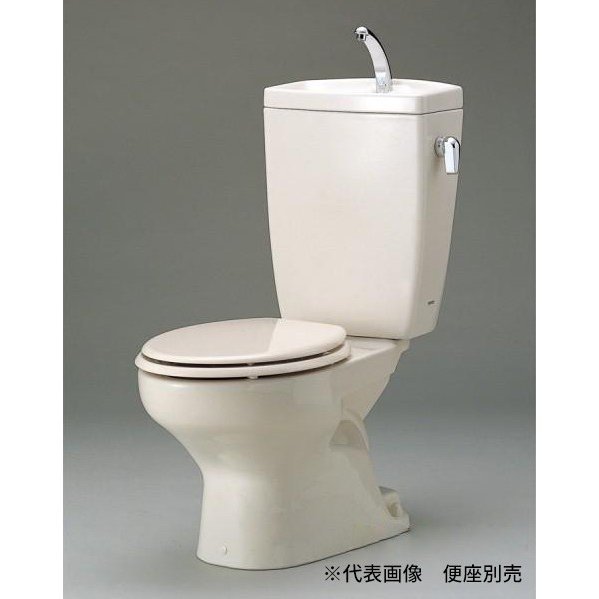
u2192 Combined toilet unit
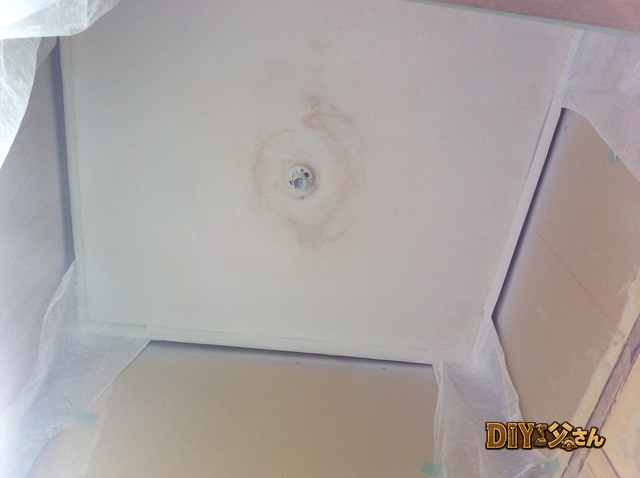
Time to install the toilet. First, read the instruction manual carefully. Place the paper template around the drain pipe and mark the floor layout to match. Attach the drain connection adapter (the black and grey pieces in the photo) to the drain pipe. Then install the front mounting bracket (the white piece).
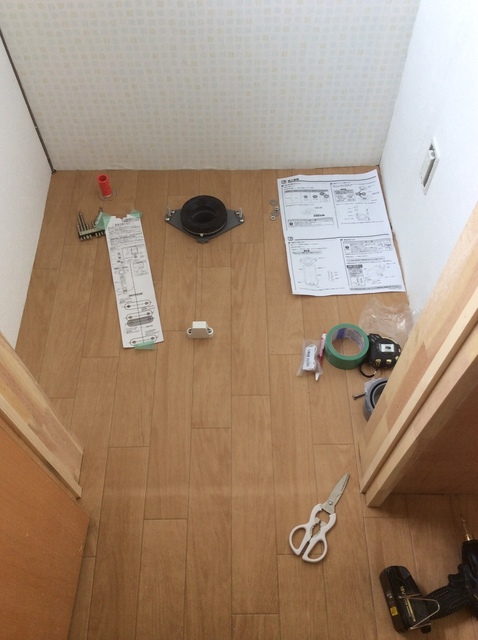
u2192 Template, drain adapter, and mounting bracket
The screws here are thick and long u2014 you absolutely need an impact driver. It’s non-negotiable! Place the toilet bowl from above, then screw it into the bracket.

u2192 Bowl in place
Fit the tank-to-bowl gasket u2014 just drop it on from above. Then mount the tank: set it on the bowl and secure it with the plastic bolts and nuts.
u2192 Tank mounted
Next, install the washlet (electronic bidet seat). I don’t have step-by-step photos here, but the process is:
- Attach the seat mounting bracket to the bowl
- Slide the seat onto the bracket
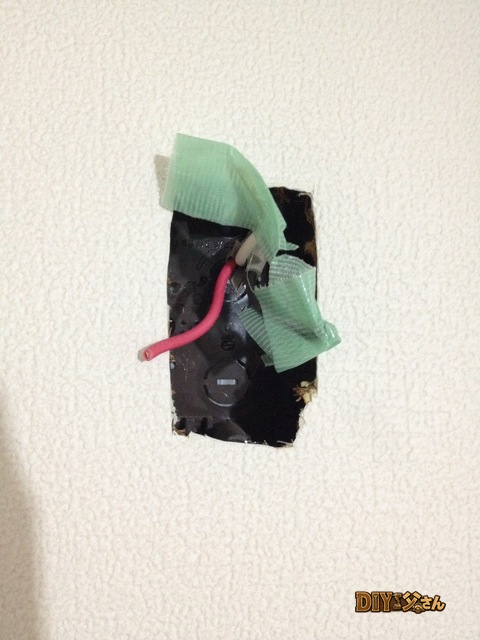
- Connect the water supply line
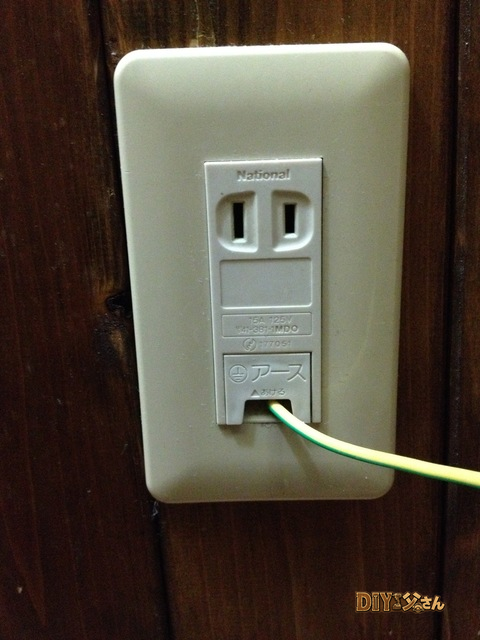
- Plug into the power outlet
- Run a test
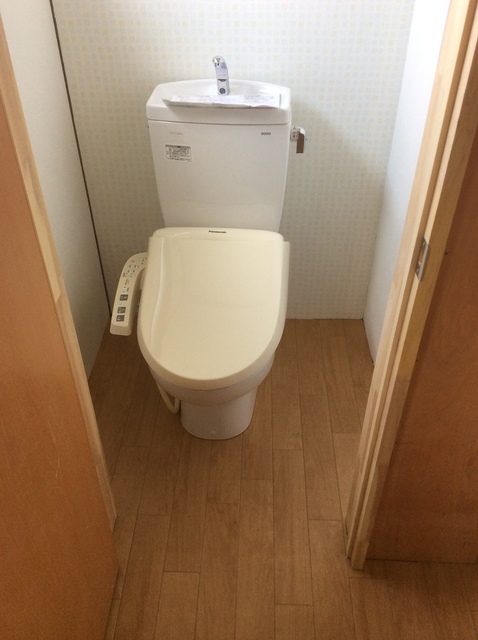
u2192 Washlet installed
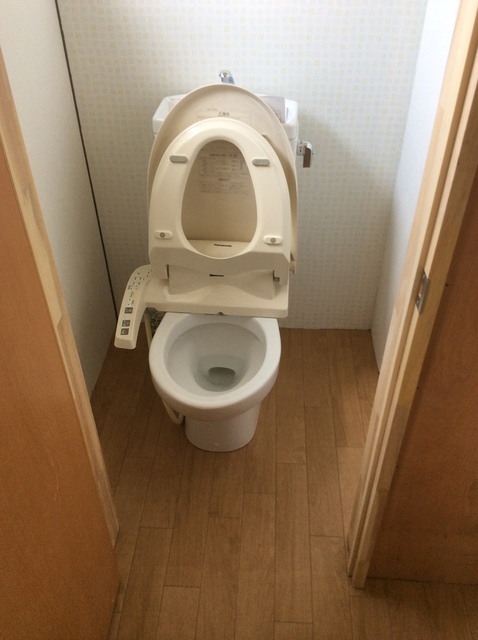
u2192 Washlet installed
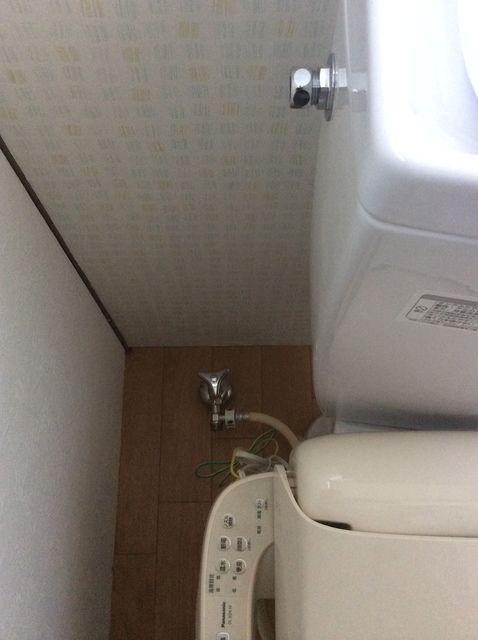
u2192 Washlet installed
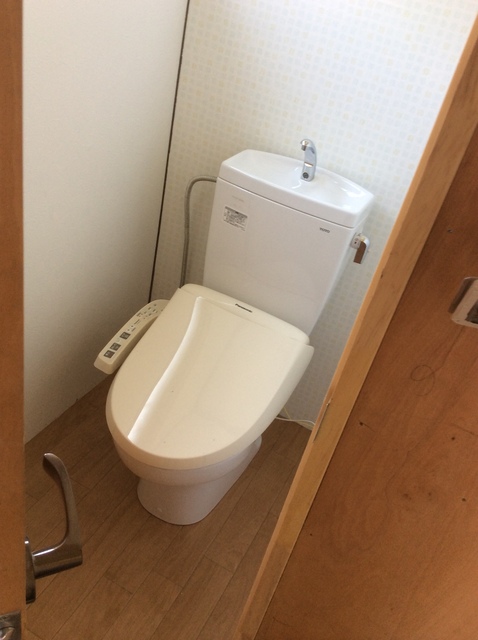
u2192 Washlet installed
It looks almost done u2014 but it’s not quite finished yet! That’s all for today! (^^)/~~~

ud83dudcdd DIY Dad’s Premium note Article
Real-Data Cost & Timeline Database for DIY Renovation
u00a5500
ud83dudcda Apt.1 Toilet Series u2014 5 of 6
u2190 Apt.1 Toilet Vol.4: Ceiling Paint, Wall & Floor u00b7 Series Index u00b7 Apt.1 Toilet Vol.6: Silicone Caulking & Finish u2192
DIY Renovation Quote Review Manual
How to read, compare, and negotiate contractor quotes. This manual saved me u00a5800,000 on a single renovation project.
ud83cudfe0 More from DIY Father
15 years of landlord experience u00b7 3 apartment buildings u00b7 DIY renovations that saved millions of yen. Browse all articles at diytosan.com