ud83dudcda Apt.1 Toilet Series u2014 6 of 6
u2190 Apt.1 Toilet Vol.5: Toilet Installation u00b7 Series Index u00b7 (last article) u2192
u270fufe0f Originally published: 2021-11-17 / ud83dudd04 Updated: May 8, 2026
2026 Update from DIY Dad: Full Renovation of the 1st-Floor Toilet
ud83duded2 RECOMMENDED PRODUCTS
Washlet Toilet Seats (Bidet)
A washlet seat is the single upgrade that impresses every tenant in Japan.
This is a complete overhaul u2014 tearing out the old toilet and starting fresh with new walls, flooring, and the toilet unit itself. Renovating the toilet in an older apartment is one of the highest-value improvements you can make. ^ ^
Full Renovation Workflow
ud83duded2 RECOMMENDED PRODUCTS
Toilet Repair Kits
Keep a repair kit stocked u2014 toilet calls come without warning at midnight.
Here’s the complete sequence for the Apt.1 1st-floor toilet renovation:
- Vol.1: Demolition (remove toilet, strip wall material, pull up flooring)
- Vol.2: Entrance, wall & floor substrate framing (plywood & drywall)
- Vol.3: Wall putty work & wood frame painting
- Vol.4: Ceiling paint, wall wallpaper & cushion floor
- Vol.5: Combined toilet unit installation
- Vol.6: Silicone caulking & final inspection
By doing the full renovation of one toilet room myself, I brought the cost down to roughly one-tenth of what a contractor would charge. m(_ _)m
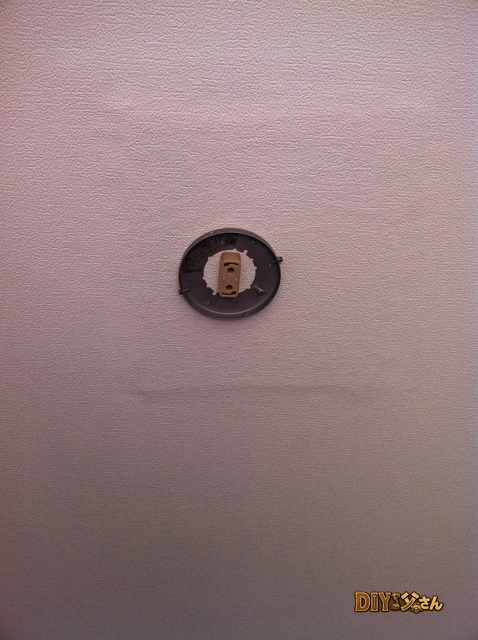
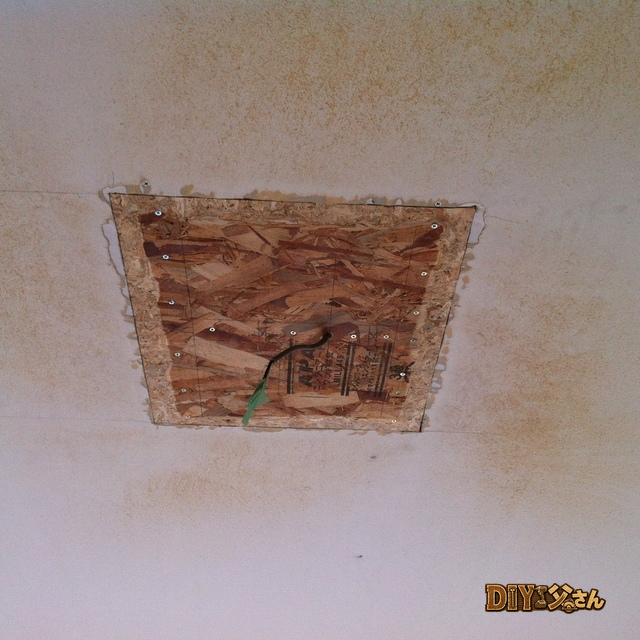
Wall Substrate Work in the Toilet
Older toilet walls are often thin boards or old waterproofing materials that need to be rebuilt from the substrate up.
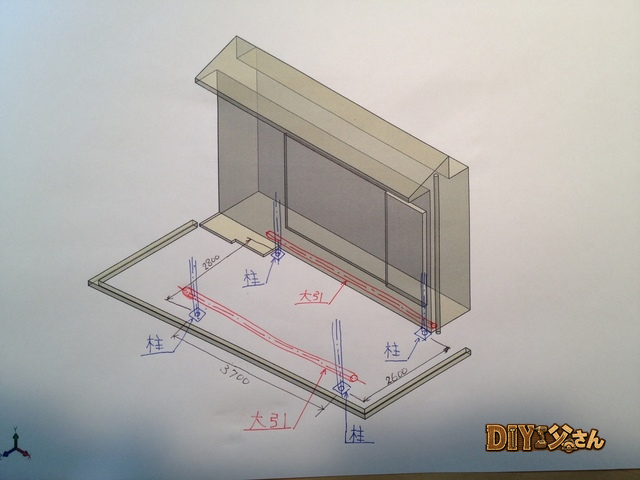
Key Points for Substrate Work
- Use compact materials (thin lumber, thin plywood) suited to a small space
- Apply thorough moisture and waterproofing treatment (it’s a humid space)
- Map the locations of drain and supply pipes before framing
- Repair or replace the door frame at this stage as well
Working in a tight space puts a real strain on your body and forces awkward postures. Take frequent breaks as you go. ^ ^
Choosing & Installing a Combined Toilet Unit
ud83duded2 RECOMMENDED PRODUCTS
Toilet Accessories Sets
Matching accessories cost u00a52,000 and make a small toilet feel designed.
A “combined toilet” (kumawase benki) is a toilet where the bowl and low-tank are assembled from separate parts.
Features
- Less expensive than integrated or tankless models (roughly u00a520,000u2013u00a550,000)
- Designed to be DIY-friendly
- Easy to repair and replace parts (low running costs)
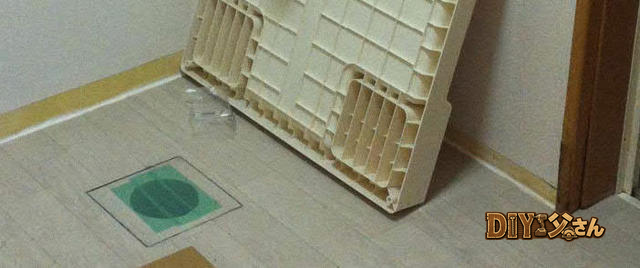
Installation Steps
- Check and replace the flange (the drain connection fitting)
- Set the bowl onto the flange and secure with bolts
- Attach the tank to the bowl
- Connect the water supply line (a flexible hose makes this easy)
- Open the shutoff valve, run a test flush, and check for leaks
For the water supply connection, always replace the washers with new ones u2014 never reuse old gaskets. m(_ _)m
Why Silicone Caulking Matters in a Toilet
Caulking (sealing) is an essential finishing step in any toilet renovation:
- The joint between the toilet base and the floor (seal the gap)
- The connection between the bowl and the tank
- The joint between the wall and the floor (at the baseboard)
- Around the sink or hand-wash basin
Poorly applied caulk leads to dirt and odor buildup. Finish neatly with a white, mold-resistant bathroom silicone caulk. ^ ^
Renovation Cost Breakdown (Real Numbers)
What DIY Dad actually spent (combined toilet swap + full interior renovation):
- Combined toilet unit: approx. u00a525,000
- Wallpaper & cushion floor: approx. u00a55,000
- Substrate materials (drywall, plywood, etc.): approx. u00a58,000
- Paint & sealer: approx. u00a53,000
- Caulk: approx. u00a5500
- Total: approx. u00a541,500
A contractor would charge u00a5150,000u2013u00a5300,000 just to swap the toilet, and more than u00a5500,000 including the interior work. DIY brought the entire renovation in at around u00a540,000. ^ ^
For Those Considering a Toilet Renovation
The toilet is a space tenants use every day. Simply swapping out an old unit can make a huge difference in occupancy. DIY Dad switched to a combined toilet (bowl + tank) to slash costs dramatically. ^ ^
![]()
Hello, I’m DIY Dad. ^ ^
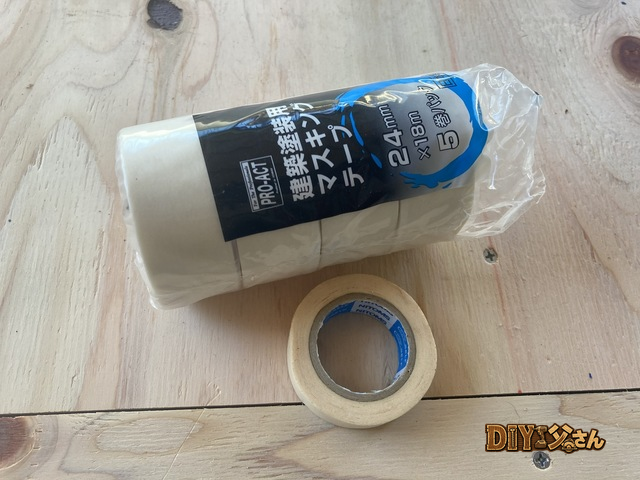
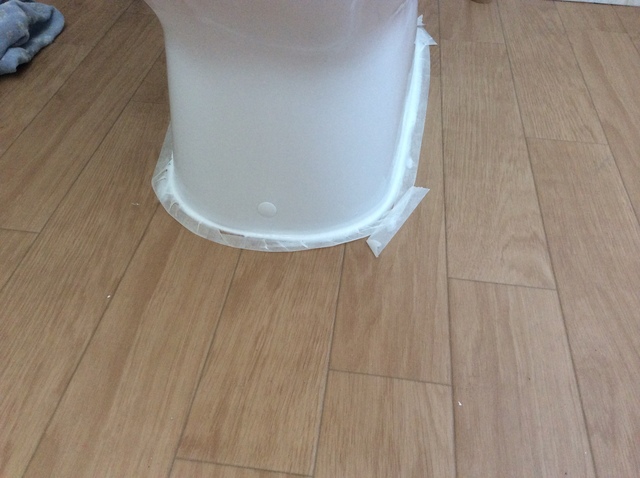
With the cushion floor and walls all finished, it’s time to caulk around the toilet. Doing this now makes future maintenance much easier. First step u2014 masking.
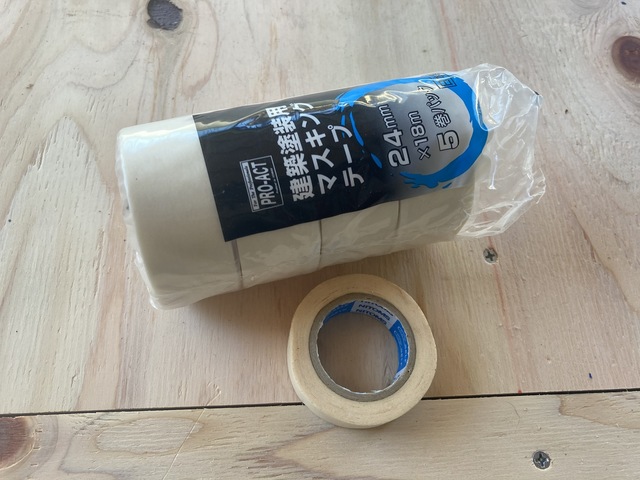
u2192 Masking tape
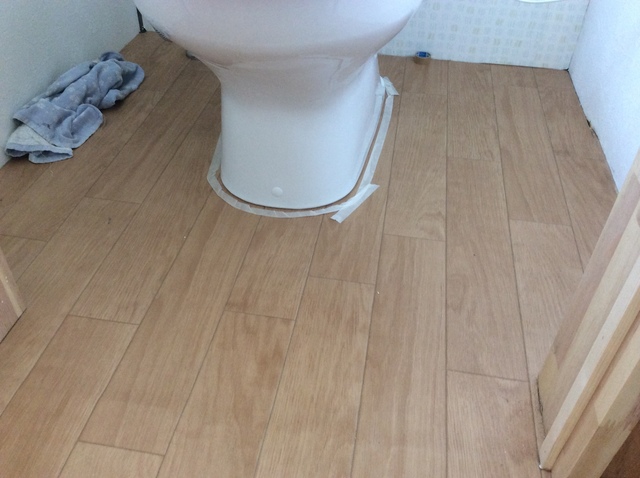
u2192 Toilet masked off
Once masked, apply the silicone caulk. Here’s the tool:
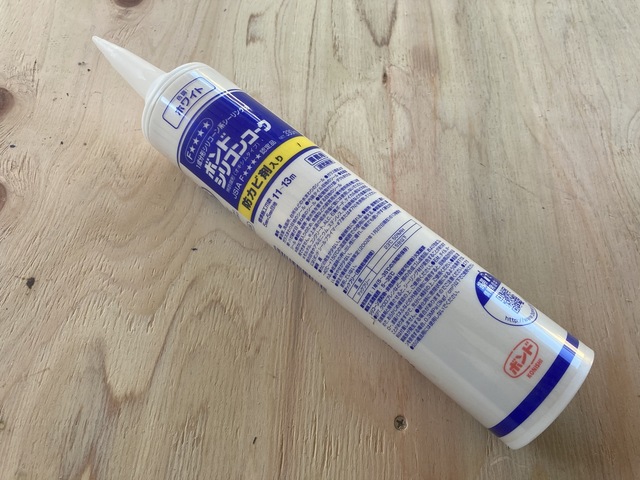
u2192 Silicone caulk (mold-resistant)
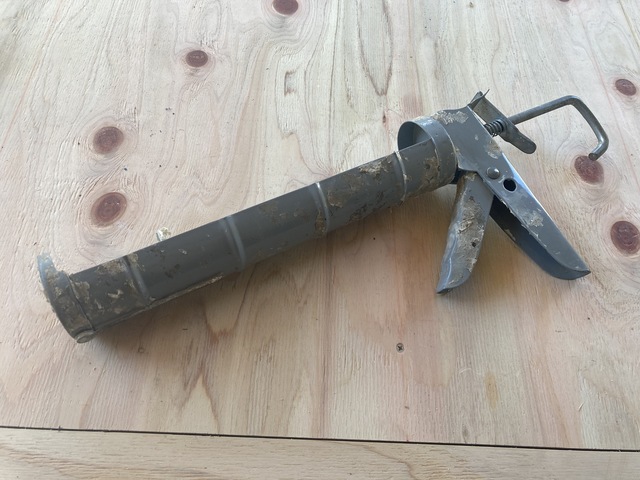
u2192 Caulk gun
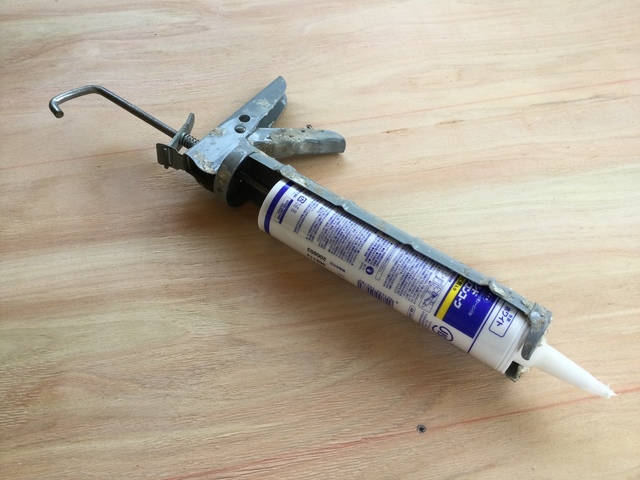
u2192 Caulk gun loaded with silicone
Apply the caulk bead.
u2192 Silicone caulk applied
Smooth the caulk with your finger. Getting a clean finish takes a little practice u2014 this step makes or breaks the final look. Then peel off the masking tape.
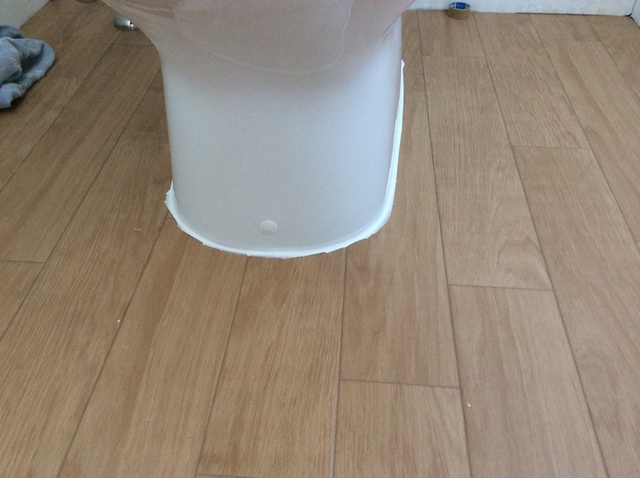
u2192 Caulking complete
Small accessories like the paper holder aren’t on yet, but the toilet is effectively done!
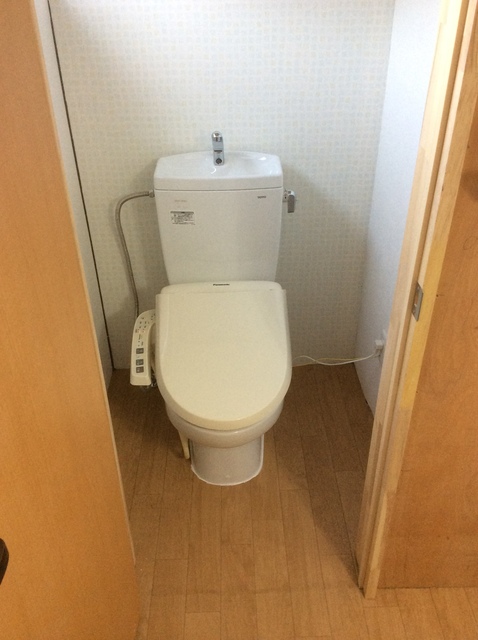
u2192 The finished toilet
That’s all for today! (^^)/~~~

ud83dudcdd DIY Dad’s Premium note Article
Real-Data Cost & Timeline Database for DIY Renovation
Detailed cost records from full renovations across all apartment and house units u2014 cost comparisons by wallpaper, flooring, and plumbing.
u00a5500
ud83dudcda Apt.1 Toilet Series u2014 6 of 6
u2190 Apt.1 Toilet Vol.5: Toilet Installation u00b7 Series Index u00b7 (last article) u2192
DIY Renovation Quote Review Manual
How to read, compare, and negotiate contractor quotes. This manual saved me u00a5800,000 on a single renovation project.
ud83cudfe0 More from DIY Father
15 years of landlord experience u00b7 3 apartment buildings u00b7 DIY renovations that saved millions of yen. Browse all articles at diytosan.com