ud83dudcda Bathroom Renovation Series u2014 12 of 25
u2190 Bathroom Renovation Vol.11: Washing Machine Stand Pt.2 u00b7 Series Index u00b7 Bathroom Renovation Vol.13: Under-Floor Storage Pt.2 u2192
u270fufe0f Originally published: 2016-12-04 / ud83dudd04 Updated: May 8, 2026
2026 Update from DIY Dad: Under-Floor Storage & Ceiling Work in the Bathroom/Laundry Room
ud83duded2 RECOMMENDED PRODUCTS
Mold-Resistant Bathroom Caulk
Re-caulk every 3u20135 years. Black mold on caulk is the #1 tenant complaint in Japan.
The renovation is now in the second half. Under-floor storage and ceiling access hatch installation are unglamorous but critically important. More than ten years on as a landlord, DIY Dad is still glad these were done.
Why Install Under-Floor Storage?
Without under-floor access, the only option when inspection is needed is to pull up the flooring. In wet areas especially, the speed of response to plumbing problems is completely different when you have a hatch.
Benefits DIY Dad Has Experienced
- Annual visual inspection of pipes (early detection of termites and corrosion)
- Direct visual check of drain pipe joints (early leak detection)
- Ability to inspect the condition of moisture-barrier sheeting
- Doubles as usable storage space (preserved food, emergency supplies, etc.)
Under-Floor Storage Installation u2014 Step by Step
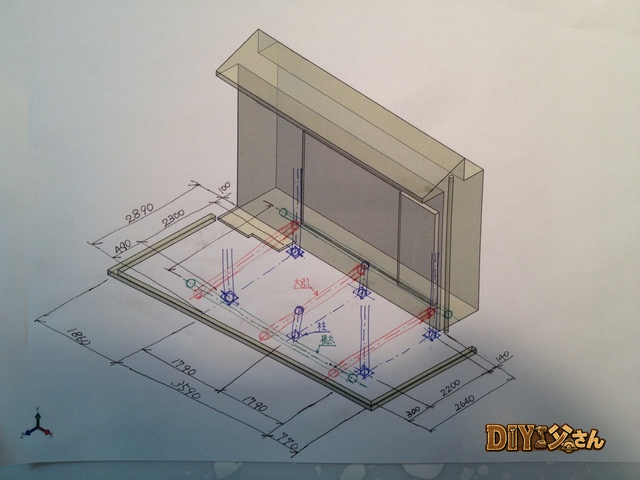
- Decide on placement (confirm it fits between existing floor joists).
- Cut the plywood and cushion floor to the opening size.
- Partially cut the floor joists and add reinforcement pieces.
- Drop the unit body in and secure it.
- Finish the lid by applying cushion floor material to it.
The critical step is reinforcing where the joists are cut. Cutting a joist reduces floor rigidity u2014 support pieces must be added at each end and screwed in. Skip this and the floor will flex.
ud83dudebf For Anyone Considering a Wet-Area Renovation
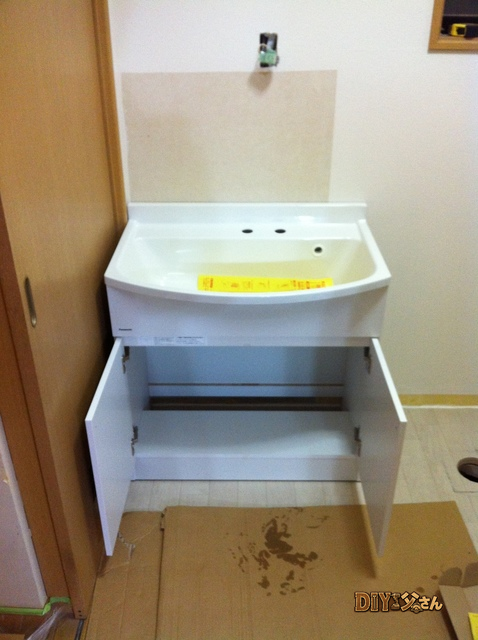
Vanity replacement is doable as DIY, but confirm drain pipe types and measurements before starting.
![]()
Under-Floor Storage u2014 Getting Started
ud83duded2 RECOMMENDED PRODUCTS
Bathroom Vanity & Mirror Cabinets
Mirror cabinets add storage and light u2014 tenants notice immediately.
Hi, this is DIY Dad! Continuing the first-floor bathroom/laundry room renovation series.
Next up: installing under-floor storage. Tools and materials used: the under-floor storage unit, impact driver, jigsaw, and handsaw.
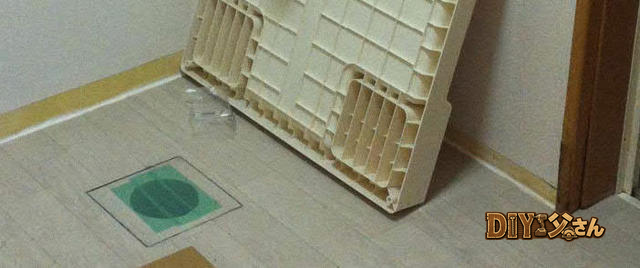
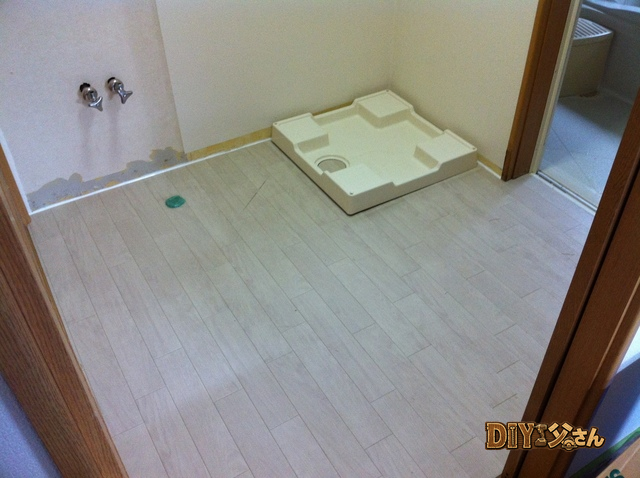
Under-floor storage is a fantastic way to add serious storage capacity. The placement is right next to the washing machine stand.
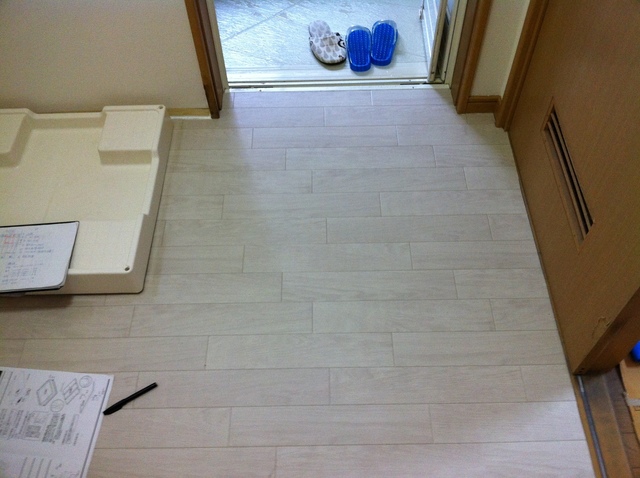
u2191 Right here is where it goes.
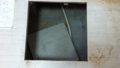
Once again, a hole must be cut in the freshly finished cushion floor. The position is measured and the lid support frame is placed temporarily to guide the layout lines.
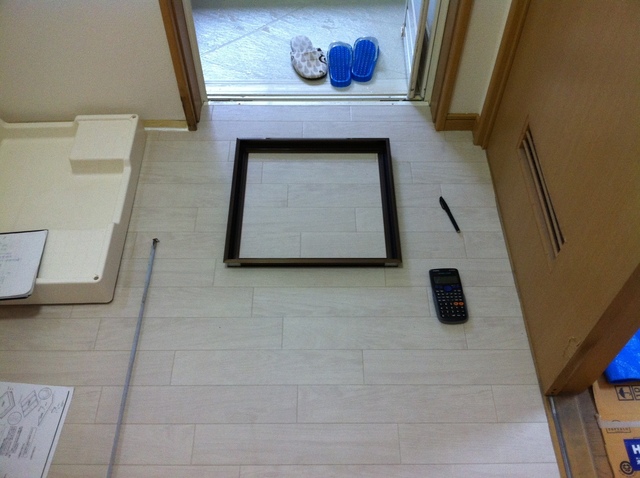
u2191 The storage unit frame placed temporarily for marking.
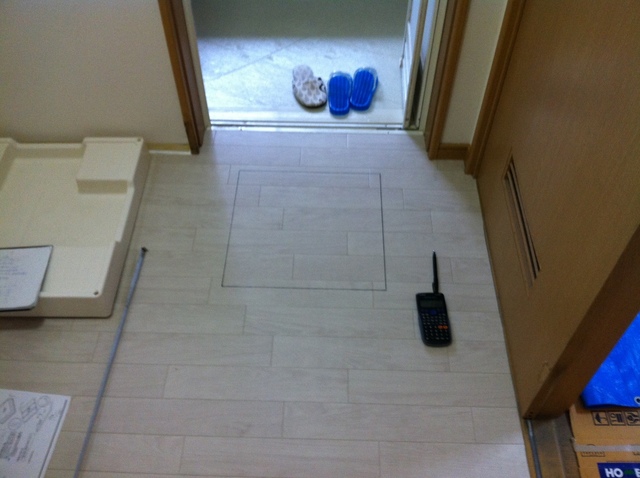
u2191 The layout lines marked out.
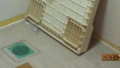
Drilling Starter Holes and Cutting the Opening
Just as when cutting the drain pipe opening, starter holes are drilled with the impact driver and drill bit before the jigsaw makes the cuts.
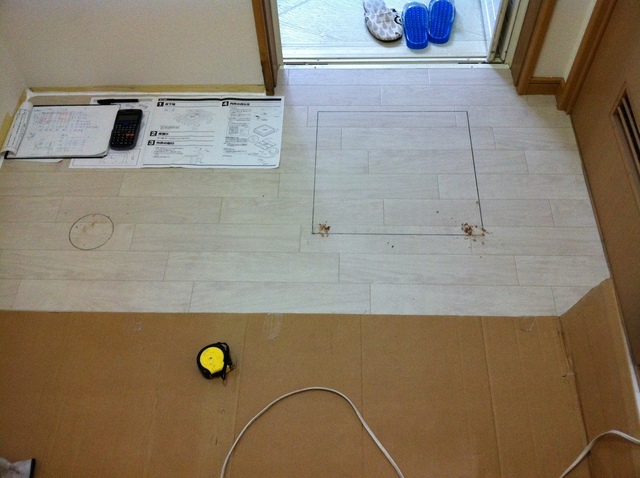
u2191 Starter holes drilled.
Two holes are drilled to get crisp corners on all four sides.
u2191 A close-up of the starter holes. Pricing and specs for the under-floor storage unit are in the DIY Dad Equipment Guide u2014 Bathroom/Laundry Room Edition. That’s all for today u2014 see you next time!
ud83dudcda Bathroom Renovation Series u2014 12 of 25
u2190 Bathroom Renovation Vol.11: Washing Machine Stand Pt.2 u00b7 Series Index u00b7 Bathroom Renovation Vol.13: Under-Floor Storage Pt.2 u2192
DIY Renovation Quote Review Manual
How to read, compare, and negotiate contractor quotes. This manual saved me u00a5800,000 on a single renovation project.
ud83cudfe0 More from DIY Father
15 years of landlord experience u00b7 3 apartment buildings u00b7 DIY renovations that saved millions of yen. Browse all articles at diytosan.com