ud83dudcda Toilet Renovation Series u2014 18 of 25
u2190 Toilet Renovation Vol.17: Toilet Bowl Installation Pt.1 u00b7 Series Index u00b7 Toilet Renovation Vol.19: Toilet Bowl Installation Pt.3 u2192
u270fufe0f Originally published: 2017-01-19 / ud83dudd04 Updated: May 8, 2026
2026 DIY Dad’s Note: Wainscoting Finish to Toilet Installation
ud83duded2 RECOMMENDED PRODUCTS
Washlet Toilet Seats (Bidet)
A washlet seat is the single upgrade that impresses every tenant in Japan.
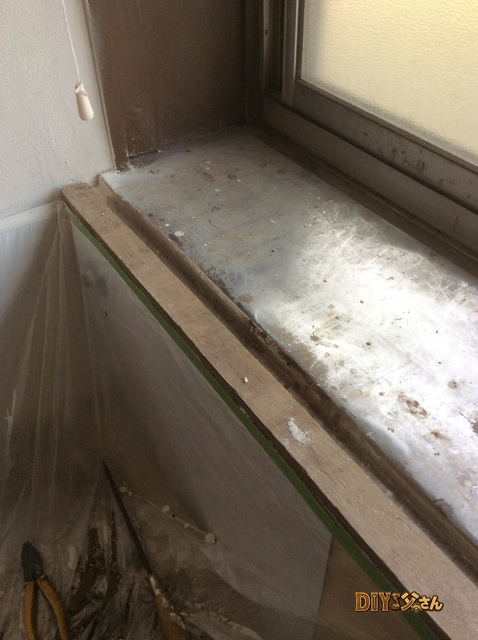
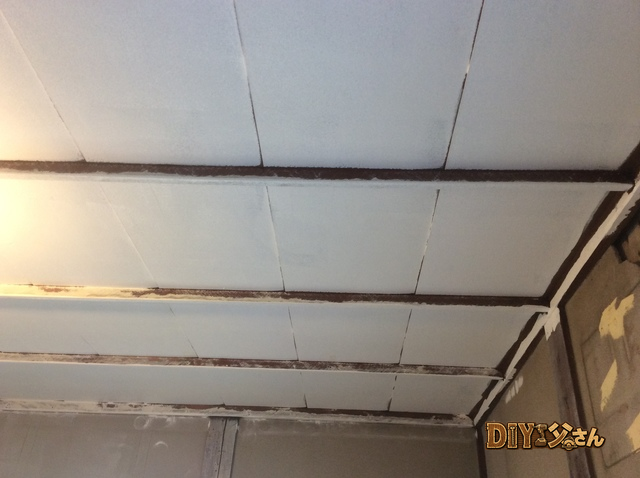
The most demanding phase of the toilet renovation. Once the wainscoting is finished, it’s on to setting the new toilet bowl u2014 and at that point the end is clearly in sight. ^ ^
Setting the Toilet Bowl
ud83duded2 RECOMMENDED PRODUCTS
Toilet Repair Kits
Keep a repair kit stocked u2014 toilet calls come without warning at midnight.
Hi, this is DIY Dad. ^ ^ It’s looking like another cold week ahead u2014 stay warm everyone. My throat is a bit sore today.
Continuing the first-floor toilet renovation. Today we get into the actual bowl installation.
Tools and materials: toilet bowl, silicone caulk, impact driver, hex wrench.
For this installation, the distance from the wall to the drain centre matched the new toilet’s specifications, so no major floor modifications were needed. ^ ^
Installation Steps
- Adjust the height of the drain pipe connection u2014 this doesn’t need to be precise
- Tape the included layout sheet to the floor and mark the anchor bolt hole positions
- Fix the mounting bracket to the floor with screws
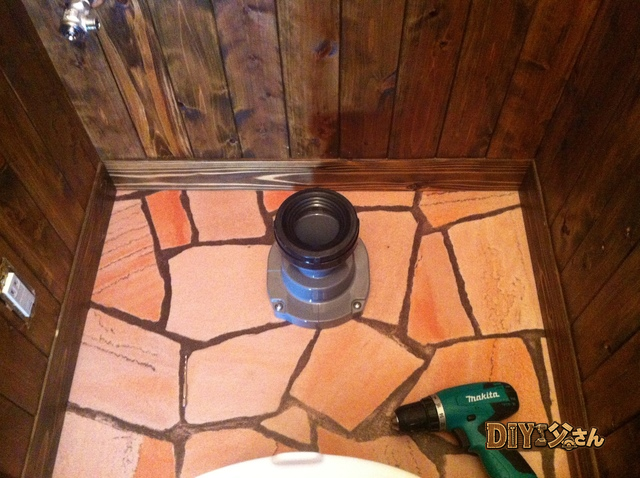
- Attach the drain connector to the toilet’s drain outlet
The manufacturer’s instructions call for PVC solvent cement to glue the drain connector in place. However, if you use PVC cement and something goes wrong, there’s no going back u2014 the joint is permanent. I was a little nervous about that, so I tried silicone caulk as a substitute. If there’s a problem, the joint can be cut apart and redone without touching the existing drain pipe.
Note: this method carries a risk of leakage. Follow the manufacturer’s recommended installation method for a reliable result.
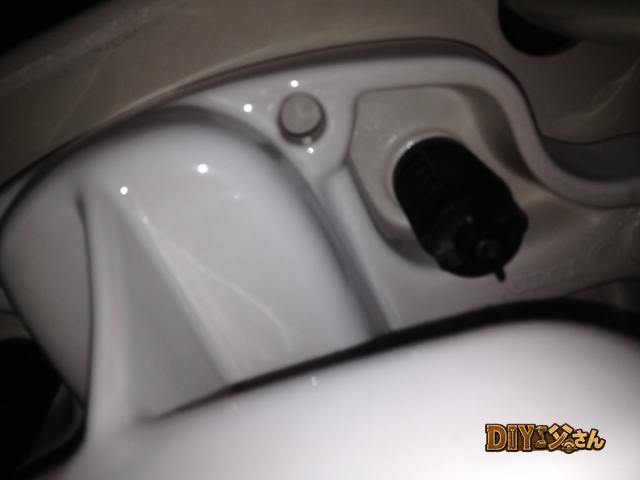
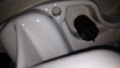
- Apply a generous bead of silicone caulk to the drain connector and press it down over the drain pipe

The drain connector.
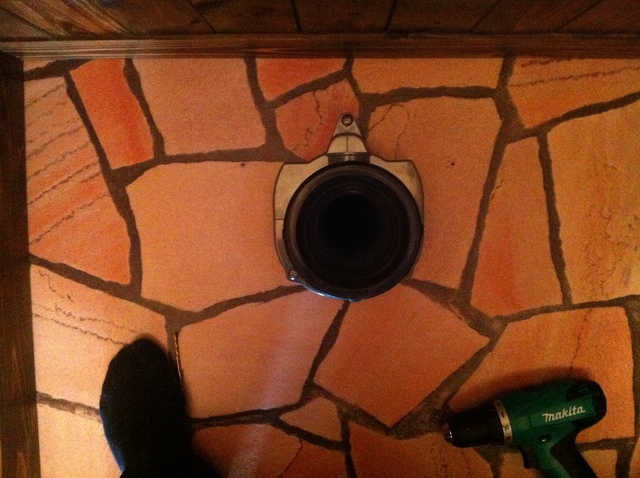
Looking straight down from above.
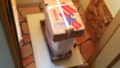
- Lower the toilet bowl straight down onto the drain connector
- Secure the bowl to the mounting bracket with the front screws
- Attach the included screw cover caps

Screw caps fitted.
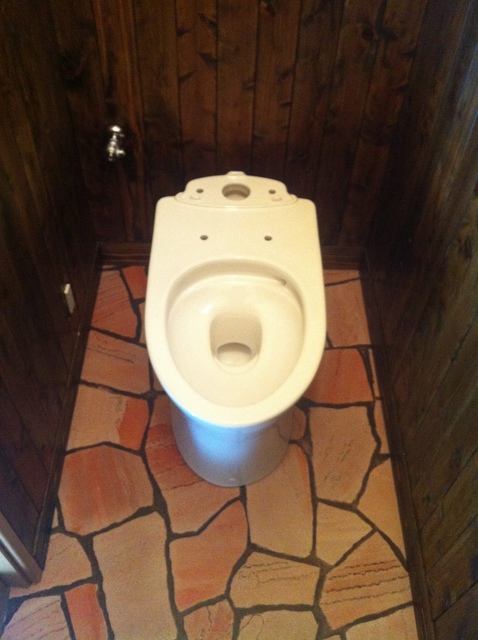
The toilet bowl in place. The main body is installed! ^ ^
DIY Dad’s Toilet Selection Criteria
For a rental property, the key considerations when choosing a toilet:
- Integrated washlet vs. separate bidet seat: integrated looks sleeker but requires replacing the entire unit if the electronics fail; a separate seat can be swapped out on its own u2014 better value in the long run
- Tank-type vs. tankless: tankless creates more space but is expensive and requires adequate water pressure; tank-type is more cost-effective
- Water-saving model (5 L or less per flush): reduces water bills over time
DIY Dad’s choice: a water-saving tank-type toilet body with a separately fitted washlet seat u2014 the best balance of cost and practicality. ^ ^
ud83dudebd Thinking About a Toilet Renovation?
Even just replacing the toilet bowl makes a dramatic difference to the feel of the room. Upgrading to a modern toilet with a built-in washlet is a change DIY Dad has applied to every property in his portfolio. ^ ^
24-hour emergency plumbing u2014 Water Rescue Squad u00bb
Marutoku Shop | Wainscoting panels and timber u2014 order by the piece u00bb
ud83dudcda Toilet Renovation Series u2014 18 of 25
u2190 Toilet Renovation Vol.17: Toilet Bowl Installation Pt.1 u00b7 Series Index u00b7 Toilet Renovation Vol.19: Toilet Bowl Installation Pt.3 u2192
DIY Renovation Quote Review Manual
How to read, compare, and negotiate contractor quotes. This manual saved me u00a5800,000 on a single renovation project.
ud83cudfe0 More from DIY Father
15 years of landlord experience u00b7 3 apartment buildings u00b7 DIY renovations that saved millions of yen. Browse all articles at diytosan.com