ud83dudcda Toilet Renovation Series u2014 19 of 25
u2190 Toilet Renovation Vol.18: Toilet Bowl Installation Pt.2 u00b7 Series Index u00b7 Toilet Renovation Vol.20: Toilet Bowl Installation Pt.4 u2192
u270fufe0f Originally published: 2017-01-20 / ud83dudd04 Updated: May 8, 2026
2026 DIY Dad’s Note: Wainscoting Finish to Toilet Installation
ud83duded2 RECOMMENDED PRODUCTS
Washlet Toilet Seats (Bidet)
A washlet seat is the single upgrade that impresses every tenant in Japan.
The most demanding phase of the toilet renovation. Once the wainscoting is finished, it’s on to setting the new toilet bowl u2014 and at that point the end is clearly in sight. ^ ^
Attaching the Tank
ud83duded2 RECOMMENDED PRODUCTS
Toilet Repair Kits
Keep a repair kit stocked u2014 toilet calls come without warning at midnight.
Hi, this is DIY Dad. ^ ^ Last night’s snack was pork tenderloin cutlet u2014 sliced straight from the loin and deep-fried. Tender and delicious! I learned a tip: mix the egg and flour together before dipping, instead of doing them separately. The breadcrumbs stick much better. A revelation u2014 though maybe everyone else already knew that? (Laughs.)
Continuing the first-floor toilet renovation. Today: attaching the tank.
Tools and materials: tank body, gasket, nuts, wrench.
- Set the gasket (rubber seal) between the tank and the toilet body
- Lower the tank onto the toilet body
- From underneath the toilet, tighten the nuts to secure the tank
The mounting nuts.
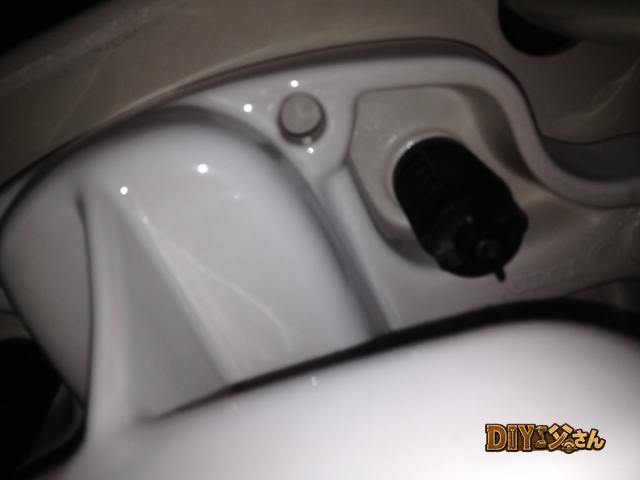
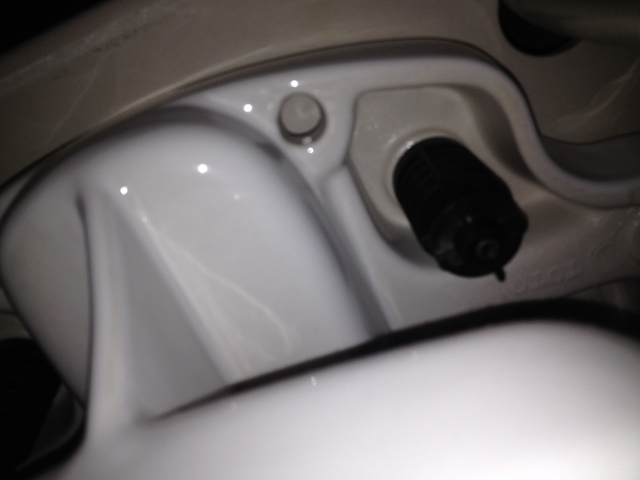
- Fit the flush lever and the chain inside the tank
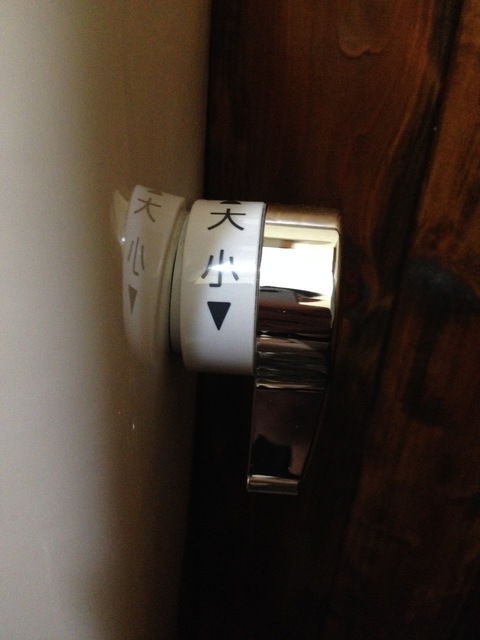
The flush lever.
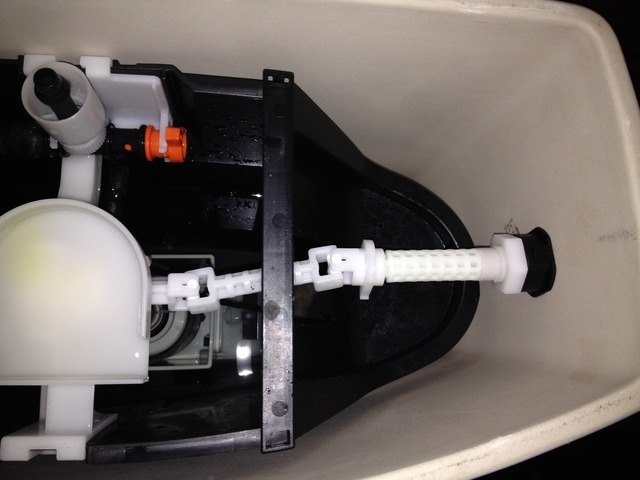
The chain connecting the lever to the flapper.
- Attach the hand-rinse nozzle to the tank lid
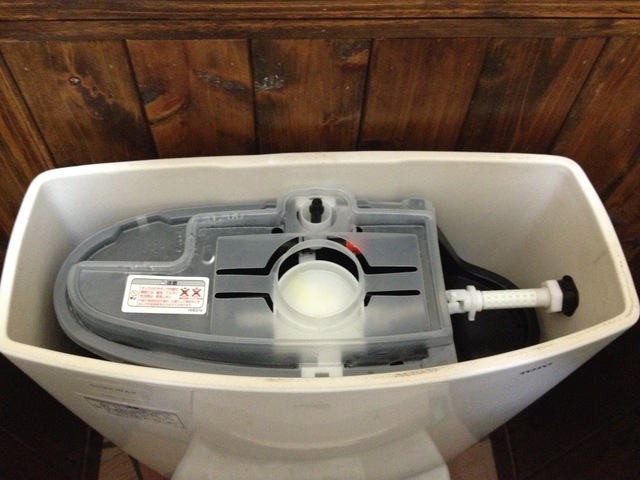
Inside the assembled tank.
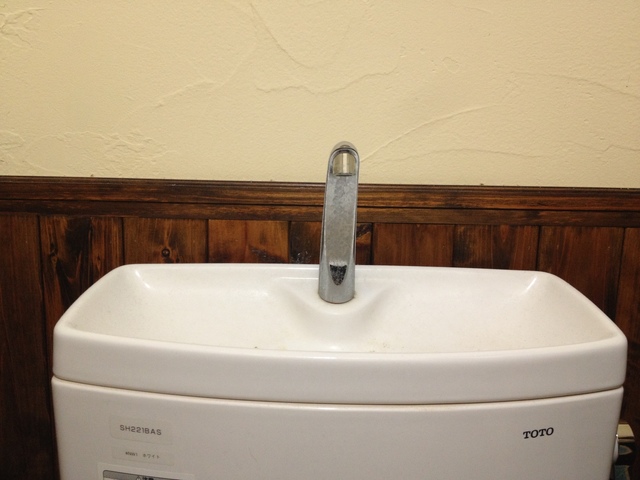
The hand-rinse nozzle on the lid.
Waiting for the Drain Joint to Cure
Once the tank is assembled, there’s a waiting period. I used silicone caulk instead of the manufacturer’s recommended PVC cement to join the drain connector u2014 which means the joint needs time to cure before water can be held in the bowl.
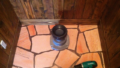
Normal cure time for silicone is 10u201315 minutes, but I applied it generously, so I decided to leave it for a full day to be safe. In the meantime, I sealed the drain opening with masking tape to stand in for the water trap.
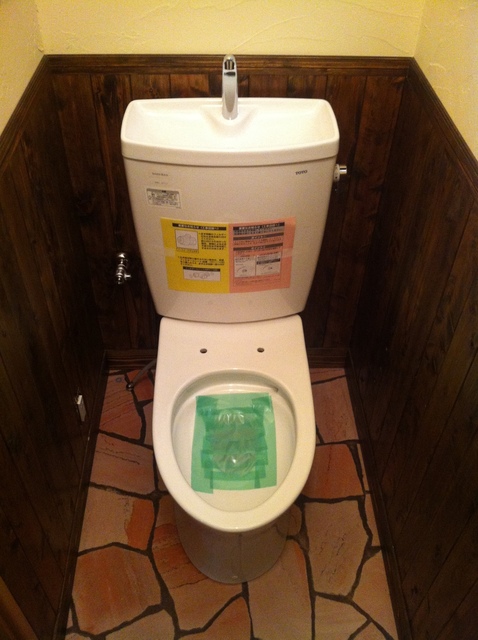
Masking tape sealing the drain in place of the water trap.
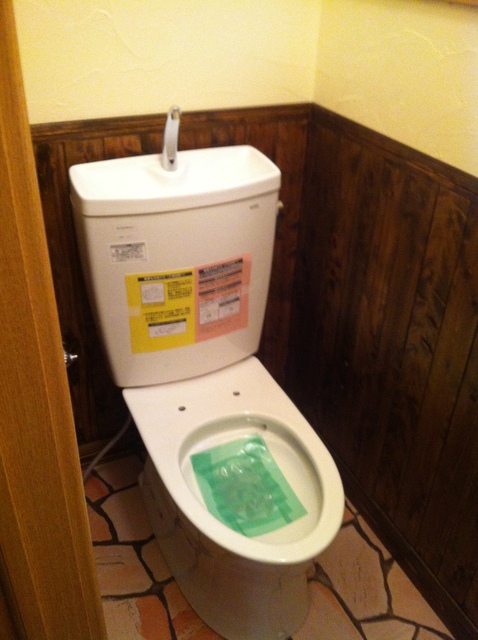
From a different angle.
Tank assembly is complete. The bowl waits quietly for its first flush. ^ ^
ud83dudebd Thinking About a Toilet Renovation?
Even just replacing the toilet bowl makes a dramatic difference to the feel of the room. Upgrading to a modern toilet with a built-in washlet is a change DIY Dad has applied to every property in his portfolio. ^ ^
24-hour emergency plumbing u2014 Water Rescue Squad u00bb
Marutoku Shop | Wainscoting panels and timber u2014 order by the piece u00bb
ud83dudcda Toilet Renovation Series u2014 19 of 25
u2190 Toilet Renovation Vol.18: Toilet Bowl Installation Pt.2 u00b7 Series Index u00b7 Toilet Renovation Vol.20: Toilet Bowl Installation Pt.4 u2192
DIY Renovation Quote Review Manual
How to read, compare, and negotiate contractor quotes. This manual saved me u00a5800,000 on a single renovation project.
ud83cudfe0 More from DIY Father
15 years of landlord experience u00b7 3 apartment buildings u00b7 DIY renovations that saved millions of yen. Browse all articles at diytosan.com