ud83dudcda Living Room Renovation Series u2014 17 of 20
u2190 Living Room Renovation Vol.16: Video Intercom Installation u00b7 Series Index u00b7 Living Room Renovation Vol.18: Air Conditioner Install Pt.1 u2192
u270fufe0f Originally published: December 18, 2016 / ud83dudd04 Updated: May 8, 2026
- 2026 Note from DIY Dad: Looking Back on the Living Room Finishing Work
- Door Adjustment After Wallpaper Replacement
- Key Points for Video Intercom Replacement
- Important Notes on Ceiling Fan Installation
- The Hardest Part of DIY Air Conditioner Installation: Flare Processing
- What I Felt When the Living Room Was Finally Done
- Hello u2014 It’s DIY Dad! ud83dudc4b
2026 Note from DIY Dad: Looking Back on the Living Room Finishing Work
ud83duded2 RECOMMENDED PRODUCTS
Cordless Drill & Driver Kit
The single most-used tool across 15 years of rental property repairs.
This is the second half of the living room series u2014 door adjustments, switch restoration, video intercom replacement, ceiling fan, and air conditioner installation. A stretch of electrical work all in a row. As a mechanical engineer I kept telling myself “once you understand how electricity works, there’s nothing to fear” u2014 but I’ll be honest, every first-time job still made me nervous. ud83dude04
Door Adjustment After Wallpaper Replacement
ud83duded2 RECOMMENDED PRODUCTS
Complete Home Repair Tool Set
A complete kit beats buying individual tools every time u2014 cheaper and always ready.
After replacing the wallpaper, interior doors can shift and no longer hang properly. The fix is straightforward: loosen the hinge screws and nudge the door into the correct position. In most cases, slightly repositioning the top and bottom hinges is all it takes.
Key Points for Video Intercom Replacement
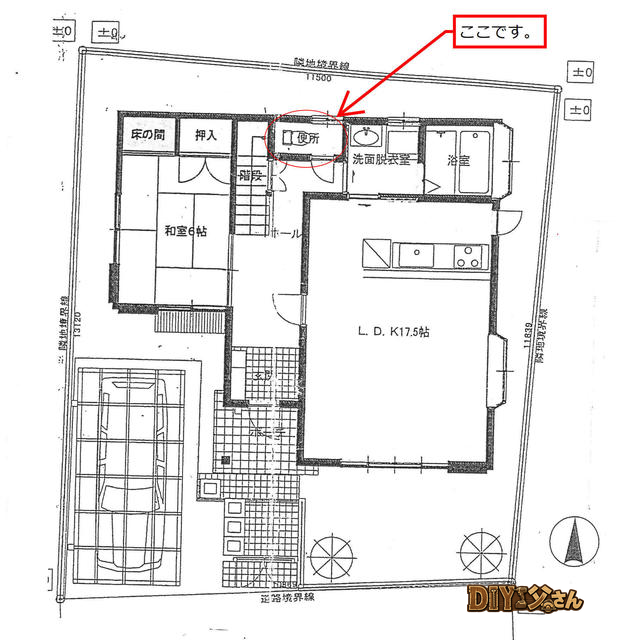
When replacing a video intercom, think of it as a three-piece set: indoor monitor, outdoor camera unit, and power adapter. If you plan to reuse the existing wiring, check the wire count and type u2014 2-wire or 4-wire u2014 before purchasing a new unit.
DIY Dad’s Step-by-Step Process
- Check the model number of the existing indoor and outdoor units u2014 then count the wires
- Purchase a new unit that uses the same wiring configuration
- Connect the new unit to the existing wiring
- Test operation: camera image, two-way audio, door release
A 2-wire system keeps things simple and is the easiest for DIY replacement.
Important Notes on Ceiling Fan Installation
ud83duded2 RECOMMENDED PRODUCTS
Adhesives & Sealants
Keep a stock of these u2014 you’ll use them on every single repair job.
Ceiling fans are heavy u2014 typically 10 to 15 kg u2014 so ceiling reinforcement is essential. Installing one without reinforcement creates a real fall risk years down the road.
You also need to confirm whether the fan connects via a ceiling rose (hook-type ceiling socket) or by direct wiring. Direct-wired types may require an electrician’s license, so pay attention. DIY Dad chose a ceiling-rose type and installed it himself.
The Hardest Part of DIY Air Conditioner Installation: Flare Processing
When self-installing an air conditioner, the trickiest step is flare-processing the refrigerant copper tubing. This involves flaring the end of the copper pipe into a trumpet shape u2014 if the flare is imperfect, refrigerant will leak and the unit won’t cool properly.
A flaring tool rents for around 2,000u20133,000 yen per day. Rent a vacuum pump along with it and follow the iron rule: vacuum for at least 30 minutes. Taking your time with the vacuum pull is the key to a successful DIY air conditioner install.
What I Felt When the Living Room Was Finally Done
The sense of accomplishment when the living room was complete was unlike anything else. Starting from leak repairs all the way through to the wallpaper, flooring, ceiling fan, and air conditioner u2014 I did every bit of it myself. ud83dude0a
As a landlord, the moment I was happiest was when the tenant who moved in later said, “This living room is so bright and comfortable.” DIY renovation takes real effort, but it connects directly to a tenant’s happiness u2014 that hit home for me all over again.
Hello u2014 It’s DIY Dad! ud83dudc4b
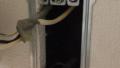
This is a continuation of the 1F living room renovation series. Next up: installing the ceiling fan light. Tools and materials used: the ceiling fan light fixture and an impact driver.
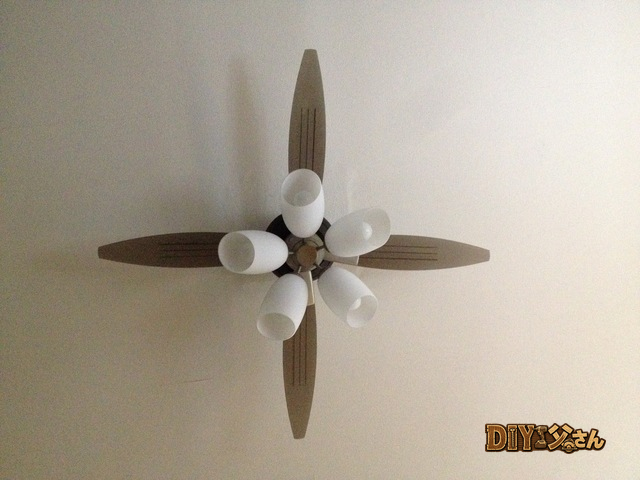
I’m mounting it on the reinforced section of the ceiling. There’s something wonderfully elegant about a ceiling fan spinning overhead u2014 it’s one of my favorite touches in this room.
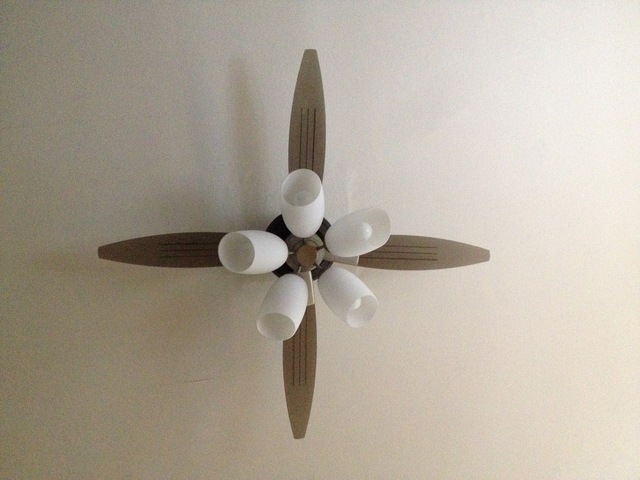
u2191 View straight up from below.
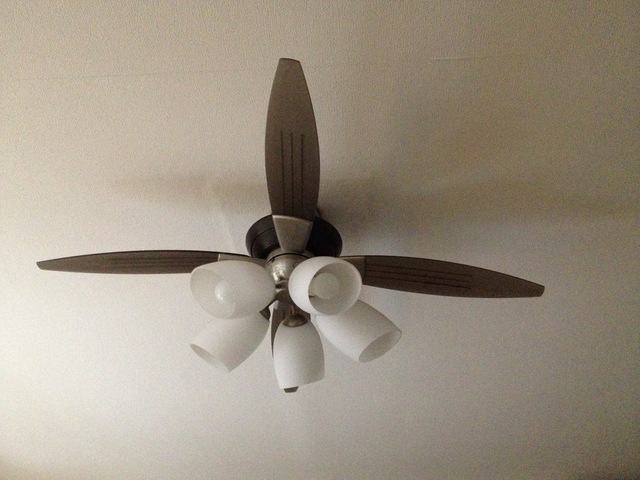
u2191 Viewed from a diagonal angle. Looks great! Just as I expected u2014 once the fan is in place, the slight unevenness in the wallpaper completely disappears from view. ud83dude04
For pricing and specifications on the ceiling fan light, see DIY Dad’s Equipment Guide u2014 Living Room Edition. That’s all for today u2014 see you next time! ud83dudc4b
ud83dudcda Living Room Renovation Series u2014 17 of 20
u2190 Living Room Renovation Vol.16: Video Intercom Installation u00b7 Series Index u00b7 Living Room Renovation Vol.18: Air Conditioner Install Pt.1 u2192
DIY Renovation Quote Review Manual
How to read, compare, and negotiate contractor quotes. This manual saved me u00a5800,000 on a single renovation project.
ud83cudfe0 More from DIY Father
15 years of landlord experience u00b7 3 apartment buildings u00b7 DIY renovations that saved millions of yen. Browse all articles at diytosan.com