ud83dudcda Bathroom Renovation Series u2014 7 of 25
u2190 Bathroom Renovation Vol.6: Floor Joist Repair u00b7 Series Index u00b7 Bathroom Renovation Vol.8: Floor Base Preparation u2192
u270fufe0f Originally published: 2016-11-29 / ud83dudd04 Rewritten: May 8, 2026
2026 Update from DIY Dad: How to Tackle a Bathroom Renovation
ud83duded2 RECOMMENDED PRODUCTS
Mold-Resistant Bathroom Caulk
Re-caulk every 3u20135 years. Black mold on caulk is the #1 tenant complaint in Japan.
Bathroom and laundry rooms are trickier than other DIY projects because of the plumbing involved u2014 but if you know the key points, you can absolutely do it yourself.
The Floor Work: The Biggest Challenge of This Series
ud83duded2 RECOMMENDED PRODUCTS
Bathroom Vanity & Mirror Cabinets
Mirror cabinets add storage and light u2014 tenants notice immediately.
The toughest part of this whole series was replacing the floor from scratch. The sequence u2014 checking for joist rot, making repairs, laying the plywood subfloor, then finishing with cushion flooring u2014 is one of the most demanding tasks in wet-area DIY.
Prep Work Before Laying the Subfloor
Before putting down the structural plywood (12mm), always check the following:
- Measure the joist spacing (typically 303mm = 1 shaku)
- Check that the joists are level using a spirit level
- Visually inspect for rot or termite damage u2014 and press on the wood to feel for soft spots
- Lay the plywood in a staggered pattern (offset joints) so the seams don’t line up in a straight row
If you don’t stagger the joints, all the seams will line up and you’ll end up with a floor that thumps and flexes underfoot. DIY Dad learned that the hard way after the very first sheet!
Tips for Laying Cushion Flooring
Cushion flooring (CF) is ideal for wet areas. Here’s how to do it right:
- Make a template first u2014 trace the floor shape onto roll paper or cardboard
- Cut the CF 5u201310mm larger than the actual size, then trim to fit on-site
- Cut along walls vertically with a utility knife (don’t angle the blade)
- Apply adhesive evenly with a notched trowel, then press the CF down while working out air bubbles
- If there are seams, reinforce them with seam-specific adhesive
The bathroom/laundry space has a complex shape where the vanity, washer pan, and toilet meet at right angles u2014 so taking a careful template is the key to success.
Installing the Washing Machine Pan
Always confirm the floor is perfectly level before setting the washing machine drain pan. If it’s not level, the machine will shake and walk during the spin cycle.
Also confirm that the drain opening in the pan lines up with the existing drain pipe. Check that the drain hose can reach u2014 typically within 1.5u20132m.
What Matters Most in a Bathroom Renovation (Landlord’s Perspective)
From a tenant’s point of view, the two things they want most in a bathroom/laundry room are cleanliness and storage.
- For the floor, choose sheet-type CF without grout lines u2014 it’s easier to keep clean
- Pick a washer pan design with easy-to-clean drain access
- Always test the ventilation fan u2014 it’s critical for mold prevention
- Apply caulk (waterproof sealant) thoroughly, especially at the joints between the vanity, pan, and walls
After 15 years as a landlord, DIY Dad can say with confidence: the cleanliness of the bathroom directly affects your occupancy rate. It’s a space tenants use every single day u2014 cut corners here, and you’ll pay for it when they move out.
For Anyone Considering a Bathroom or Vanity Renovation
ud83duded2 RECOMMENDED PRODUCTS
Grout Cleaners & Tile Restoration
Clean grout transforms a dated bathroom without any demolition.
Replacing a vanity unit is doable as a DIY project, but mistakes with shut-off valves or drain connections can cause immediate leaks. DIY Dad learned this firsthand u2014 “I tried it and completely panicked when the drain pipe was a different shape!” Always confirm the sizing and pipe types before you start.
![]()
Hey there u2014 DIY Dad here.
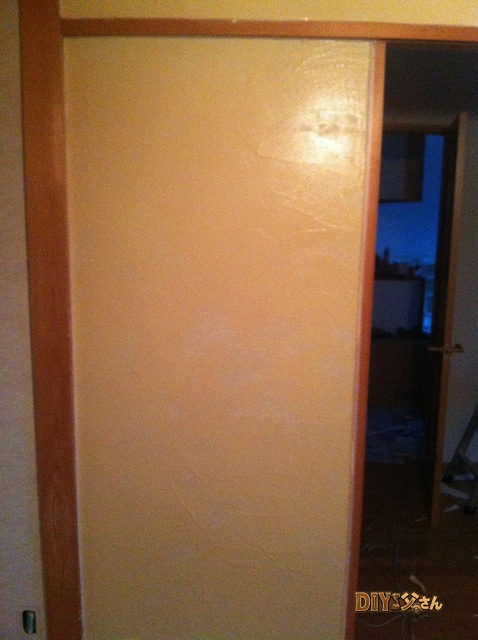
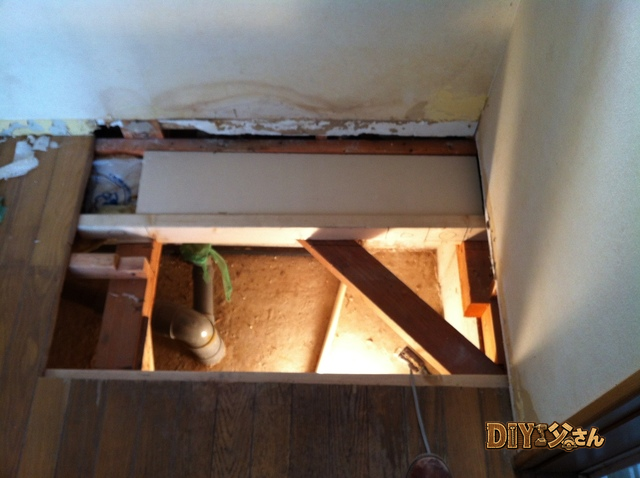
Continuing the first-floor bathroom and laundry room renovation series. Now that the joists are secured, it’s time to lay the subfloor panels.
Tools and materials used: insulation board, plywood, jigsaw, angle grinder, utility knife.
Before the plywood goes down, I’m fitting insulation between the joists. I used Kanelite foam board and trimmed each piece to size with a utility knife.

The Kanelite foam board. I laid it across the entire floor.
All fitted in. DIY Dad chose Kanelite foam over fiberglass batt because fiberglass is itchy to handle. The downside is that rigid foam has no flex u2014 if you cut a piece too big, it won’t go in. Getting the size exactly right takes some patience. If you can tolerate the itch, fiberglass batts are probably easier to work with.
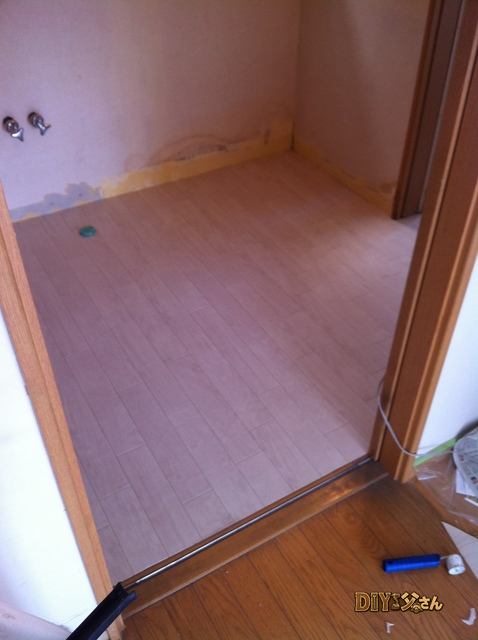
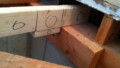
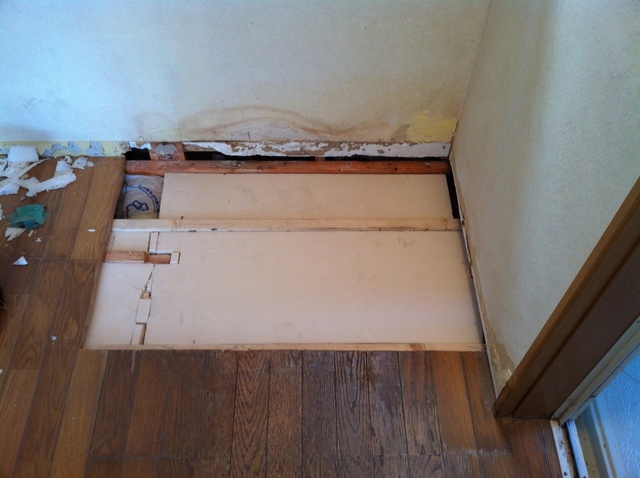
Next, I cut the plywood to shape with the jigsaw, dry-fitted it on the joists, and used the angle grinder to shave down any spots that were too tight. Since the floor is lower than the surrounding area, I stacked two sheets of plywood to bring the height up.
First sheet in place:
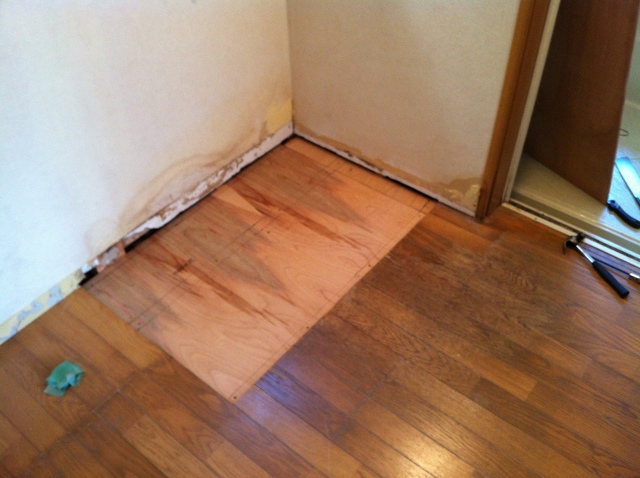
Fits nicely. Nailed it down and dropped in the second sheet:
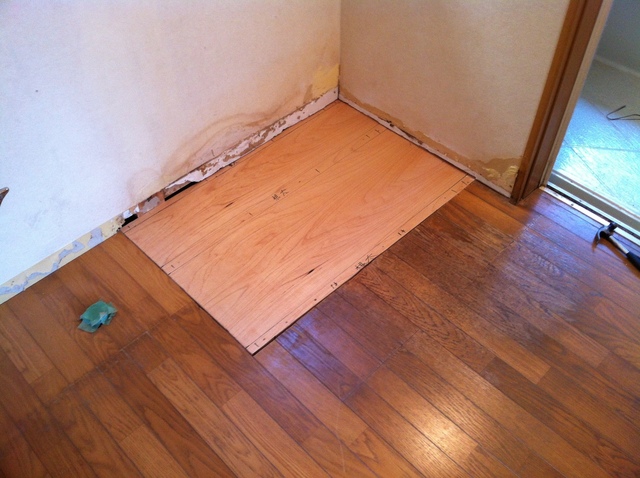
Checking from the side:
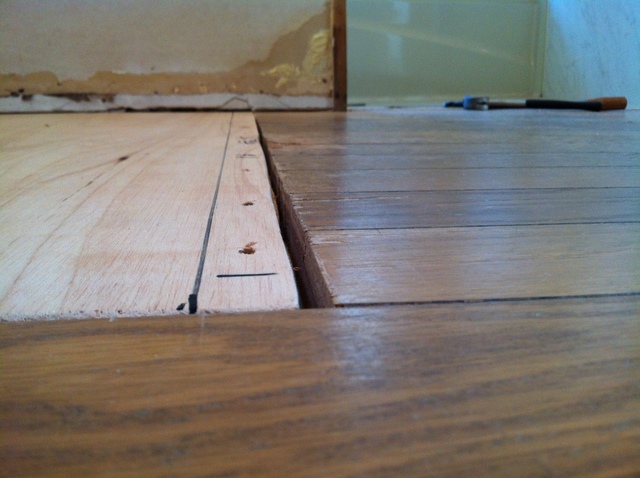
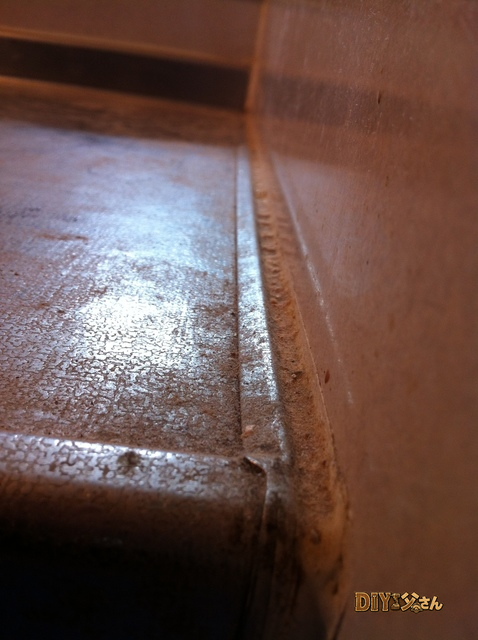
There’s a slight gap visible here. Rotating 90 degrees:
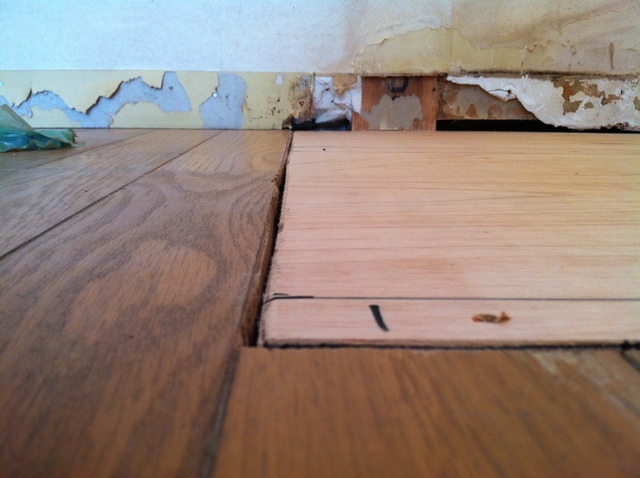
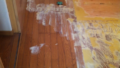
The height difference is barely noticeable from this angle u2014 all that effort getting the joist heights right paid off. You can also see the drywall that got damaged when I removed the baseboard u2014 I’ll patch that hole later.
That’s it for today u2014 see you next time!
ud83dudcda Bathroom Renovation Series u2014 7 of 25
u2190 Bathroom Renovation Vol.6: Floor Joist Repair u00b7 Series Index u00b7 Bathroom Renovation Vol.8: Floor Base Preparation u2192
DIY Renovation Quote Review Manual
How to read, compare, and negotiate contractor quotes. This manual saved me u00a5800,000 on a single renovation project.
ud83cudfe0 More from DIY Father
15 years of landlord experience u00b7 3 apartment buildings u00b7 DIY renovations that saved millions of yen. Browse all articles at diytosan.com