u2192 Back to all English articles
Hi there, I’m DIY Dad. ^ ^
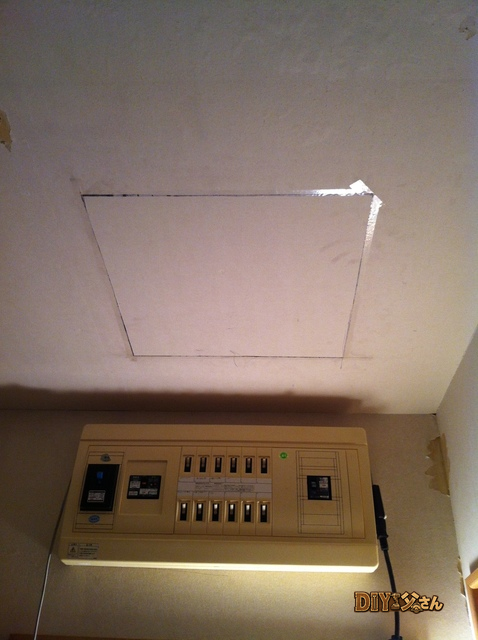
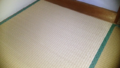
Continuing the 1st-floor Japanese room renovation. With the tatami mats handled by the pros, it was time to apply diatomite plaster to the walls.
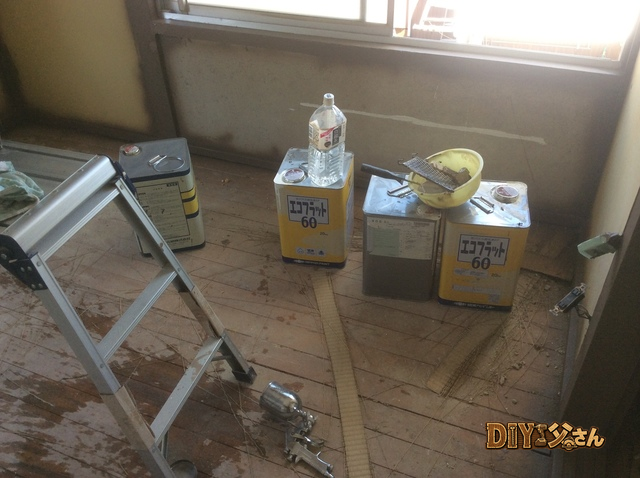
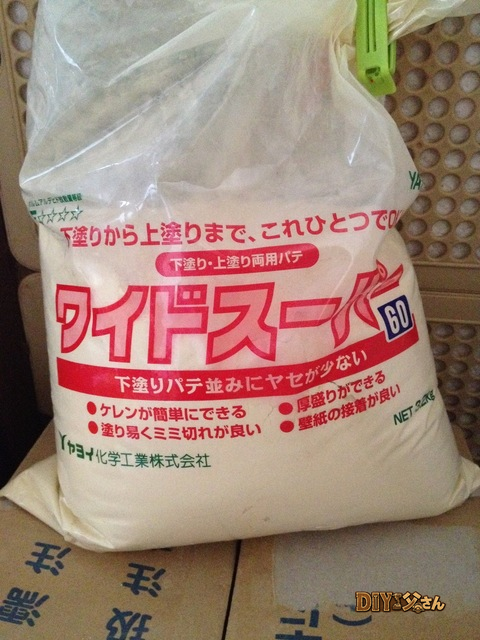
Tools and materials used: diatomite plaster, joint caulk (joint coke), masking tape, drop cloth (blue sheet), roll masker, trowel, palette, sponge, putty knife.
The work sequence was: Protect surfaces u2192 Prep substrate u2192 Mask edges u2192 Apply diatomite u2192 Remove masking tape u2192 Allow to dry.
About Shinkabe u2014 The Exposed-Column Wall Construction
ud83duded2 RECOMMENDED PRODUCTS
Fusuma Replacement Paper Kits
Fusuma renewal is the fastest Japanese-room refresh u2014 paper, paste, and 2 hours.
This Japanese room uses shinkabe construction u2014 a traditional method where the structural columns are visible on the wall surface. Japanese post-and-beam (wood frame) construction has two main wall types:
- Ookabe (“large wall”): Columns are hidden inside the wall. Faster to build, cheaper, and commonly used in modern Western-style rooms. Dry-construction methods are standard here, and traditional plaster finishes have largely been replaced by wallpaper (cross).
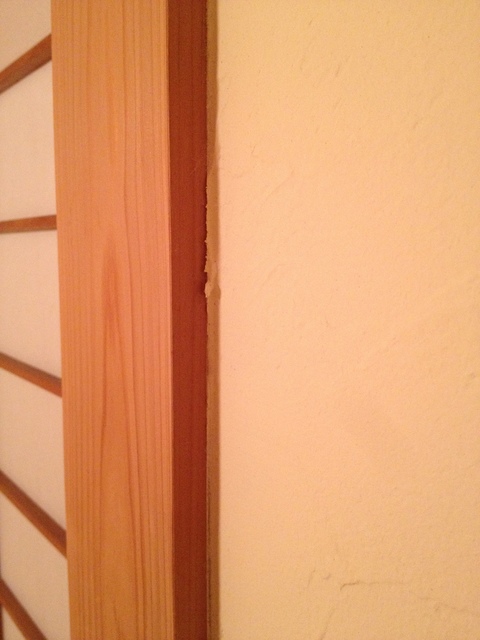
- Shinkabe (“true wall”): Columns are exposed. Since the structural posts are visible, any knots or splits in the wood will show u2014 so these rooms traditionally use decorative columns (kesho-hashira) with clear, knot-free grain. With shinkabe, you need to carefully handle every joint between column and wall surface.
Prepping and Applying the Plaster
ud83duded2 AVAILABLE ON AMAZON JAPAN
Tatami Repair Materials (Amazon Japan)
Fresh tatami edges signal a well-maintained property u2014 tenants feel it immediately.
With diatomite plaster, you’ll inevitably splash and drip u2014 so masking the exposed columns, trim, and floor is essential. I ran masking tape about 2mm back from the plaster edge; that gap becomes the plaster thickness.
The existing wallpaper (cross) was wiped down with a damp cloth, and any lifted edges were pressed back with joint caulk. The diatomite I chose is a type that goes directly over existing wallpaper u2014 ideal for a renovation project.
Target thickness: 2mm. Applying it thicker improves humidity regulation, but I’d bought just enough material to cover the area at that thickness, so applying it evenly and thinly was the goal. Go too thin, though, and the wallpaper underneath shows through u2014 the worst possible outcome. ^^;
Online sources said diatomite plaster is difficult for beginners. I had zero confidence I’d pull it off. But the spirit of “I just want to try it” won out. If it looked terrible, I could always rip it off (old wallpaper and all) and go back to fresh wallpaper.
The Application u2014 Two Days of Struggle
It really is hard. The trowel work takes practice u2014 getting the right pressure is tricky, and moving at a decent pace takes time to figure out. I was excited at the start, but when progress slowed to a crawl I nearly got emotional halfway through. The 6-mat room (about 10 mu00b2) took almost two full days to finish.
Fresh off the trowel. The color is a darker, skin-tone beige u2014 not what I expected.
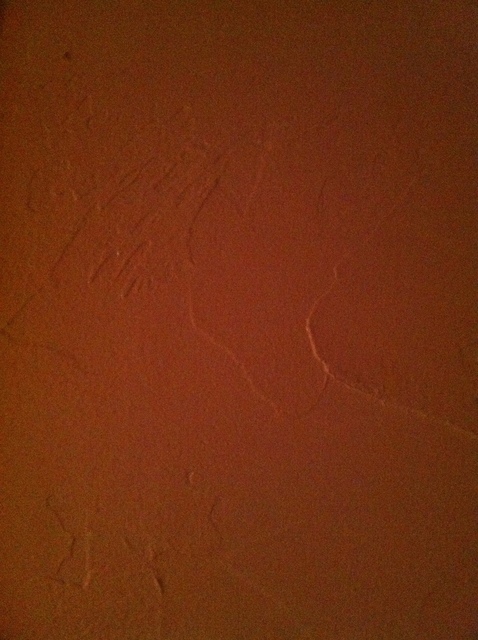
Close-up. While I was waiting and hoping the color would change, it started to lighten a bit as it dried.

Partial drying u2014 lighter spots are appearing. It’s going to brighten up. ^ ^
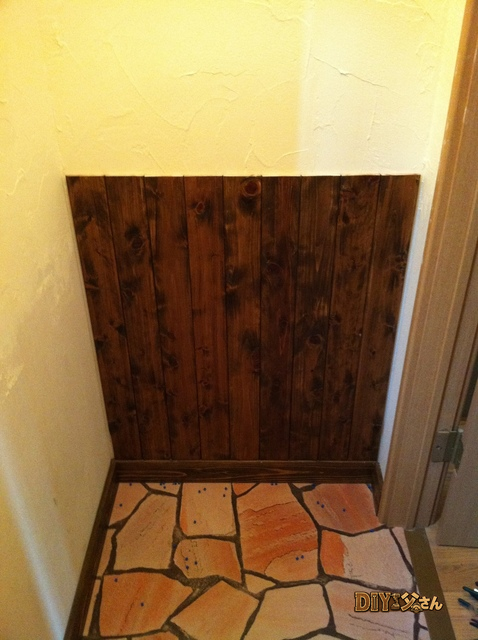
And after fully drying:
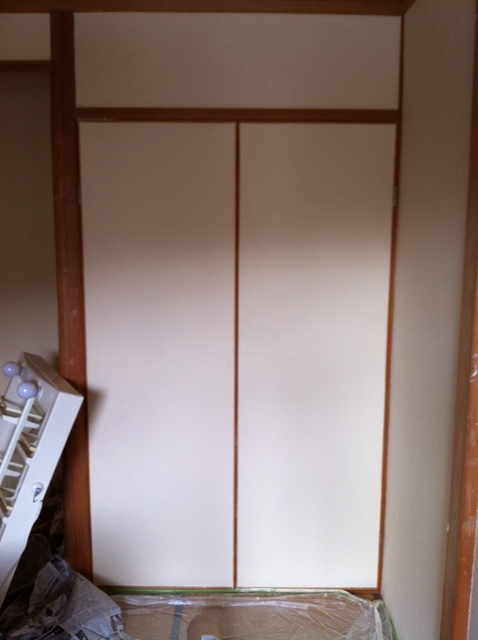
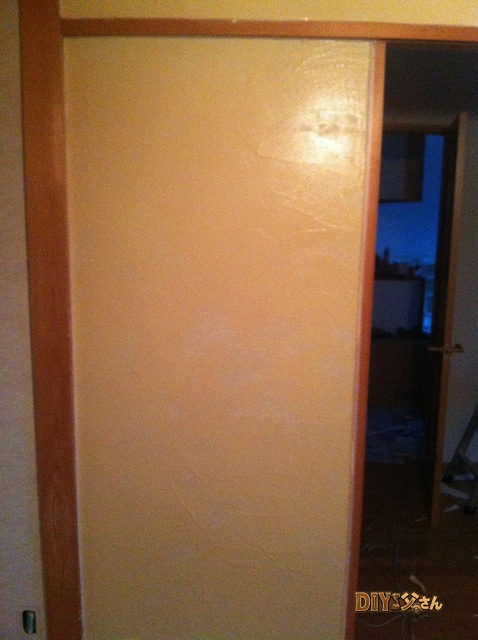
Full wall view with fusuma (sliding panel door) in front.
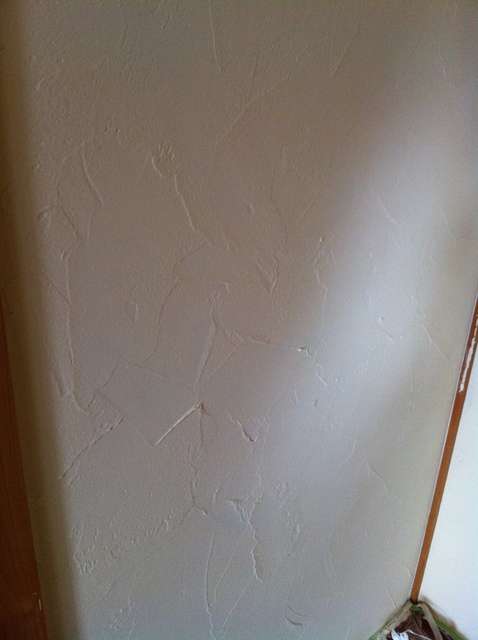
Close-up.
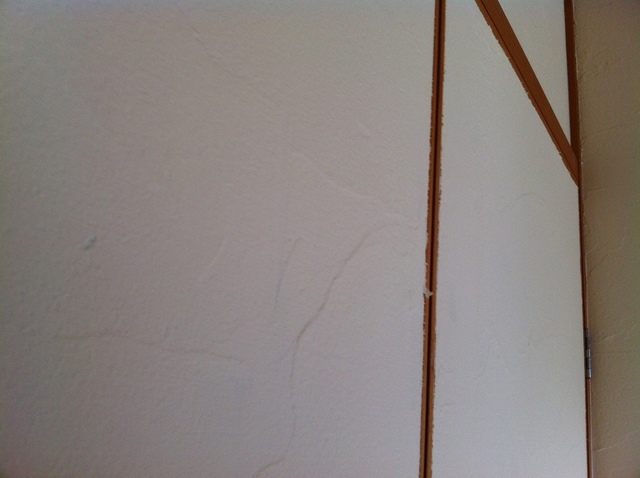
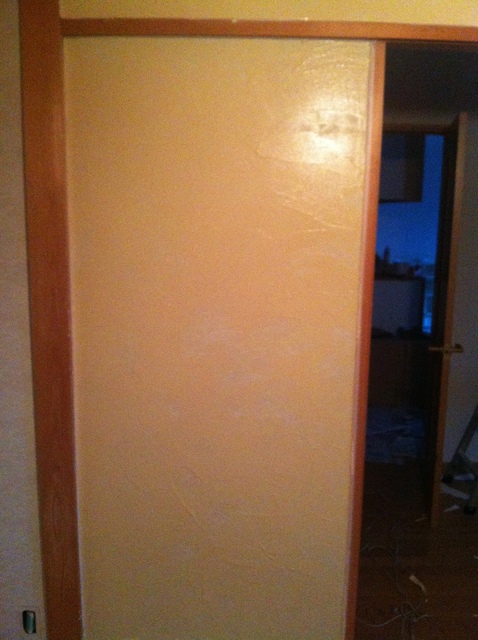
From a different angle. A bright, warm finish u2014 exactly what I’d hoped for. Total success… almost.
The Mistake u2014 Forgetting to Pull the Tape
ud83duded2 RECOMMENDED PRODUCTS
Shoji Screen Paper & Repair Kits
Replace shoji paper every 3u20135 years u2014 it yellows faster than any other surface.
Here’s where I slipped up. Caught up in the hard work of applying the plaster, I forgot to peel the masking tape before it dried. The rule is: pull the tape while the plaster is still wet. Pull it after it has dried, and the tape tears instead of releasing cleanly u2014 or worse, it pulls chunks of plaster along with it.
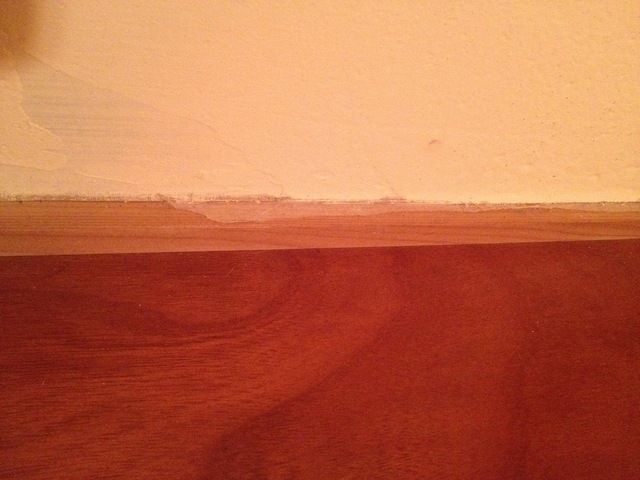
Masking tape residue stuck in the dried plaster.
Plaster pulled away with the tape at the edge.
Still u2014 unless you’re looking for it, none of this is particularly noticeable. DIY Dad is going to take the very generous view that it’s all fine, and keep going.
2026 Update u2014 Key Takeaways
Critical Rule: Remove Masking Tape Before the Plaster Dries
I learned this the hard way. Don’t leave the room thinking you’ll peel it later. Pull the tape while the plaster is still wet u2014 it releases clean and leaves a sharp edge.
What I Used for Masking
I used two brands: Nitoms tape for general areas, and Kamo-i tape in a narrower width for tight spots. The Kamo-i narrow tape was much easier to handle at corners and edges.
My Honest First Impression of Diatomite Plaster
“I can’t believe how much character this has!” u2014 that was my reaction after seeing the dried result. Unlike flat wallpaper, the trowel marks stay visible in the finished surface, giving the wall a unique texture and depth. Diatomite plaster and a Japanese room are a perfect combination.
DIY Renovation Quote Review Manual
How to read, compare, and negotiate contractor quotes. This manual saved me u00a5800,000 on a single renovation project.
ud83cudfe0 More from DIY Father
15 years of landlord experience u00b7 3 apartment buildings u00b7 DIY renovations that saved millions of yen. Browse all articles at diytosan.com