ud83dudcda Toilet Renovation Series u2014 13 of 25
u2190 Toilet Renovation Vol.12: Wainscot Panel Making Pt.3 u00b7 Series Index u00b7 Toilet Renovation Vol.14: Wainscoting Finish Pt.1 u2192
u270fufe0f Originally published: 2017-01-14 / ud83dudd04 Updated: May 8, 2026
2026 DIY Dad’s Note: The Complete Record of Toilet Wainscoting DIY
ud83duded2 RECOMMENDED PRODUCTS
Washlet Toilet Seats (Bidet)
A washlet seat is the single upgrade that impresses every tenant in Japan.
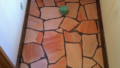
The highlight of the whole toilet series is the DIY wainscoting. I clad the lower half of the walls in timber panels over the diatomite plaster, creating a premium look. This idea turned out to be a genuine success.
Second Coat and Varnish
ud83duded2 RECOMMENDED PRODUCTS
Toilet Repair Kits
Keep a repair kit stocked u2014 toilet calls come without warning at midnight.
Hi, this is DIY Dad. ^ ^ The long-postponed New Year gathering with my childhood friends has been rescheduled u2014 next week! Looking forward to hearing what everyone has been up to this year.
Continuing the toilet renovation. The first coat of oil stain has dried, so it’s time for the second coat (top coat).
Step-by-Step: Final Finish
- Apply the second coat of oil stain carefully with a brush, working to avoid streaks and drips
- Leave to dry u2014 I set everything out in the sun
- Once the second coat is fully dry, apply a coat of clear varnish
The oil stain I used continues to transfer colour even after drying u2014 rub the surface and colour comes off on your hand. The varnish coat seals the surface and locks the colour in. It also adds a nice sheen.
After the varnish it’s back to careful brushwork u2014 and then sun-drying again. The work is repetitive and unglamorous. DIY Dad enters a zen-like state and presses on.
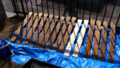
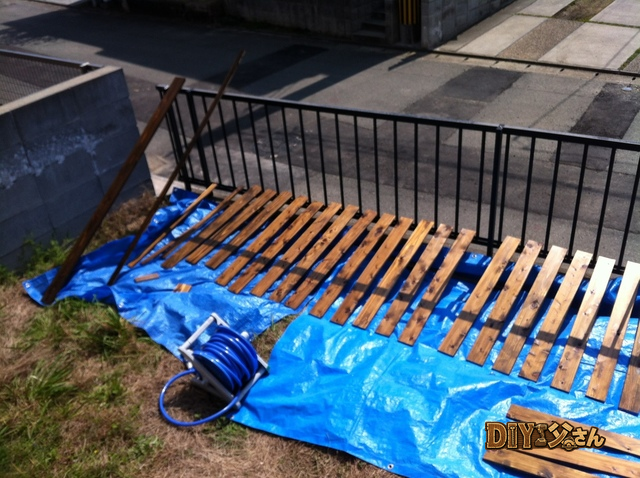
Sun-Drying the Panels
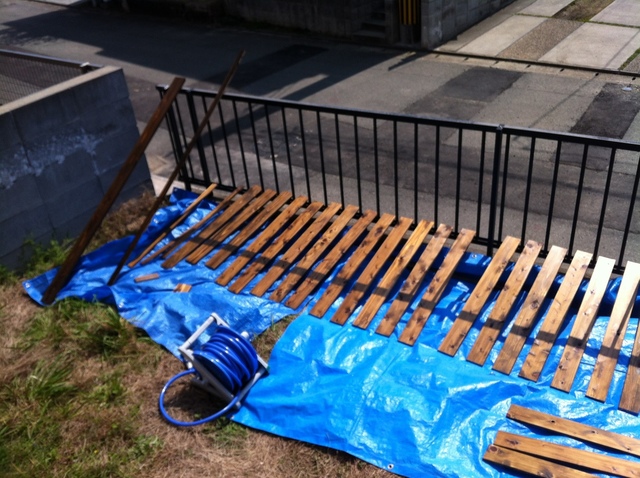
Sun-drying in progress u2014 all panels laid out on a blue tarpaulin in the garden. The old toilet parts removed during demolition are being used to weigh down the edges of the tarp so it doesn’t blow away in the wind.
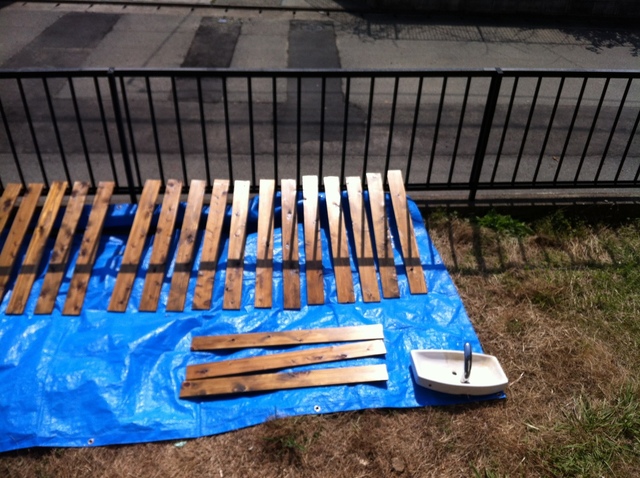
The panels soaking up the sun. When the weather is good the work just flows. ^ ^
Panel Making Complete
ud83duded2 RECOMMENDED PRODUCTS
Toilet Accessories Sets
Matching accessories cost u00a52,000 and make a small toilet feel designed.
Once the varnish is dry, the wainscoting material is finally ready. After first coat u2192 second coat u2192 varnish u2192 sun-drying, the panels are finished and waiting to go on the walls.
Key Points for Painting and Finishing Wainscoting Panels
- Apply paint in thin coats u2014 thick coats drip and leave streaks
- Let each coat dry completely before applying the next
- If using oil stain, always seal with varnish u2014 oil stain alone will transfer colour when touched
- Sun-drying is faster than indoor drying, but only works in good weather
- For a rental property, use water-based products where possible u2014 they’re less hazardous and easier to clean up
Prices and full specifications for the materials used can be found in the DIY Dad Equipment Guide u2014 Toilet Edition. ^ ^
ud83dudebd Thinking About a Toilet Renovation?
Even just replacing the toilet bowl makes a dramatic difference to the feel of the room. Upgrading to a modern toilet with a built-in washlet is a change DIY Dad has applied to every property in his portfolio. ^ ^
24-hour emergency plumbing u2014 Water Rescue Squad u00bb
Marutoku Shop | Wainscoting panels and timber u2014 order by the piece u00bb
ud83dudcda Toilet Renovation Series u2014 13 of 25
u2190 Toilet Renovation Vol.12: Wainscot Panel Making Pt.3 u00b7 Series Index u00b7 Toilet Renovation Vol.14: Wainscoting Finish Pt.1 u2192
DIY Renovation Quote Review Manual
How to read, compare, and negotiate contractor quotes. This manual saved me u00a5800,000 on a single renovation project.
ud83cudfe0 More from DIY Father
15 years of landlord experience u00b7 3 apartment buildings u00b7 DIY renovations that saved millions of yen. Browse all articles at diytosan.com