ud83dudcda Toilet Renovation Series u2014 14 of 25
u2190 Toilet Renovation Vol.13: Wainscot Panel Making Pt.4 u00b7 Series Index u00b7 Toilet Renovation Vol.15: Wainscoting Finish Pt.2 u2192
u270fufe0f Originally published: 2017-01-15 / ud83dudd04 Updated: May 8, 2026
2026 DIY Dad’s Note: The Complete Record of Toilet Wainscoting DIY
ud83duded2 RECOMMENDED PRODUCTS
Washlet Toilet Seats (Bidet)
A washlet seat is the single upgrade that impresses every tenant in Japan.
The highlight of the whole toilet series is the DIY wainscoting. I clad the lower half of the walls in timber panels over the diatomite plaster, creating a premium look. This idea turned out to be a genuine success.
What Is Wainscoting?
ud83duded2 RECOMMENDED PRODUCTS
Toilet Repair Kits
Keep a repair kit stocked u2014 toilet calls come without warning at midnight.
Wainscoting (also called a dado or wainscot) refers to a timber or panel finish applied to the lower portion of a wall u2014 typically up to around 90 cm (waist height). It’s a classic element of Western interior design, combining visual appeal with impact resistance.
It’s unusual in Japanese rental toilets, which is exactly what makes it stand out. When I tried it, the reaction from prospective tenants was immediate: “This toilet is gorgeous!” ^ ^
Materials and Tools
Materials used:
- MDF (medium-density fibreboard), 6 mm thick u2014 the wainscoting panels
- Baseboard timber u2014 the bottom trim strip
- Cap rail timber u2014 the top trim strip
- Wood glue + finish nails u2014 for fixing
- Water-based white paint u2014 for painting the panels
- Silicone caulk u2014 to seal gaps between panel, wall, and floor
Tools: circular saw (for straight cuts), finish nailer (pneumatic), caulking gun.
Installation Steps
ud83duded2 RECOMMENDED PRODUCTS
Toilet Accessories Sets
Matching accessories cost u00a52,000 and make a small toilet feel designed.
- Decide on the wainscoting height u2014 DIY Dad chose 900 mm
- Mark a horizontal reference line on the wall (a laser level is invaluable here)
- Cut the MDF panels to height
- Apply wood glue and press panels to the wall
- Secure with finish nails while the glue cures
- Attach the cap rail along the top edge and baseboard along the bottom
- Fill all gaps with caulk
- Apply two coats of white water-based paint
A laser level lets you strike a perfectly level horizontal line in seconds u2014 without one, keeping every panel at the same height would have been a real struggle.
The Hardest Part
The trickiest piece was cutting the panels to fit around the toilet bowl and tank. The shapes are complex. The reliable approach: make a cardboard template by tracing the profile, then transfer the shape to the MDF and cut with a jigsaw.
Caulk finishing also takes practice. Once you’ve laid the bead, smooth it immediately with a wet finger. Trying to tidy up dried caulk results in a crumbly mess.
Cutting and Fitting the Panels
Hi, this is DIY Dad. ^ ^ Already 15 days into 2017! Time flies when there are so many things I want to do. I could use 48 hours a day u2014 though knowing me, I’d soon want 72, then 96. No end to it.
Continuing the toilet renovation. The wainscoting panels are ready u2014 now it’s time to fit them to the walls.
Tools and materials for this step: jigsaw, angle grinder, sandpaper.
Installation order: baseboard first u2192 wainscoting panels u2192 cap rail.
- Cut the baseboard to length
- Cut each wainscoting panel to fit in place (measure from the actual wall, not a drawing)
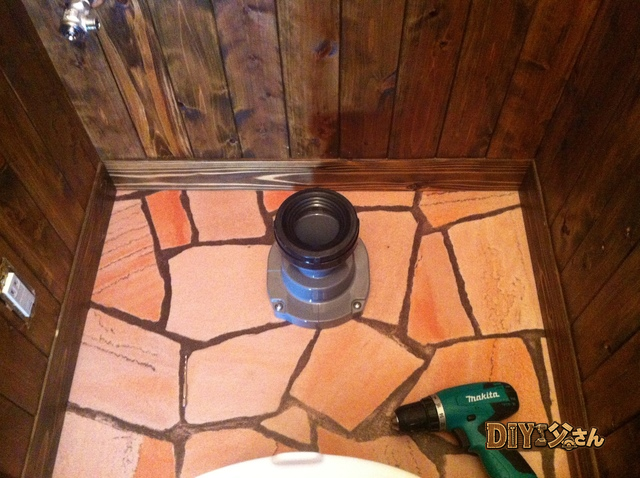
- Temporarily pin each panel in position; mark the locations of outlets and pipes; remove and cut the openings (the covers hide any rough edges)
- For the cap rail, mitre the corners at 45 degrees u2014 I used an angle grinder rather than a mitre saw. It’s not the most precise tool for this, but with a steady hand and patience it gets the job done
Once all pieces are shaped, begin fastening from the bottom up with blind nails.
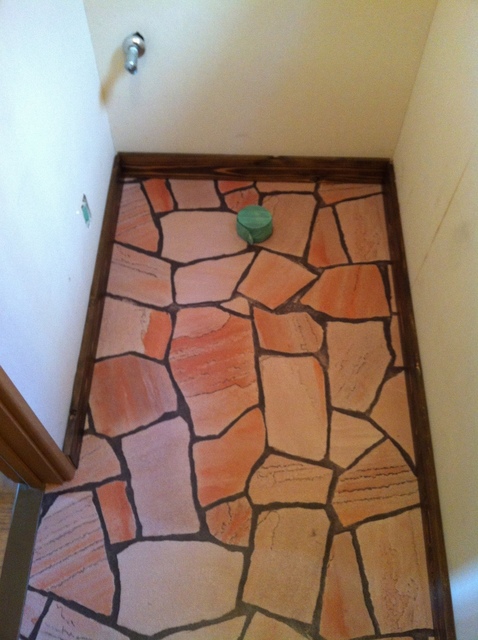
Baseboard u2014 back (drain) side.
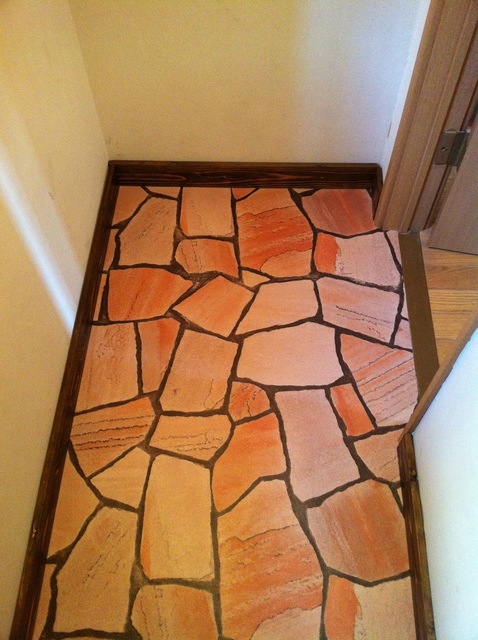
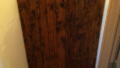
Baseboard u2014 front (doorway) side. The first layer is in place. Onward to the panels!
As a Landlord: Wainscoting as a Differentiator
This wainscoting has been a major competitive advantage for the property. The “European bistro” atmosphere is something none of the neighbouring rentals offer u2014 and prospective tenants remember it.
Material cost: approximately u00a530,000. A contractor would charge u00a5150,000u2013u00a5200,000 for the same work. DIY Dad still recommends this as one of the best-value renovations you can do. ^ ^
ud83dudebd Thinking About a Toilet Renovation?
Even just replacing the toilet bowl makes a dramatic difference to the feel of the room. Upgrading to a modern toilet with a built-in washlet is a change DIY Dad has applied to every property in his portfolio. ^ ^
24-hour emergency plumbing u2014 Water Rescue Squad u00bb
Marutoku Shop | Wainscoting panels and timber u2014 order by the piece u00bb
ud83dudcda Toilet Renovation Series u2014 14 of 25
u2190 Toilet Renovation Vol.13: Wainscot Panel Making Pt.4 u00b7 Series Index u00b7 Toilet Renovation Vol.15: Wainscoting Finish Pt.2 u2192
DIY Renovation Quote Review Manual
How to read, compare, and negotiate contractor quotes. This manual saved me u00a5800,000 on a single renovation project.
ud83cudfe0 More from DIY Father
15 years of landlord experience u00b7 3 apartment buildings u00b7 DIY renovations that saved millions of yen. Browse all articles at diytosan.com