ud83dudcda Apt.1 Laundry Room Series u2014 3 of 8
u2190 Apt.1 Laundry Room Vol.2: Door Installation u00b7 Series Index u00b7 Apt.1 Laundry Room Vol.4: Partition Wall Base Treatment u2192
u270fufe0f Originally published: January 2, 2022 / ud83dudd04 Updated: May 8, 2026
2026 DIY Dad’s Note: Creating the New Laundry Room & 2021 Year in Review
ud83duded2 RECOMMENDED PRODUCTS
Mold-Resistant Bathroom Caulk
Re-caulk every 3u20135 years. Black mold on caulk is the #1 tenant complaint in Japan.
Alongside the bathroom renovation, the laundry/changing room was built from scratch. 2021 was also a landmark year for DIY Dad as a landlord-renovator.
Creating the New Laundry Room (Partition Wall)
Apt.1 had a bathroom on the ground floor, but no dedicated laundry/changing room. A new partition wall was built to create one.
Partition wall installation steps:
- Mark out the wall position (check for square and plumb)
- Attach the bottom and top plates to the floor and ceiling
- Install studs at regular intervals
- Attach plasterboard to both faces
- Fill joints and screw holes with putty
- Finish with wallpaper
Building a partition wall changes the floor plan u2014 but it’s fully achievable with DIY. The key is thorough vertical and horizontal alignment checks.
Door Installation
- Pre-hung door sets make installation much simpler
- Bi-fold doors work well in tight changing room spaces
- Sliding doors are space-efficient and easy to use
The flow from bathroom u2192 laundry room u2192 hallway directly affects livability. Think from the tenant’s perspective.
2021 in Review u2014 DIY Landlord Style
Main work completed by hand in 2021:
- 2nd floor Japanese rooms: full renovation of ceiling, walls, floors, and fittings
- 1st floor Japanese room, kitchen, toilet, bathroom, and laundry room
- Staircase ceiling and wall painting
- Various fixture replacements (toilet, bathtub, vanity, etc.)
Renovating a full apartment entirely by hand over the course of a year was an enormous experience u2014 in both DIY skill and the mindset of being a hands-on landlord.
Base Treatment After the Partition Wall
- Fill plasterboard joints with mesh tape, then putty
- Extra waterproofing on the wall adjacent to the bathroom
- Confirm supply and drain pipe positions for the vanity
Since this is a wet area, moisture-proofing the base layer is especially important. Take the time to do it right.
ud83cudfe2 Thinking About Apartment Investment or Renovation?
For apartment renovations, return on investment is everything. DIY Dad dramatically cuts costs by doing the work himself.
Marutoku Shop u2014 Renovation Materials & Timber Online u00bb
![]()
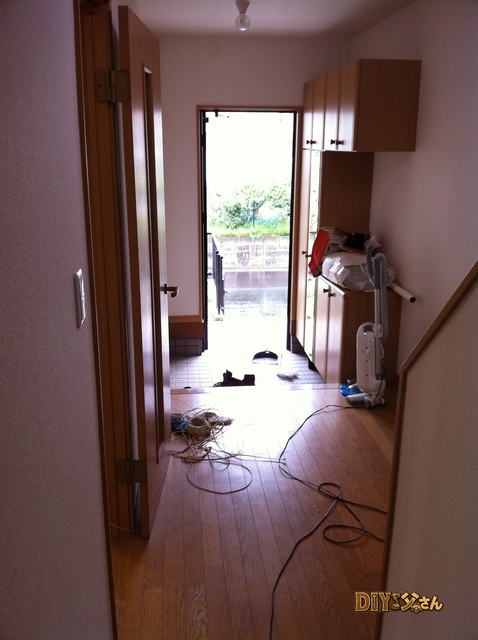
Hey there u2014 DIY Dad here! The 1st-floor laundry room renovation continues. With the door in place, we move inside the changing room.
Covering the Old Kitchen Wall Tiles with Plasterboard
ud83duded2 RECOMMENDED PRODUCTS
Bathroom Vanity & Mirror Cabinets
Mirror cabinets add storage and light u2014 tenants notice immediately.
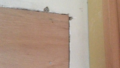
Part of the original kitchen wall u2014 tiled u2014 intrudes slightly into the new laundry room space, creating an awkward feature. Time to cover it up with a plasterboard overlay.
u2191 The old kitchen tile wall that needed covering.
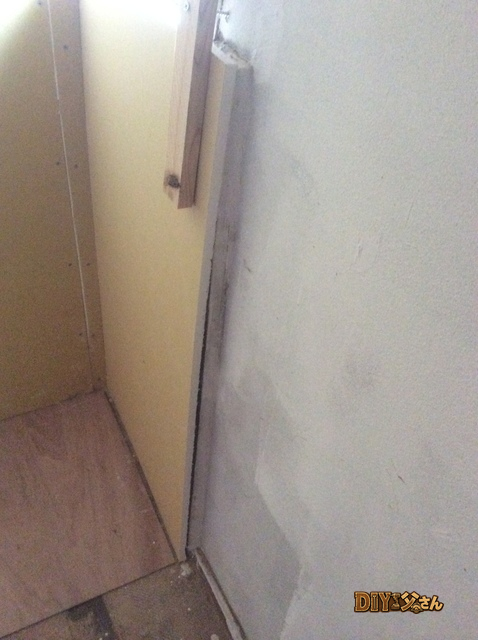
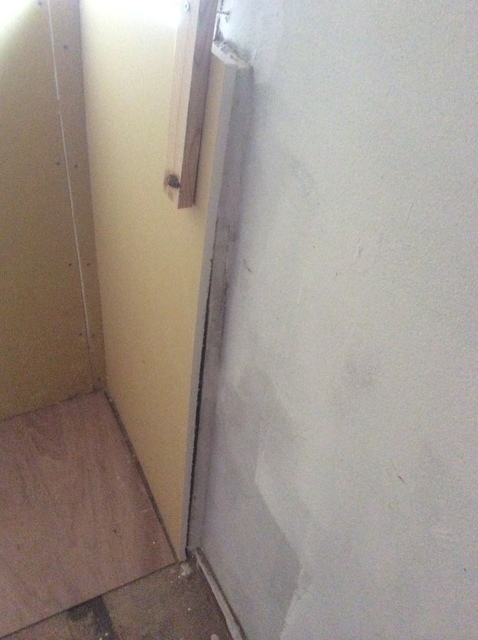
The tile wall was trickier than expected u2014 as you might be able to see in the photo, it has a slight inward bow. To handle this, I applied construction adhesive and caulk all over the plasterboard and pressed it firmly against the curved surface. To keep the pressure on while it cured, I wedged a wooden batten against the studs using it like a lever to push the board flat. Hard to explain in words, but hopefully the dark photo gives you the idea!
u2191 Pressing the plasterboard flat against the curved tile wall.
Ventilation Fan & Other Details
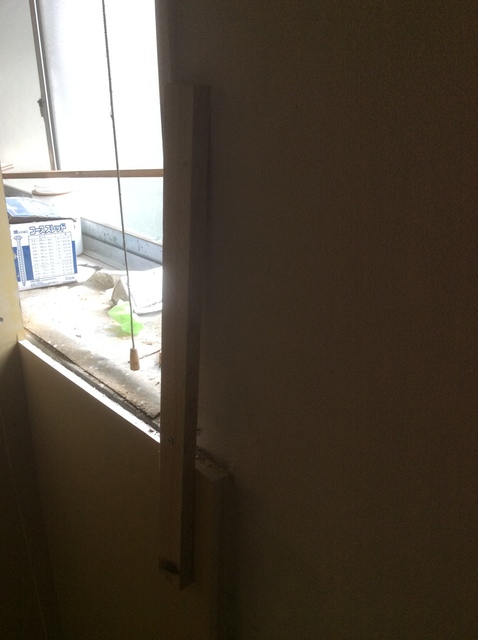
The existing exhaust fan now conflicts with the new partition wall. Since it’s on the bathroom side, it has to be removed and the opening patched.
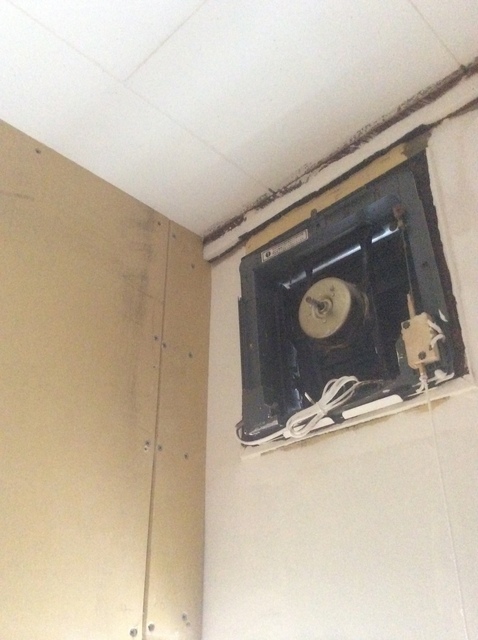
u2191 Ventilation fan and partition wall u2014 conflict zone.
The ceiling light was removed for painting, leaving bare wiring hanging down like a mouse’s tail…
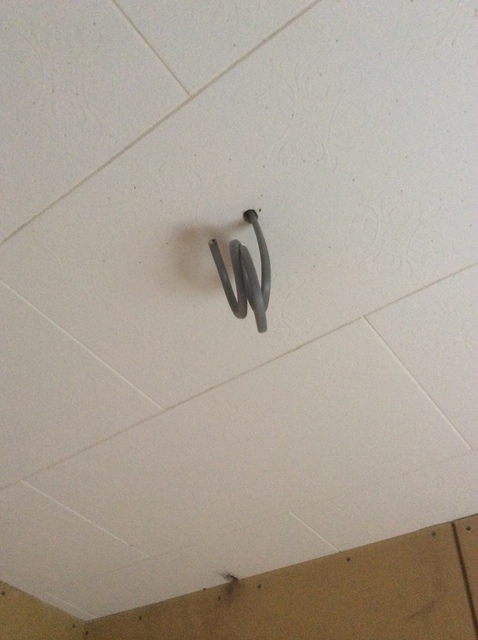
u2191 Light fixture wiring hanging loose.
And this one… honestly, I’m not sure what it was. I forgot!
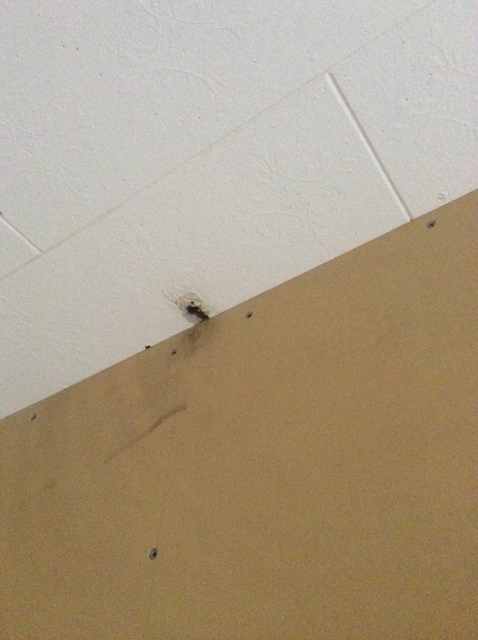
u2191 Something u2014 not sure what anymore.
Ending the post on “I forgot” u2014 pretty rough, I know! That’s all for today u2014 see you next time!

ud83dudcda Apt.1 Laundry Room Series u2014 3 of 8
u2190 Apt.1 Laundry Room Vol.2: Door Installation u00b7 Series Index u00b7 Apt.1 Laundry Room Vol.4: Partition Wall Base Treatment u2192
DIY Renovation Quote Review Manual
How to read, compare, and negotiate contractor quotes. This manual saved me u00a5800,000 on a single renovation project.
ud83cudfe0 More from DIY Father
15 years of landlord experience u00b7 3 apartment buildings u00b7 DIY renovations that saved millions of yen. Browse all articles at diytosan.com