ud83dudcda Kitchen 2 Renovation Series u2014 36 of 45
u2190 Kitchen2 Vol.35: Dishwasher Install Vol.13 u00b7 Series Index u00b7 Kitchen2 Vol.37: Dishwasher Install Vol.15 u2192
-> Back to all English articles
First published: 2017-03-02 / Updated: May 2026
2026 Note from DIY Dad: Dishwasher Installation u2014 Final Stretch
ud83duded2 RECOMMENDED PRODUCTS
Modern Kitchen Cabinet Handles
New handles cost u00a53,000u20138,000 and make a kitchen feel 10 years newer instantly.
We’re in the second half of the dishwasher installation. After finishing the front panel and running a final operation check, we finally reached completion. It was a long road, but the finish line is in sight!
Adjusting the Front Panel
ud83duded2 RECOMMENDED PRODUCTS
Kitchen Faucets
A faucet upgrade is the single highest-impact kitchen DIY per yen spent.
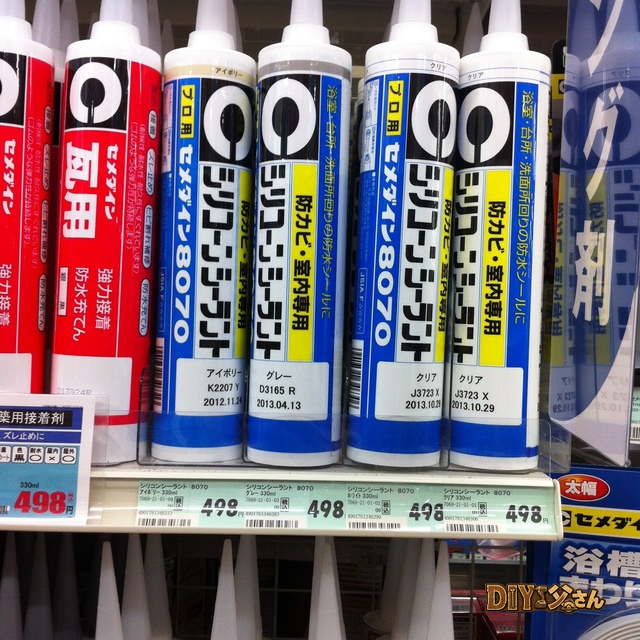
Attaching the front panel (the decorative face plate on the dishwasher door) is a critical step directly affecting appearance. By aligning the “height, depth, and gap” with the adjacent cabinet doors, you get a cohesive, unified look.
Key Adjustment Points
- Align the dishwasher door height with the cabinet doors (equal clearance top and bottom)
- Adjust depth so the front panel doesn’t protrude past the cabinet doors
- Use the bracket supplied with the unit to fix the panel (screw positions are fine-adjustable)
- Temporarily fix the panel, open and close the door several times to check u2014 then tighten fully
If you rush the final tightening, corrections become difficult later. Always follow the sequence: temporary fix u2192 check u2192 final tighten. m(_ _)m
Common Mistakes in Dishwasher Installation
Points where DIY Dad actually struggled:
- Reverse slope on the drain hose u2014 water flowed back into the sink (fixed by rerouting the hose)
- Warped front panel u2014 over-tightened screws bowed the panel (loosened and straightened with a backing block)
- Heavy door operation u2014 the unit wasn’t level (re-adjusted using the leveling feet)
- Vibration noise during operation u2014 added anti-vibration mat between the base plate and floor
All were fixable after the fact, but every single one could have been avoided with a little care upfront. Sharing these as lessons learned!
Dishwasher Maintenance Tips
ud83duded2 RECOMMENDED PRODUCTS
Kitchen Backsplash Tile Kits
A tiled backsplash protects the wall and dramatically upgrades the kitchen appearance.
DIY Dad also explained maintenance to the tenants:
- Clean the filter once a month (remove the filter from the bottom of the interior and rinse)
- Run a tub-cleaning cycle every 3 months (using commercially available dishwasher cleaner)
- Don’t let the food residue filter accumulate large debris (causes blockages)
- Place plastic containers on the lower rack (prevents heat deformation)
Explaining maintenance to tenants at move-in reduces breakdown calls. A landlord’s consideration goes a long way toward longer tenancies. m(_ _)m
As a Landlord: Better Amenities as a Differentiator
Dishwashers, washlet toilet seats, IH cooktops, bathroom dryers u2014 ten years ago these were “nice-to-haves”; today they’re increasingly becoming “must-haves” or tenants simply won’t choose your property.
Every time DIY Dad acquires a property and renovates it to install these features, it’s not just a hobby u2014 it’s a calculated investment aimed at maintaining rent levels and securing long-term tenants. Upgrading amenities consistently delivers returns.
Hi, it’s DIY Dad! Something finally moved on Project KS u2014 the permit application appears to have been completed. I’m off running around securing financing again. And we got the approval! We even got sign-off on Project OS. We’re ready to start construction whenever we like. I had been leaving the contract with the counterparty for Project KS unattended, so I’ll get right on that. Now, continuing our 1F kitchen renovation!
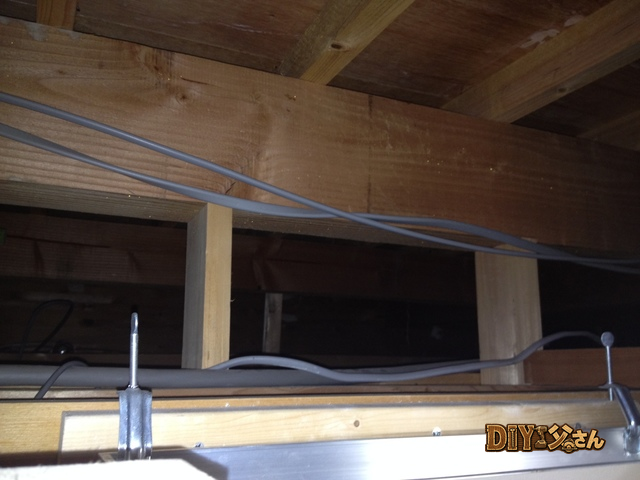
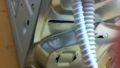
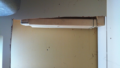
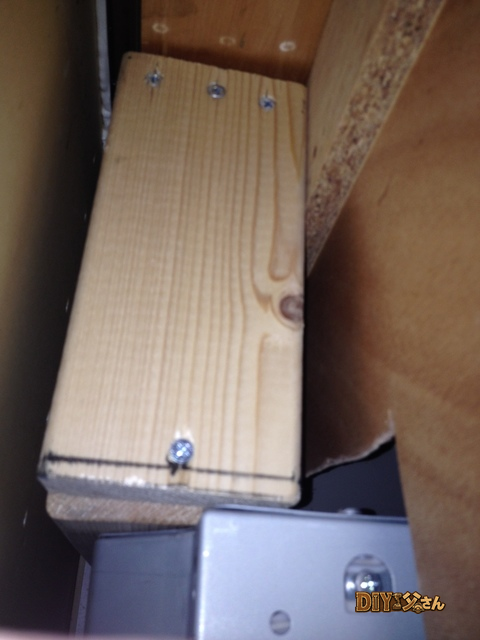
The top-mount bracket is now fitted. Let’s slide the dishwasher in.
Let’s take a look at the gap at the upper rear of the dishwasher.
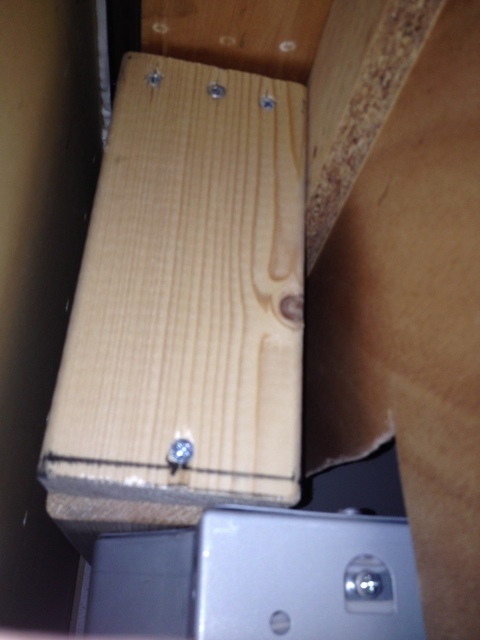
Gap at the upper rear of the dishwasher.
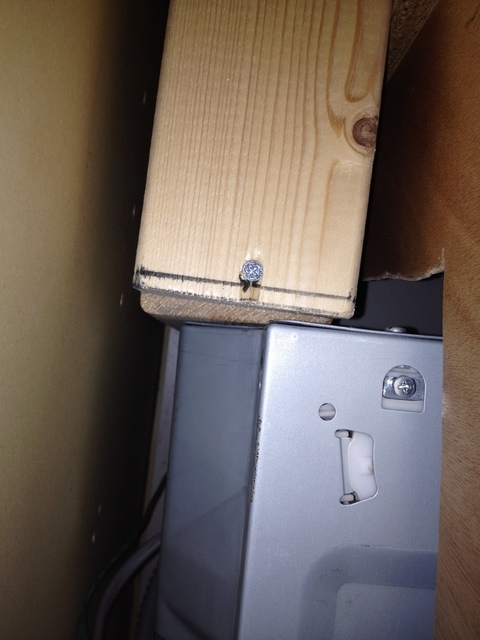
Gap at the upper rear of the dishwasher.
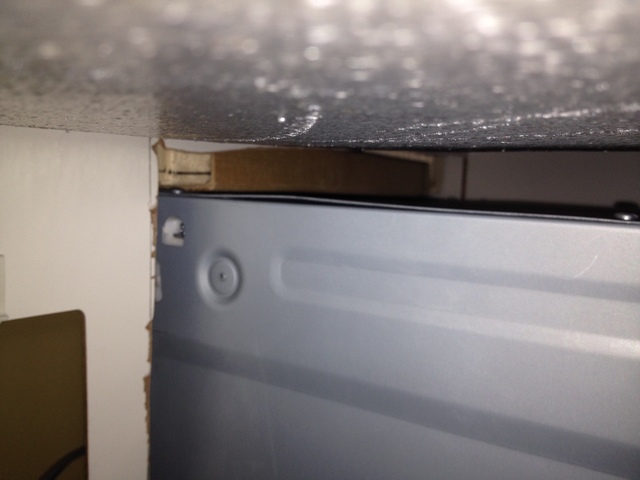
Gap at the upper rear of the dishwasher. That’s a tight clearance! Let’s try pulling out the drawer u2014 it doesn’t tip forward. We nailed it! That’s all for today!
ud83dudcda Kitchen 2 Renovation Series u2014 36 of 45
u2190 Kitchen2 Vol.35: Dishwasher Install Vol.13 u00b7 Series Index u00b7 Kitchen2 Vol.37: Dishwasher Install Vol.15 u2192
DIY Renovation Quote Review Manual
How to read, compare, and negotiate contractor quotes. This manual saved me u00a5800,000 on a single renovation project.
ud83cudfe0 More from DIY Father
15 years of landlord experience u00b7 3 apartment buildings u00b7 DIY renovations that saved millions of yen. Browse all articles at diytosan.com