ud83dudcda Entryway Renovation Series u2014 7 of 10
u2190 Entryway Renovation Vol.6: Wall Patching & Repair u00b7 Series Index u00b7 Entryway Renovation Vol.8: Shoe Cabinet Installation u2192
u270fufe0f Originally published: 2016-12-17 / ud83dudd04 Updated: May 8, 2026
2026 Update u2014 Looking Back on the Entryway Renovation
ud83duded2 RECOMMENDED PRODUCTS
Door Lock Replacement Sets
Change the lock between every tenancy u2014 security is non-negotiable.
Compared to the bathroom renovation, the entryway had fewer steps and is genuinely beginner-friendly. That said, in terms of return on investment, I’d rank it among the highest-impact renovations you can do u2014 because when the entryway changes, the entire feel of the property changes with it.
Patching Decides the Final Finish
ud83duded2 RECOMMENDED PRODUCTS
Entryway Flooring & Tile Kits
Entryway flooring takes the most wear u2014 invest in durable material.
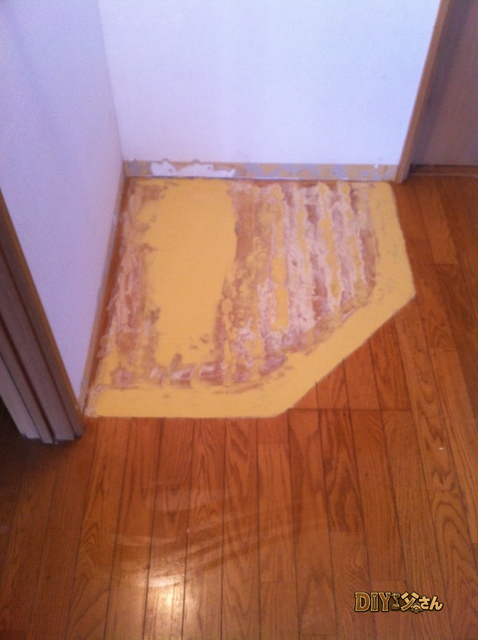
After stripping the old wallpaper, you’ll always find screw holes and uneven spots on the wall. Filling those with joint compound (patching filler) before hanging new wallpaper is the basic rule. Skip this step and every imperfection will show right through the new paper.
The golden rule for patching: apply it thin, spread it wide, and do multiple coats. Applying it thick in one pass causes cracking as it dries. The workflow is: first coat (base layer) u2192 let dry u2192 second coat (finish layer) u2192 sand smooth.
Choosing Wallpaper for an Entryway
The ideal entryway wallpaper is something that resists dirt and can be wiped clean. It’s a spot where bags bump the wall and hands brush the surface, so choose a vinyl wallpaper with a tough surface.
My pick was Sangetsu’s “SP” series u2014 great stain resistance, easy to wipe down, reasonably priced, and reliably in stock so you can order in bulk.
Shoe Storage: Off-the-Shelf + DIY Adjustments Is the Fastest Route
ud83duded2 RECOMMENDED PRODUCTS
Video Doorbells & Intercoms
A video intercom upgrades security and tenant confidence u2014 easy DIY install.
The shoe cabinet I installed was an off-the-shelf unit from the home center u2014 a wall-mount type that’s straightforward to set up.
The key watch-out: always fasten screws into wall studs (structural framing). Driving screws into drywall with no backing underneath means the weight of shoes will pull the whole thing off the wall. For anything that holds real weight, stud-fastening is non-negotiable.
The Finished Entryway u2014 What I Felt as a Landlord
The moment the entryway was done, the whole property felt different. When the first space a prospective tenant steps into looks clean and well-kept, it immediately builds the impression that “this property is properly maintained.”
After 15 years as a landlord, I can say this with confidence: spend 100,000 yen on an entryway renovation and you can raise the rent by 5,000 yen a month and still get applications. That means you recoup the investment in two years.
ud83dudd27 Tools & Materials I Used
The impact driver and laser level were both MVPs for this job. The laser level in particular had me wondering why I hadn’t bought one sooner.
- VOICE Green Laser Level u2014 #1 in 4 Rakuten rankings u00bb
- Find DIY materials at Supakuri Shop u00bb
![]()
Hi, it’s DIY Dad! This is the next installment in the 1F entryway renovation series.
Once the surface is flush, it’s finally time for the finish u2014 hanging the wallpaper.
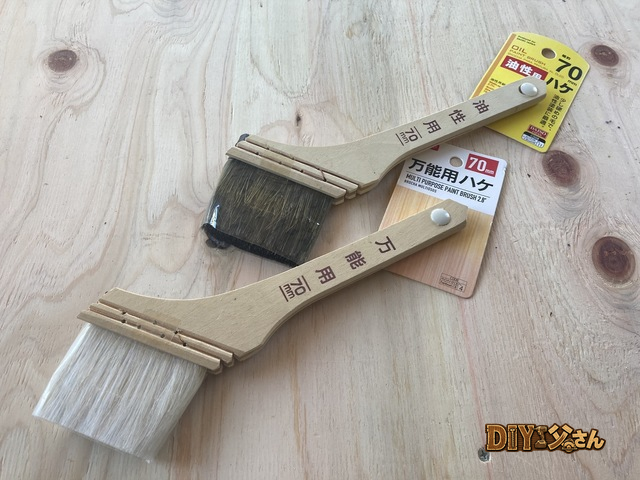
Tools and materials for this stage: pre-pasted wallpaper, joint caulk, smoothing brush, putty knife, roller, utility knife, and damp towel.
The how-to for hanging wallpaper is a topic long enough to deserve its own article, so I’ll save the details for later. The short version: take your time and work carefully to avoid wrinkles and air bubbles. Wallpaper is the final layer u2014 do it well and the finish looks great; rush it and the result is rough.
That said, don’t worry too much. Pre-pasted wallpaper is designed with workability in mind and is genuinely easier to handle than you’d expect. It feels a bit chaotic at first, but the knack clicks into place pretty quickly. Online reviews say it takes two or three sheets to find your rhythm u2014 and sure enough, that matched my experience. By the third sheet, the finish was looking respectable.
For my wallpaper choices, see the article “DIY Dad’s Finishing Materials: Wallpaper Edition.”

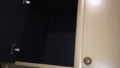
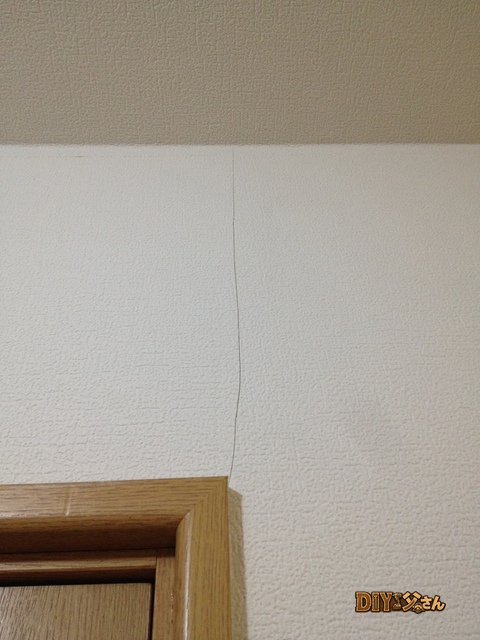
u2191 The wallpaper straight after hanging, once it’s dried. The black line down the center is the seam u2014 you can see it clearly. Pros can apparently leave seams bare and have them disappear, but not quite at my level yet.
Seams at inside corners and where sheets meet tend to stand out, so I finish them with joint caulk.
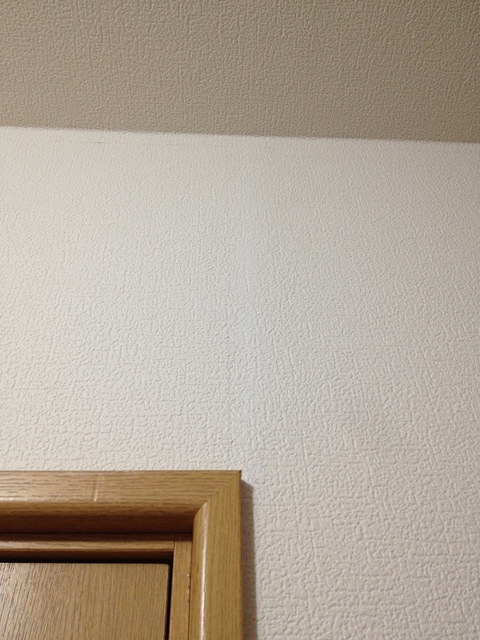
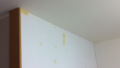
u2191 After covering the seam with joint caulk u2014 much better! Joint caulk also saves the day when you accidentally tear the paper while hanging it.
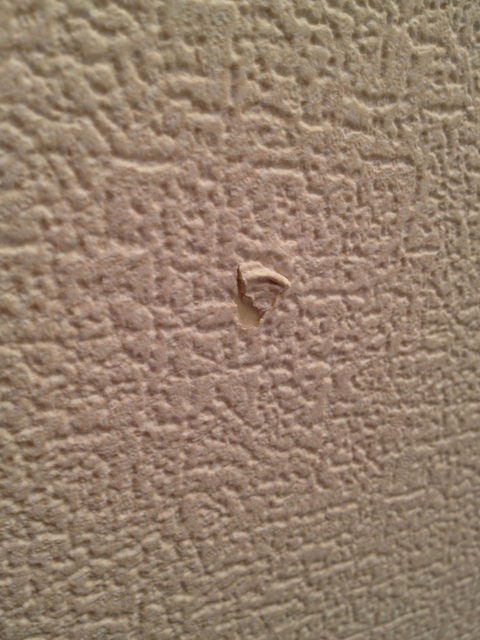
u2191 Like this. Once you master joint caulk, you become very good at covering your tracks. My own wallpaper work involves a healthy amount of creative disguising u2014 but hey, it works! That’s all for today. See you next time!
ud83dudcda Entryway Renovation Series u2014 7 of 10
u2190 Entryway Renovation Vol.6: Wall Patching & Repair u00b7 Series Index u00b7 Entryway Renovation Vol.8: Shoe Cabinet Installation u2192
DIY Renovation Quote Review Manual
How to read, compare, and negotiate contractor quotes. This manual saved me u00a5800,000 on a single renovation project.
ud83cudfe0 More from DIY Father
15 years of landlord experience u00b7 3 apartment buildings u00b7 DIY renovations that saved millions of yen. Browse all articles at diytosan.com