ud83dudcda Toilet Renovation Series u2014 10 of 25
u2190 Toilet Renovation Vol.9: Diatomite Wall Finish u00b7 Series Index u00b7 Toilet Renovation Vol.11: Wainscot Panel Making Pt.2 u2192
u270fufe0f Originally published: January 11, 2017 / ud83dudd04 Rewritten: May 8, 2026
- u270fufe0f 2026 Update from DIY Dad: The Full Story of Our Toilet Wainscot DIY
- What Is Wainscoting?
- Materials and Tools for the Wainscot DIY
- Wainscot Installation Steps
- The Hardest Part of the Wainscot DIY
- As a Landlord: The Wainscot Became a Real Differentiator
- ud83dudebd For Anyone Considering a Toilet Renovation
u270fufe0f 2026 Update from DIY Dad: The Full Story of Our Toilet Wainscot DIY
ud83duded2 RECOMMENDED PRODUCTS
Washlet Toilet Seats (Bidet)
A washlet seat is the single upgrade that impresses every tenant in Japan.
The highlight of the toilet renovation series is the DIY wainscot paneling. I covered the lower half of the diatomite walls with wood panels to create a high-end interior finish u2014 and I have to say, this idea was a real winner. (u2312u25bdu2312)
What Is Wainscoting?
ud83duded2 RECOMMENDED PRODUCTS
Toilet Repair Kits
Keep a repair kit stocked u2014 toilet calls come without warning at midnight.
Wainscoting (also called wainscot or dado paneling) refers to wooden boards or panels applied to the lower portion of a wall u2014 typically below waist height, around 90 cm or lower. It’s a common feature in Western-style interiors and offers both decorative appeal and impact resistance.
It’s an unusual finish for a rental property toilet, which is exactly why it makes such a strong impression on prospective tenants. When I tried it out, the tenants told me it looked “incredibly stylish!” ^ ^
Materials and Tools for the Wainscot DIY
Materials Used
- MDF (medium-density fiberboard), 6 mm thick u2014 the panel boards themselves
- Baseboard trim u2014 used as a cap molding at the top edge
- Wood glue + finish nails u2014 for fastening
- Water-based paint (white) u2014 for painting the panels
- Silicone caulk u2014 to fill gaps between panels and wall/floor
Tools
Circular saw (for straight cuts), finish nailer (pneumatic tool), caulking gun
Wainscot Installation Steps
ud83duded2 RECOMMENDED PRODUCTS
Toilet Accessories Sets
Matching accessories cost u00a52,000 and make a small toilet feel designed.
- Decide the panel height (DIY Dad went with 900 mm)
- Mark a horizontal level line on the wall (a laser level is a huge help here)
- Cut the MDF panels to height
- Apply wood glue and press panels against the wall
- Secure with finish nails (to hold while glue dries)
- Attach cap molding (baseboard trim) at top and bottom edges
- Apply caulk to all gaps
- Paint with white water-based paint
A laser level lets you strike a perfectly horizontal line in seconds, keeping all the panels at a uniform height. Without it, this would have been a real struggle. m(_ _)m
The Hardest Part of the Wainscot DIY
The trickiest step was cutting the MDF panels to fit around the toilet bowl and tank. You have to cut around complex curves and shapes. The reliable method is to make a cardboard template, trace the shape, and then cut along the line with a jigsaw.
Caulking takes practice too. As soon as you apply the caulk, smooth it immediately with a damp finger. If you wait for it to dry before trying to clean up the excess, it crumbles and makes a mess. (Lol) u0669( u141b )u0648
As a Landlord: The Wainscot Became a Real Differentiator
This toilet wainscot made a big difference in setting the property apart. The “stylish atmosphere” you don’t find in competing rentals nearby left a strong impression on everyone who came to view it.
Total material cost: around u00a530,000. A contractor would charge u00a5150,000u2013200,000 for the same work. DIY Dad still recommends this wainscot project as the best bang-for-your-buck renovation you can do. ^ ^
ud83dudebd For Anyone Considering a Toilet Renovation
Even just replacing the toilet bowl can dramatically change the feel of your bathroom. DIY Dad has installed washlet-equipped toilets in every one of his rental properties. ^ ^
24-Hour Emergency Plumbing Service u2014 Toilet & Water Trouble u00bb
Marutoku Shop | Order Wainscot Panels & Lumber by the Piece u00bb
Hi there, it’s DIY Dad. ^ ^
I tried doing some push-ups, sit-ups, and squats for the first time in a while yesterday u2014 and my body felt shockingly heavy! Part of that was having my little commander climbing on my back… but also, the belly fat made sit-ups downright suffocating. (uffe3u25bduffe3;) It’s bad. The holiday weight gain is definitely doing its damage. Time to get serious about this u2014 but how exactly do I go about losing weight? (u30fbu30fb?)
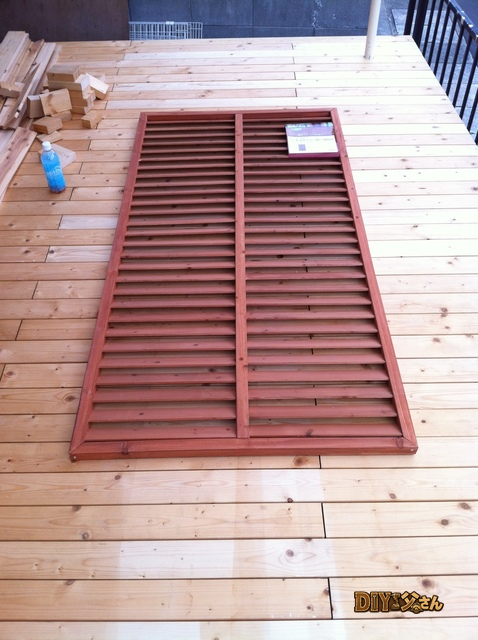
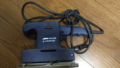
Continuing on with the 1st-floor toilet renovation. Next up: making the wainscot panels. The tools and materials I used were: hinoki cypress boards, cedar boards, hinoki ceiling trim, oil stain, varnish, orbital sander, sandpaper, and paintbrushes.
For this wainscot, I wasn’t going to use any off-the-shelf pre-made panels. The boards I’d be attaching to the wall u2014 I made them myself from scratch. Starting now!
I started making the rounds of the home improvement stores, looking for good materials. After visiting a few places, I found what I needed. ^ ^
For the Baseboard (Trim Strips): Cedar Nuki-Ita (Through Boards)
- Size: 90 u00d7 4000 u00d7 t12 mm
- Price: u00a5328 per board
- Quantity: 2 boards
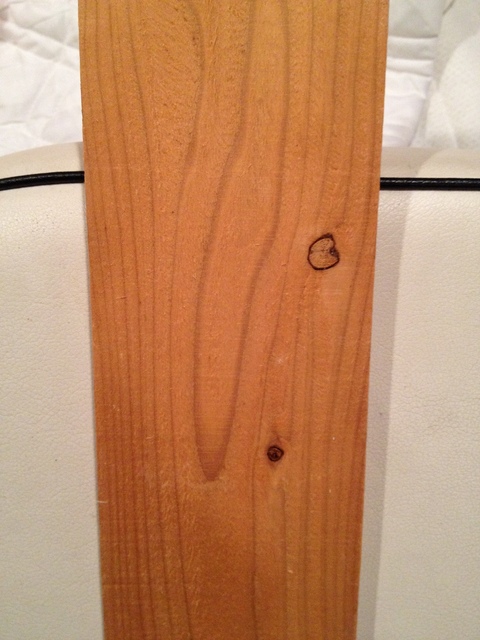
u2191 Cedar boards. The surface is quite rough, but the price was right, so I went with them.
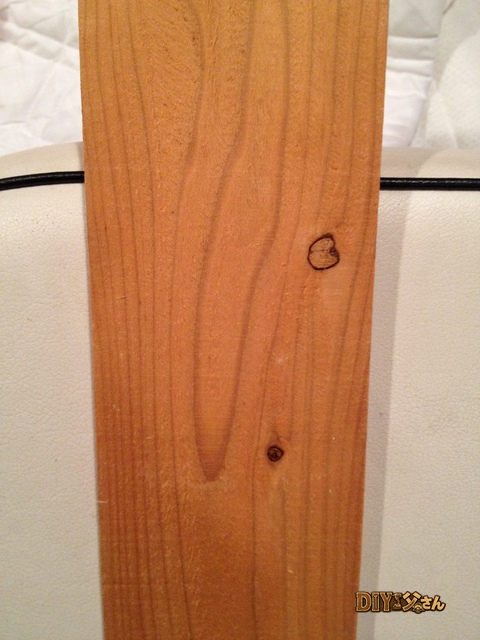
For the Main Panels: Hinoki Cypress Boards
I found some slightly rough hinoki cypress boards being sold cheaply u2014 perfect for the wainscot panels.
- Size: 80 u00d7 850 u00d7 t9 mm
- Price: u00a569.70 per board
- Quantity: 60 boards
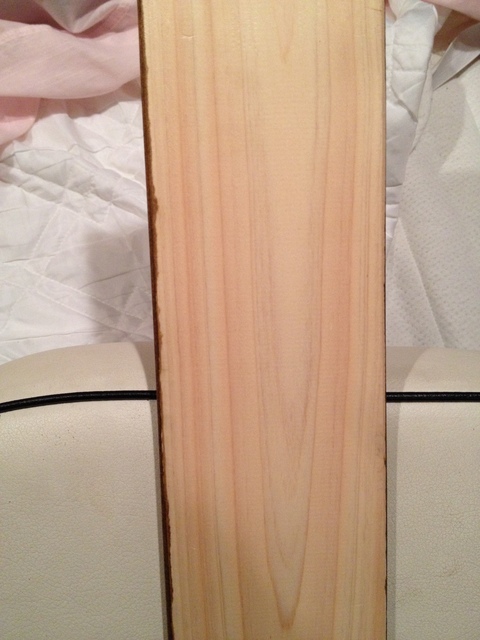
u2191 Hinoki cypress boards. The smell is absolutely wonderful! (u2267u2200u2266)
For the Cap Molding (Edge Trim): Hinoki Ceiling Trim
I found a piece of hinoki trim molding in the molding section that looked just right for finishing the top edge.
- Size: 1820 mm
- Price: u00a5294 per piece
- Quantity: 1 piece
(No photo, unfortunately.) (u30ce_uff1c)
Material selection is complete! (^_^)v But the wood surfaces are too rough to use as-is, so they’ll need surface treatment first. That’s all for today! (^^)/~~~
ud83dudcda Toilet Renovation Series u2014 10 of 25
u2190 Toilet Renovation Vol.9: Diatomite Wall Finish u00b7 Series Index u00b7 Toilet Renovation Vol.11: Wainscot Panel Making Pt.2 u2192
DIY Renovation Quote Review Manual
How to read, compare, and negotiate contractor quotes. This manual saved me u00a5800,000 on a single renovation project.
ud83cudfe0 More from DIY Father
15 years of landlord experience u00b7 3 apartment buildings u00b7 DIY renovations that saved millions of yen. Browse all articles at diytosan.com