ud83dudcda Apt.1 Kitchen Series u2014 5 of 10
u2190 Apt.1 Kitchen Wall Vol.4: Discovering Old Walls u00b7 Series Index u00b7 Apt.1 Kitchen Wall Vol.6: Finishing u2192
2026 Update from DIY Dad: Kitchen Wall Repair and Water Leak Response
ud83duded2 RECOMMENDED PRODUCTS
Modern Kitchen Cabinet Handles
New handles cost u00a53,000u20138,000 and make a kitchen feel 10 years newer instantly.
During the 1st-floor kitchen wall repair, we discovered a water leak u2014 an unexpected accident. A real look back at a landlord DIY job.
What Makes Kitchen Wall Repair Different
ud83duded2 RECOMMENDED PRODUCTS
Kitchen Faucets
A faucet upgrade is the single highest-impact kitchen DIY per yen spent.
Kitchen walls differ from ordinary rooms:
- Water and grease: stubborn grease soaks into walls near the stove
- Humidity: steam from cooking deteriorates wall materials easily
- Fixtures: gas stove, ventilation fan, water supply pipes are all built into the walls
- Tiled walls: if wallpapering over tiles, grout joints need treatment first
Kitchen wall repair follows the flow: remove fixtures u2192 repair wall u2192 reinstall fixtures. Handle fixtures with care.
Surface Preparation Around Oily Stove Areas
Applying wallpaper over grease-soaked walls near the stove:
- First, remove as much grease as possible with silicone-off or baking soda
- Apply a stain-blocking sealer/primer (prevents oil from bleeding through)
- After drying, use putty/filler to fix uneven surfaces
- Choose kitchen-grade, stain-resistant wallpaper (easy to wipe off grease)
For deep grease stains, apply the sealer multiple times. “One coat of cheap sealer” is less reliable than “two coats of good sealer.”
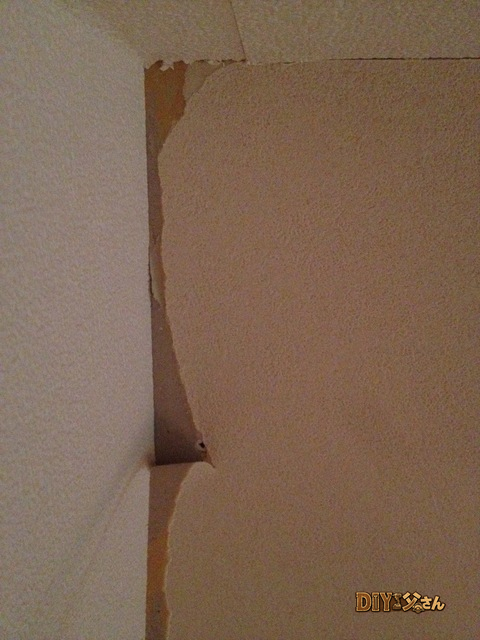
Water Leak Discovered During Construction
ud83duded2 RECOMMENDED PRODUCTS
Kitchen Backsplash Tile Kits
A tiled backsplash protects the wall and dramatically upgrades the kitchen appearance.
We found signs of a water leak while demolishing and repairing the kitchen walls. Older apartments can hide leaks inside the walls.
Steps when a leak is found:
- First, locate where the water is getting in
- On a rainy day, visually confirm where water enters
- Check whether it’s coming from the roof, exterior walls, or around window frames
- Waterproof-repair the source
- Check for internal rot and mold u2192 replace/treat as needed
- Confirm it’s dry, then proceed with wall finishing
If you finish the wall while ignoring a leak, it will definitely recur. When you find it, you must fully eliminate the cause.
How DIY Dad Fixed the Leak
- Re-caulked around window frames
- Filled cracks in the exterior wall with caulk
- Waterproofed the roof valley (where rainwater collects)
Caulk repairs are relatively DIY-friendly. However, high-up roof work is dangerous u2014 consider hiring a professional depending on the situation. Safety first.
As a Landlord: Catch Leaks Early, Fix Them Fast
What happens if you ignore a water leak:
- Wood decay (affects structural members)
- Mold growth (health risk)
- Electrical problems (risk of short circuit)
- Repair costs multiply (can become 10x what early repair would have cost)
Finding the leak during DIY was a happy accident. Regular inspections for early detection are the basics of protecting your property as a landlord.
Hi, it’s DIY Dad.
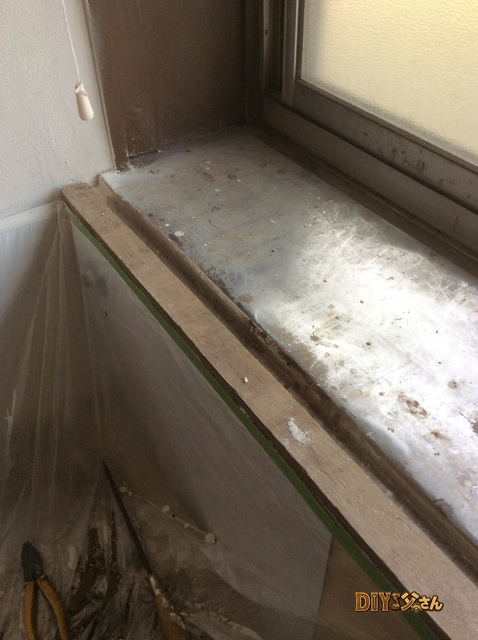
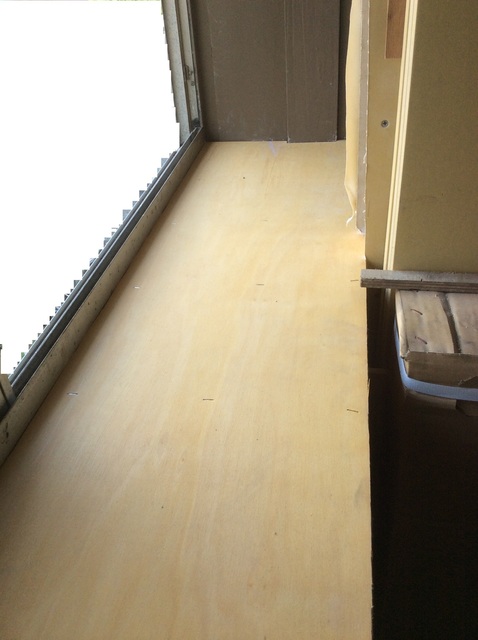
We’re working on the bay-window counter in the kitchen.
Last time, I figured the rotted counter was caused by water, and decided to just cover it up for now.
Out of sight, out of mind u2014 that kind of approach. (laughs)
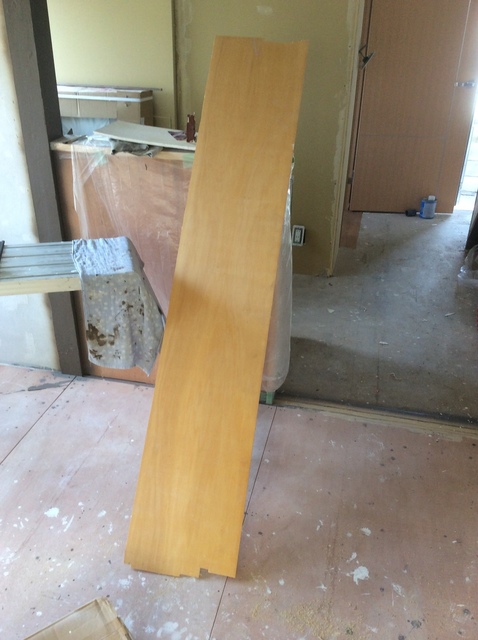
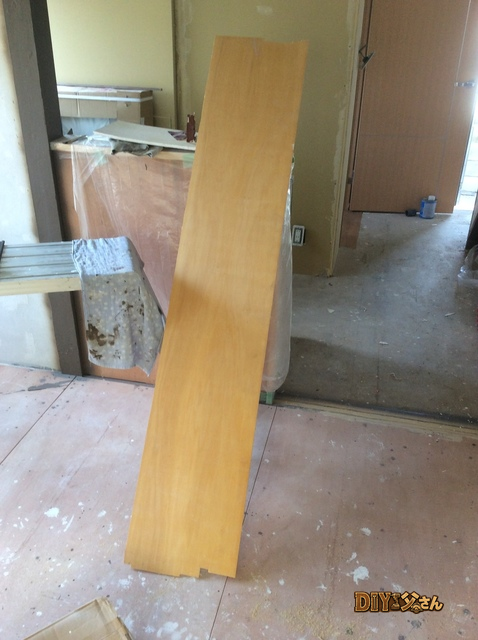
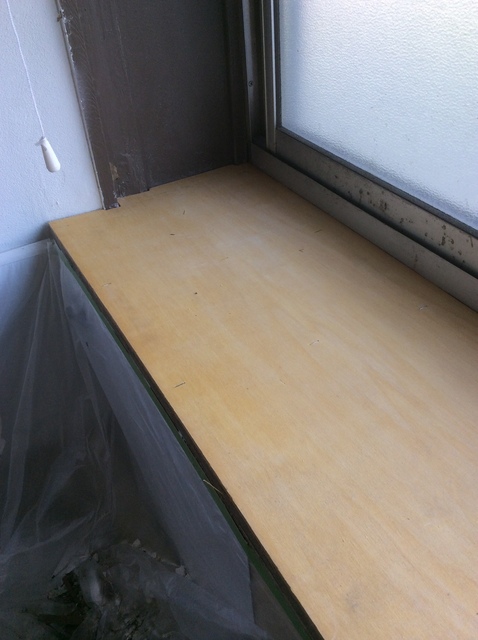
u2191 Overlay material

u2191 Overlay material
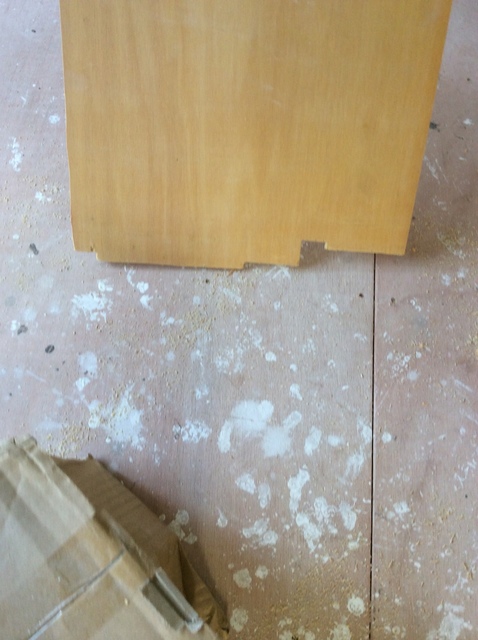
u2191 Overlay material
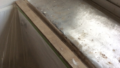
Applying this now.
We spread wood glue on the counter surface (thin stainless sheet) and apply the overlay.
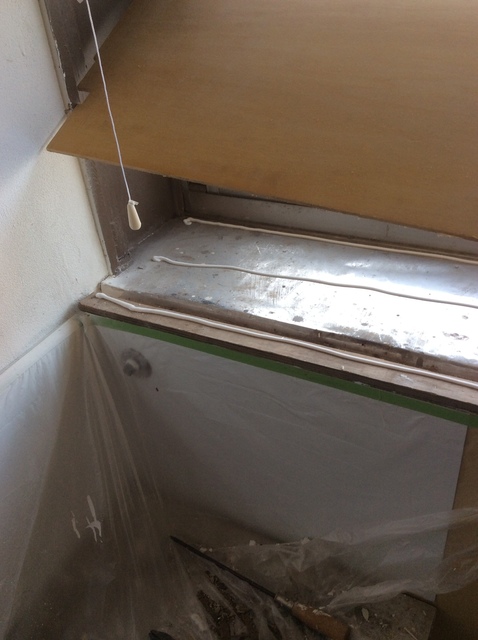
u2191 Overlay application
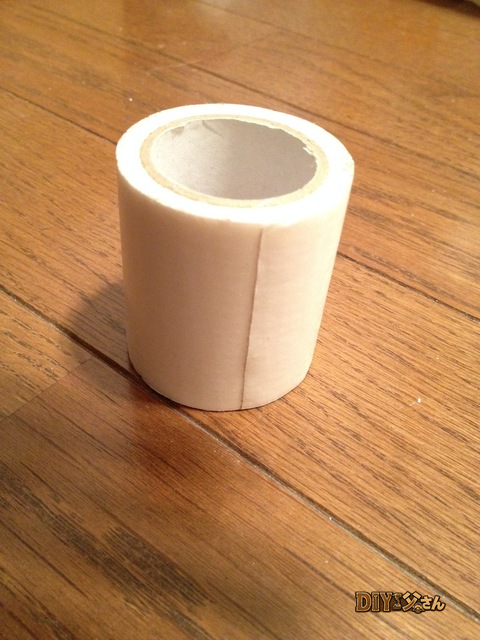
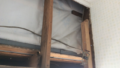
We put up a kitchen-panel-like board on the existing tile wall, so we’re masking it to protect it from scratches.
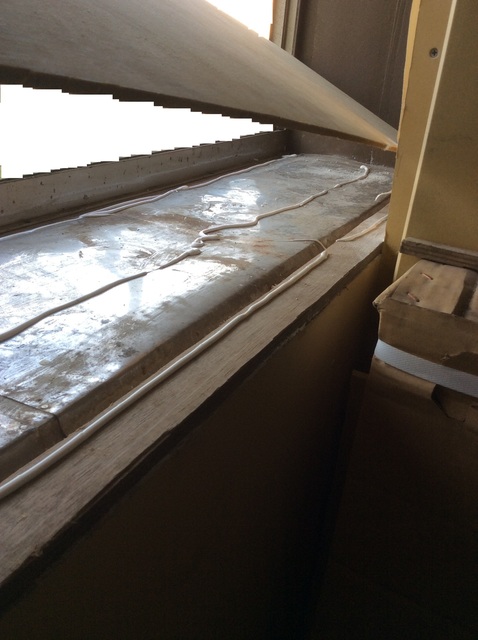
u2191 Overlay application
u2191 Overlay application
u2191 Overlay application
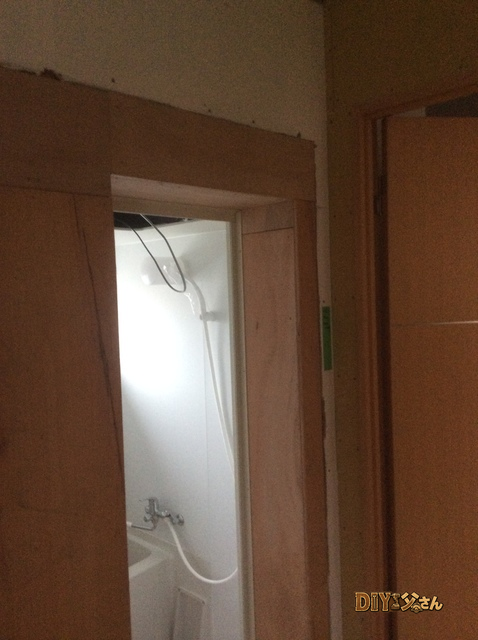
The ends of the partition wall are finished with filler/putty.
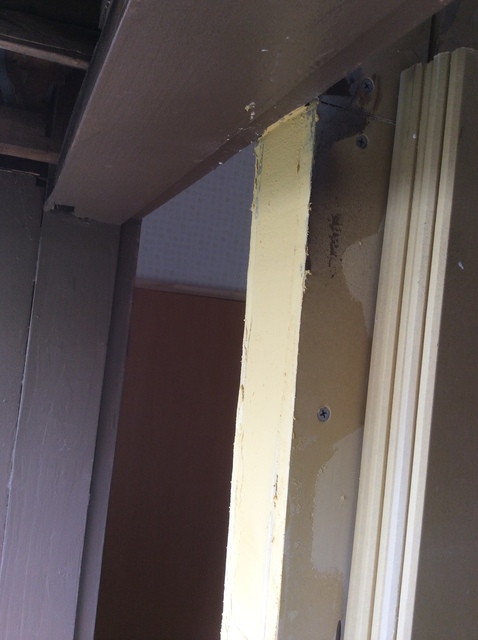
u2191 Partition wall trim
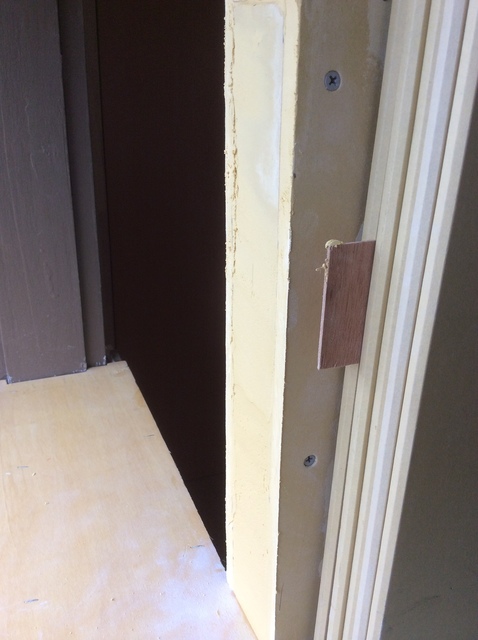
u2191 Partition wall trim
Just covering it up makes it look dramatically better u2014 practically brand new! (Major overstatement.)
That’s it for today u2014 see you next time!
ud83dudcda Apt.1 Kitchen Series u2014 5 of 10
u2190 Apt.1 Kitchen Wall Vol.4: Discovering Old Walls u00b7 Series Index u00b7 Apt.1 Kitchen Wall Vol.6: Finishing u2192
DIY Renovation Quote Review Manual
How to read, compare, and negotiate contractor quotes. This manual saved me u00a5800,000 on a single renovation project.
ud83cudfe0 More from DIY Father
15 years of landlord experience u00b7 3 apartment buildings u00b7 DIY renovations that saved millions of yen. Browse all articles at diytosan.com