ud83dudcda Living Room Renovation Series u2014 10 of 20
u2190 Living Room Renovation Vol.9: Ceiling Reinforcement Pt.2 u00b7 Series Index u00b7 Living Room Renovation Vol.11: Wall Patching & Repair u2192
u270fufe0f Originally published: December 18, 2016 / ud83dudd04 Updated: May 8, 2026
2026 Note from DIY Dad: Looking Back on the Living Room Finishing Work
ud83duded2 RECOMMENDED PRODUCTS
Cordless Drill & Driver Kit
The single most-used tool across 15 years of rental property repairs.
The living room renovation was entering its finishing phase: ceiling reinforcement, patching, wallpaper installation, and door adjustment. By this point you can almost see the finish line u2014 and the excitement really builds. ud83dude0a
Ceiling Reinforcement for the Ceiling Fan
ud83duded2 RECOMMENDED PRODUCTS
Complete Home Repair Tool Set
A complete kit beats buying individual tools every time u2014 cheaper and always ready.
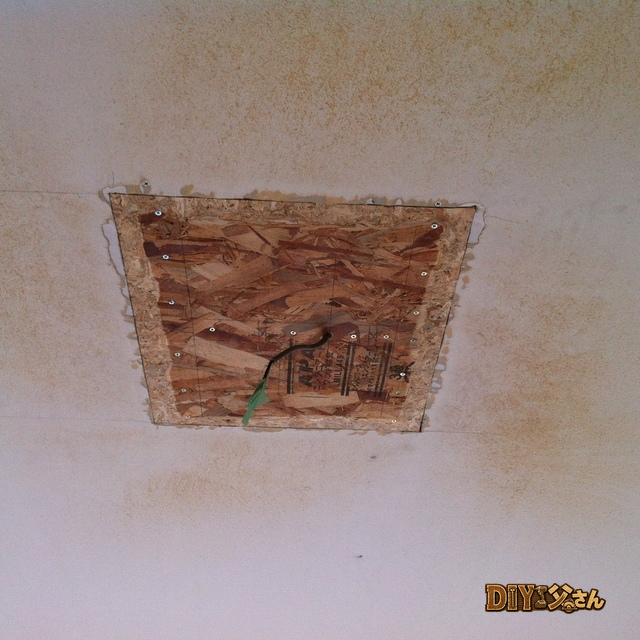
If you plan to install a ceiling fan light, ceiling reinforcement is essential. Mounting directly to gypsum board carries a real fall risk from vibration over time.
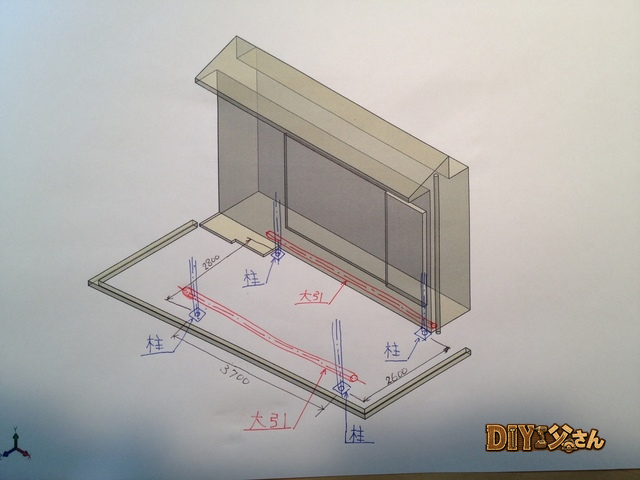
DIY Dad’s Reinforcement Method
- Locate the ceiling joists at the installation point
- Insert a cross-member (12mm plywood or 2×4 lumber) horizontally between the joists
- Screw the cross-member securely to the joists
- Anchor the ceiling fan’s mounting bolts firmly into the cross-member
Coarse-thread wood screws grip lumber far better than fine-thread screws u2014 the right fastener for this job.
As a Landlord: Living Rooms Are Chosen for Atmosphere, Not Square Footage
After 15 years as a landlord, first impressions u2014 bright, clean, inviting u2014 matter far more than the room’s actual size. A warm white to ivory wall color is the safe, timeless choice.
Hello u2014 It’s DIY Dad! ud83dudc4b
ud83duded2 RECOMMENDED PRODUCTS
Adhesives & Sealants
Keep a stock of these u2014 you’ll use them on every single repair job.
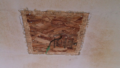
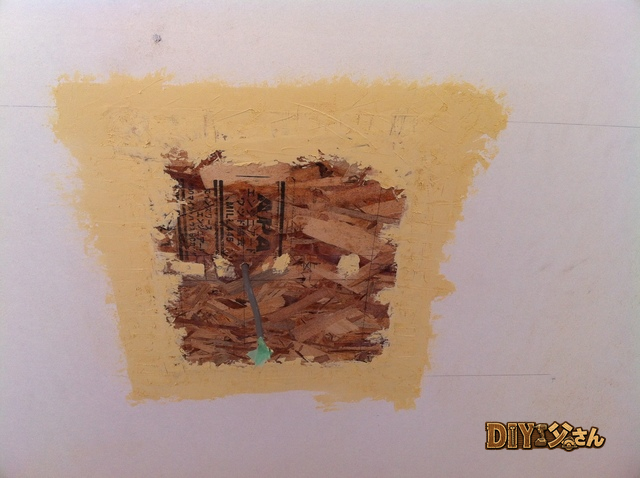
This is a continuation of the 1F living room renovation series. Now I fill the gap between the gypsum board and the reinforcement panel with joint compound and bring everything flush. There’s a little unevenness u2014 but that’s part of the charm. ud83dude04
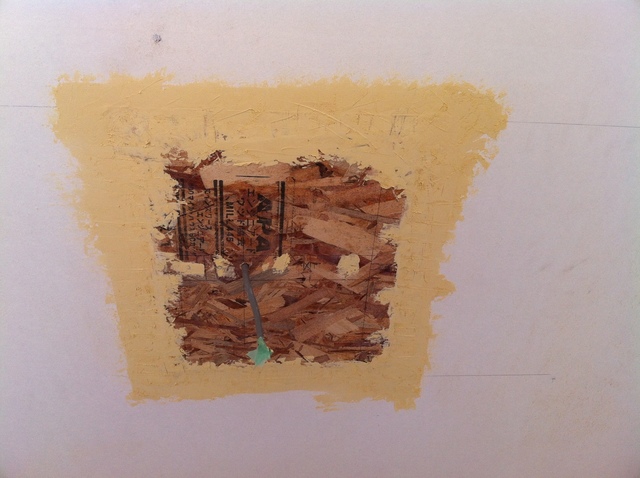
u2191 Good enough u2014 I’ll take it!
As a test fit, I temporarily mount the ceiling fan light without the blades or decorative cover u2014 just the main body.
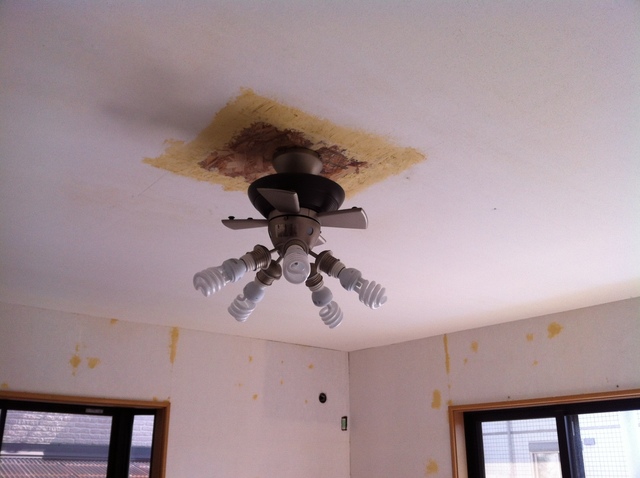
u2191 Body only u2014 no blades, no decorative cover. Looks promising! From here on, we’ll have real lighting in the living room. That’s all for today u2014 see you next time! ud83dudc4b
ud83dudcda Living Room Renovation Series u2014 10 of 20
u2190 Living Room Renovation Vol.9: Ceiling Reinforcement Pt.2 u00b7 Series Index u00b7 Living Room Renovation Vol.11: Wall Patching & Repair u2192
DIY Renovation Quote Review Manual
How to read, compare, and negotiate contractor quotes. This manual saved me u00a5800,000 on a single renovation project.
ud83cudfe0 More from DIY Father
15 years of landlord experience u00b7 3 apartment buildings u00b7 DIY renovations that saved millions of yen. Browse all articles at diytosan.com