ud83dudcda Living Room Renovation Series u2014 11 of 20
u2190 Living Room Renovation Vol.10: Ceiling Reinforcement Pt.3 u00b7 Series Index u00b7 Living Room Renovation Vol.12: Wallpaper Installation u2192
u270fufe0f Originally published: December 18, 2016 / ud83dudd04 Updated: May 8, 2026
- 2026 Note from DIY Dad: Looking Back on the Living Room Finishing Work
- Patching Tips for the Living Room
- Wallpaper Replacement Tips for the Living Room
- Door Adjustment u2014 An Essential Step After Any Renovation
- As a Landlord: Living Rooms Are Chosen for Atmosphere, Not Square Footage
- Hello u2014 It’s DIY Dad! ud83dudc4b
2026 Note from DIY Dad: Looking Back on the Living Room Finishing Work
ud83duded2 RECOMMENDED PRODUCTS
Cordless Drill & Driver Kit
The single most-used tool across 15 years of rental property repairs.
The living room renovation was entering its finishing phase: ceiling reinforcement, patching, wallpaper installation, and door adjustment. By this point you can almost see the finish line u2014 and the excitement really builds. ud83dude0a
Patching Tips for the Living Room
ud83duded2 RECOMMENDED PRODUCTS
Complete Home Repair Tool Set
A complete kit beats buying individual tools every time u2014 cheaper and always ready.
A larger room means a larger surface area to patch. The key is to work thin and even across wide areas.
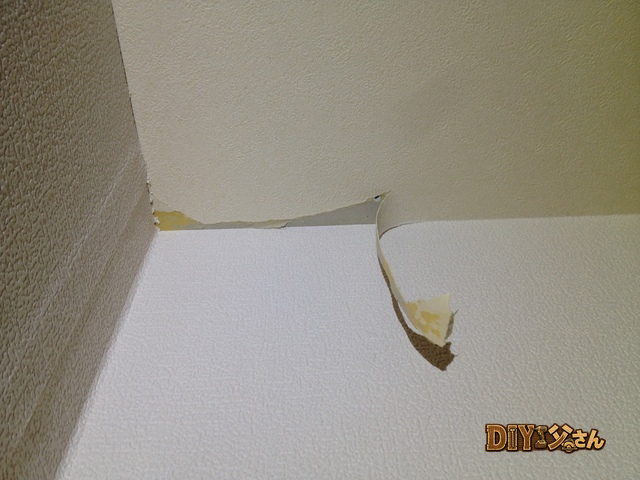
Pay special attention to the ceiling-wall joint where the crown moulding meets the wall u2014 this is where wallpaper edges land, so any roughness here will cause the edges to lift. DIY Dad always applies at least two coats of compound around the moulding line.
Wallpaper Replacement Tips for the Living Room
Long wall runs mean more seams. The standard technique is the double-cut overlap method u2014 overlap two strips, cut through both in one pass with a utility knife, and peel away the excess. This makes the joint virtually invisible.
Door Adjustment u2014 An Essential Step After Any Renovation
ud83duded2 RECOMMENDED PRODUCTS
Adhesives & Sealants
Keep a stock of these u2014 you’ll use them on every single repair job.
Replacing wallpaper can cause subtle dimensional changes. Doors may start sticking or develop new gaps. The fix is to loosen the hinge screws and shift the door. Once you get the feel for it, a full adjustment takes about five minutes.
As a Landlord: Living Rooms Are Chosen for Atmosphere, Not Square Footage
After 15 years as a landlord, first impressions u2014 bright, clean, inviting u2014 matter far more than the room’s actual size. A warm white to ivory wall color is the safe, timeless choice.
Hello u2014 It’s DIY Dad! ud83dudc4b
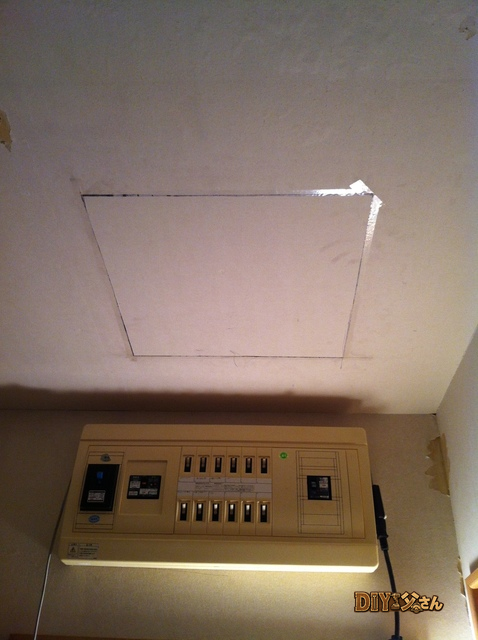
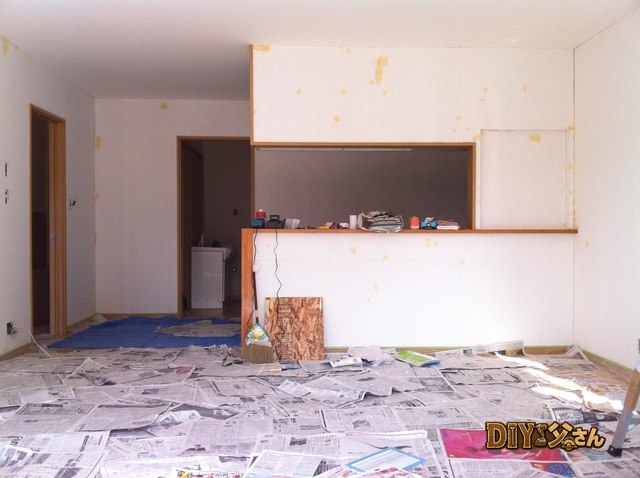
This is a continuation of the 1F living room renovation series. With the ceiling reinforcement finished, it’s time to flatten out the remaining bumps and dips across the ceiling and walls using joint compound. Tools and materials used: joint compound, sandpaper, a nail set, and a hammer.
Any raised spots or protruding nail heads get driven in with the nail set first. Sunken areas get filled with compound. Once the compound dries, sand down any high spots to a flat surface.
I’ll admit u2014 just like with the entrance way, DIY Dad’s standards started to slip a little here. ud83dude04
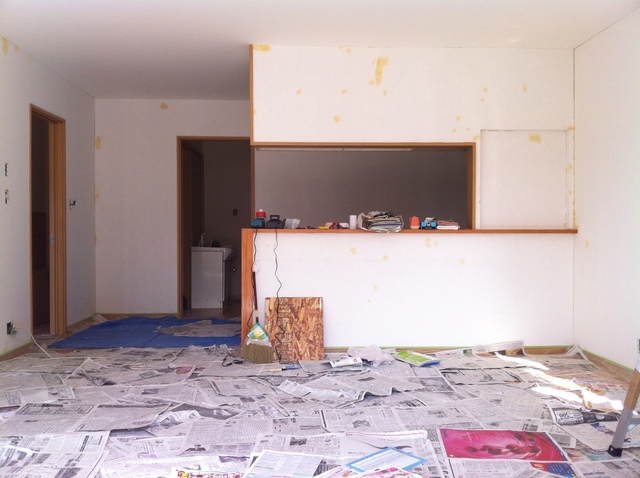
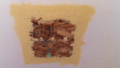
u2191 After patching. The substrate is ready. That’s all for today u2014 see you next time! ud83dudc4b
ud83dudcda Living Room Renovation Series u2014 11 of 20
u2190 Living Room Renovation Vol.10: Ceiling Reinforcement Pt.3 u00b7 Series Index u00b7 Living Room Renovation Vol.12: Wallpaper Installation u2192
DIY Renovation Quote Review Manual
How to read, compare, and negotiate contractor quotes. This manual saved me u00a5800,000 on a single renovation project.
ud83cudfe0 More from DIY Father
15 years of landlord experience u00b7 3 apartment buildings u00b7 DIY renovations that saved millions of yen. Browse all articles at diytosan.com