ud83dudcda Wood Deck Build Log u2014 14 of 19
u2190 Build #39: Roof Assembly u00b7 Series Index u00b7 Build #41: Floor Boarding Pt.2 u2192
u7acau30fbSee the complete Wood Deck DIY Guide
Originally published: 2020-11-12 / Revised: May 8, 2026
2026 Update from DIY Dad: Framework, Roof, and Floor Boarding Assembly
ud83duded2 RECOMMENDED PRODUCTS
Pressure-Treated Deck Lumber
Pressure-treated lumber is the baseline u2014 skip it and you’ll be rebuilding in 5 years.
Once the foundation and framework are complete, it’s on to the roof assembly, then floor boarding. The shape starts to emerge and you get that feeling of “the end is finally near!”
Key Points for Polycarbonate Corrugated Roofing Installation
- Secure adequate overlap (150u201400 mm or more)
- Fix with dedicated screws (umbrella nails or poly-carb screws)
- Seal ridge side and eave side (to prevent rainwater infiltration)
- Rafter slope must be at least 1/50 (approx. 1.1 degrees)
If you’re sloppy with the edge treatment on the sheeting, it will lift in strong winds u2014check all edges after installation.
How to Lay Hardwood Decking
- Pre-drilling is essential (drill 3 mm pilot holes)
- Use dedicated stainless steel screws (iron screws cause rust and black staining)
- Board spacing: 3u2014 mm (use spacers for consistency)
- Trim the ends after all boards are laid u2014cut in one straight pass with a circular saw
Hardwood is very heavy u2014two-person work is the baseline.
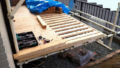
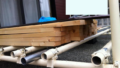
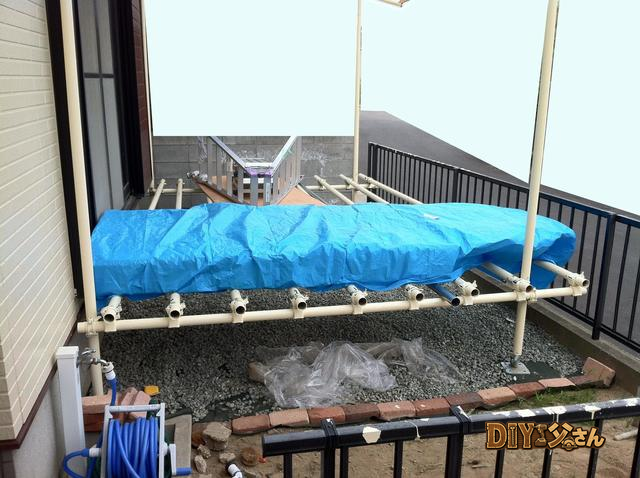
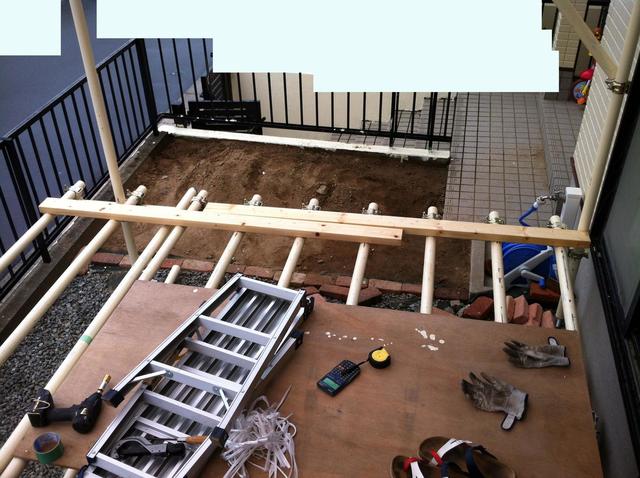
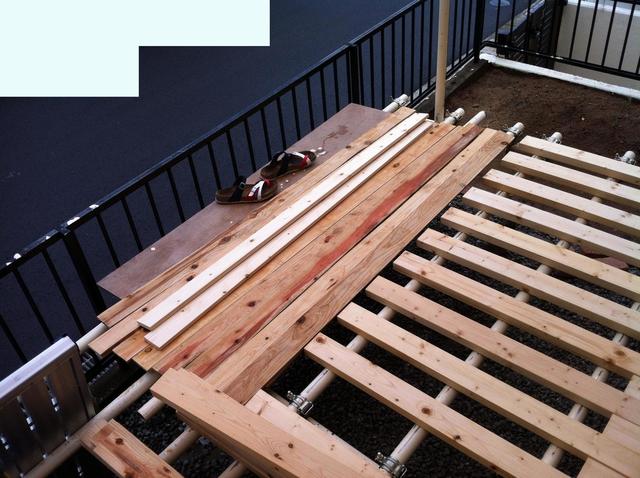
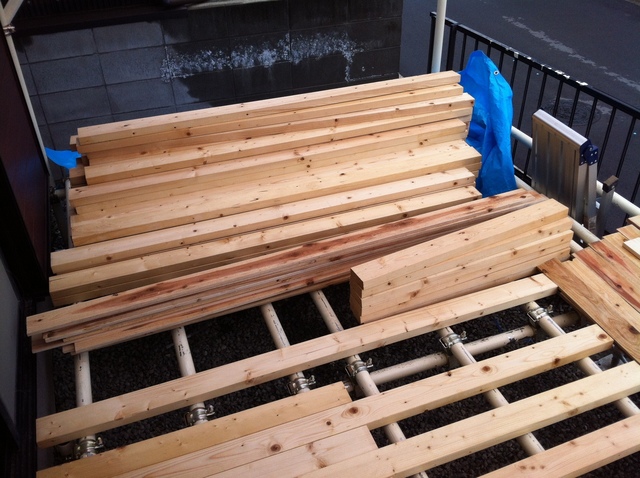
Hi, DIY Dad here. Continuing the wood deck renovation series. With the roof in place, I now install the floor boards on top of the joists. Floor material is SPF 2uff83u30fb, 6-foot.

u7acau30fbProtection/staging
u7acau30fbProtection/staging
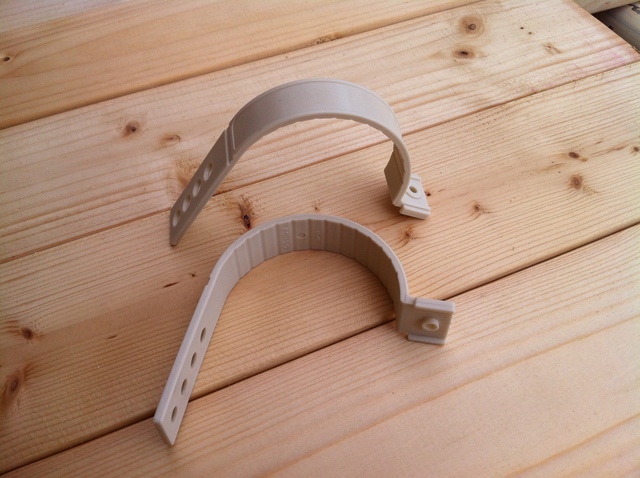
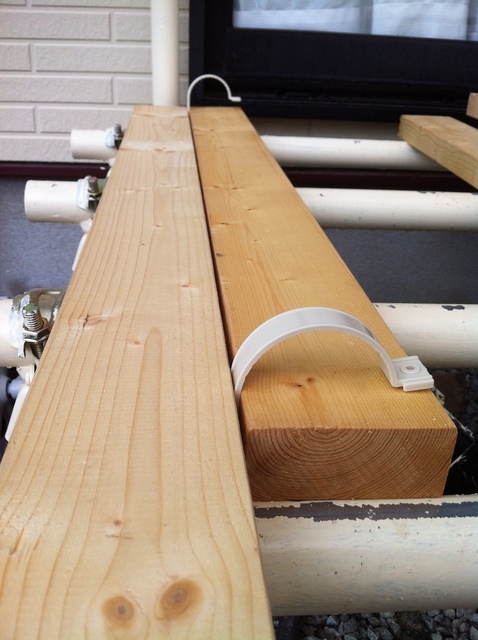
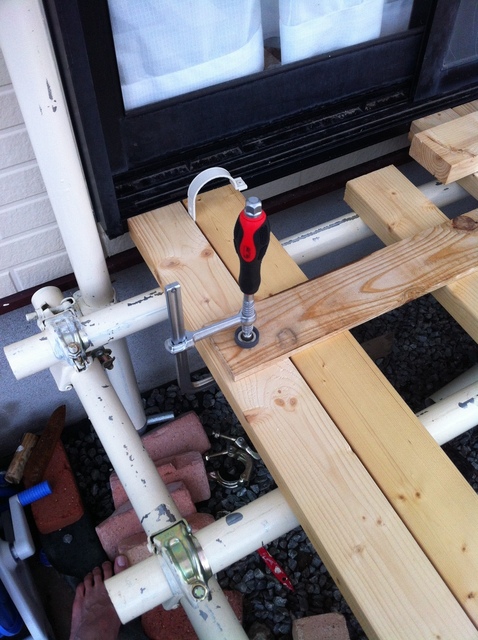
SPF alone is not durable enough for outdoor use, so I brush in wood preservative. The end grain absorbs the most water and is most prone to rot, so I coat it thoroughly u2014two coats. Fixing hardware: 40A saddle band clamps.

u7acau30fbWood preservative
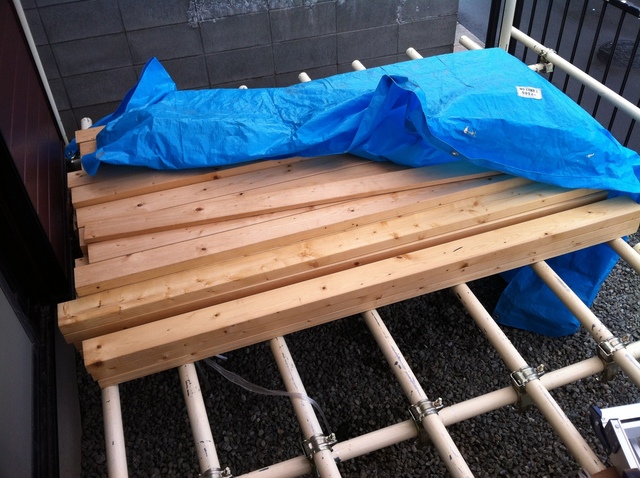
u7acau30fbSaddle band clamps
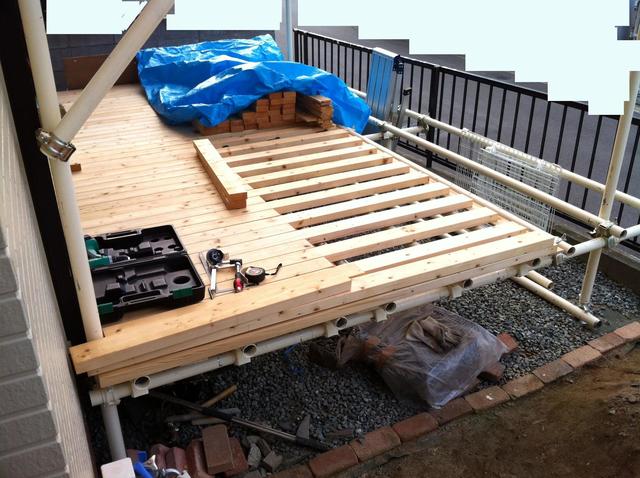
Temporarily place the SPF boards. Board spacing: approximately 3 mm. I used air-conditioning duct clamps as spacers to keep the gaps consistent.
u7acau30fbSPF boards in temporary position
u7acau30fbSpacers
u7acau30fbSpacers
I line up the SPF boards and assemble them into modular units.

u7acau30fbModular units
u7acau30fbModular units
u7acau30fbModular units
u7acau30fbModular units
u7acau30fbModular units
Even as I finished I still wondered u2014was the modular approach actually more efficient than laying boards one by one? To be honest I never figured it out!
ud83dudcda Wood Deck Build Log u2014 14 of 19
u2190 Build #39: Roof Assembly u00b7 Series Index u00b7 Build #41: Floor Boarding Pt.2 u2192
DIY Renovation Quote Review Manual
How to read, compare, and negotiate contractor quotes. This manual saved me u00a5800,000 on a single renovation project.
ud83cudfe0 More from DIY Father
15 years of landlord experience u00b7 3 apartment buildings u00b7 DIY renovations that saved millions of yen. Browse all articles at diytosan.com