ud83dudcda Tools & Materials Guide u2014 8 of 10
u2190 Tools Vol.3e: Wall Base Prep u2014 Plywood & Plasterboard u00b7 Series Index u00b7 Tools Vol.5a: Painting u2014 Brush & Roller u2192
u270fufe0f Originally published: 2021-07-31 / ud83dudd04 Updated: May 8, 2026
- u270fufe0f 2026 Update from DIY Dad: Tools for Sand-Plaster Walls and Painting
- How to Handle Sand-Plaster and Fiber Walls
- Substrate Preparation After Stripping
- Painting Tools Overview
- As a Landlord: The Cost Efficiency of Painting
- ud83cudfe2 For Anyone Considering Apartment Investment or Renovation
- Hello, this is DIY Dad. ^ ^
- Masking Is Critical u2014 Never Skip It
- ud83dudd27 DIY Dad’s Recommended Power Tools
- 📚 関連記事
u270fufe0f 2026 Update from DIY Dad: Tools for Sand-Plaster Walls and Painting
ud83duded2 RECOMMENDED PRODUCTS
18V Professional Impact Driver
My most-used tool. If you own one power tool, make it this.
This post covers the tools for dealing with sand-plaster and fiber walls common in older apartments, and the tools needed for painting work. Deciding whether to work with the existing wall or rebuild the substrate from scratch is just as important as having the right gear. ^ ^
How to Handle Sand-Plaster and Fiber Walls
ud83duded2 RECOMMENDED PRODUCTS
Power Tool Combo Kit (18V)
Combo kits are always better value than individual tools u2014 one battery charges all.
Method 1: Seal and Wallpaper Over It
Apply a sealer (consolidant) over the sand-plaster, let it dry, smooth with putty, then apply wallpaper. Relatively straightforward and affordable u2014 though heavy surface irregularities may prevent a perfect finish.
Method 2: Strip and Rebuild the Substrate
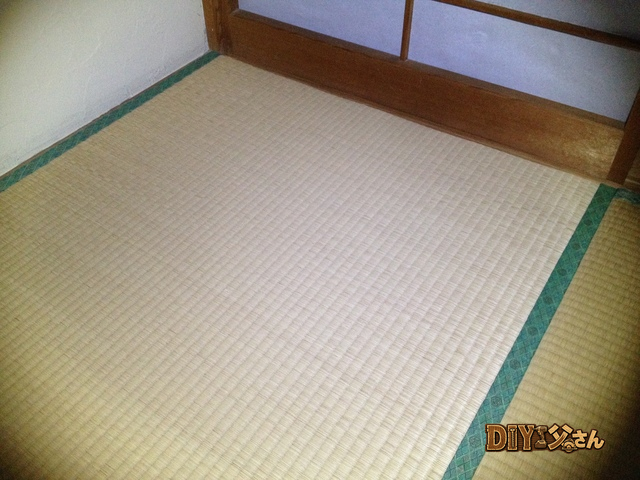
Completely remove the sand-plaster and rebuild the substrate with plasterboard or plywood. More labor-intensive and costly, but produces the cleanest result. DIY Dad used this method for a tatami room renovation. m(_ _)m
Substrate Preparation After Stripping
- Inspect the existing wall base (wood lath, metal lath, etc.)
- Remove and repair any decayed or softened sections
- Apply gypsum board (12.5 mm)
- Fill joints with putty (joint compound)
- Apply a thin skim coat of putty over the entire surface for smoothness
- After drying, sand smooth u2192 apply wallpaper or paint
Screw spacing for gypsum board: 300 mm or less as a rule. Locate studs and cross-blocking before driving screws. ^ ^
Painting Tools Overview
ud83duded2 RECOMMENDED PRODUCTS
Tool Storage & Workshop Organizer
A well-organized toolbox saves 20 minutes on every job. Multiply that by 100 repairs.
Hand painting (roller and brush): roller, brush, paint tray, masking tape and masker
Spray application: compressor, spray gun, dust mask, safety goggles, full-coverage protective sheeting
Hand painting is beginner-friendly. Spray application gives a more even finish but requires thorough masking due to wide overspray. DIY Dad selects the method based on the job. m(_ _)m
As a Landlord: The Cost Efficiency of Painting
Painting is one of the highest-return renovation investments u2014 maximum visual impact for minimal material cost. Repainting walls and ceilings white brightens the room and leaves a strong impression on prospective tenants.
Hiring a contractor for a 6-mat room: 50,000u201380,000 yen. DIY cost: paint only u2014 roughly 3,000u20135,000 yen. Outstanding value. ^ ^
ud83cudfe2 For Anyone Considering Apartment Investment or Renovation
Cost-effectiveness is everything in apartment renovation. DIY Dad drastically reduces costs by doing the work himself. ^ ^
Marutoku Shop | Renovation materials and lumber online u00bb
![]()
Hello, this is DIY Dad. ^ ^
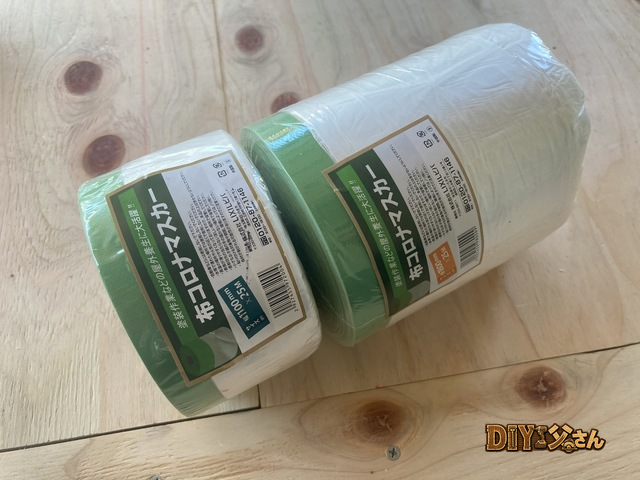
This post introduces the tools and materials used for masking and protection. Masking is the preparation work done before painting or caulking. The tools needed are scissors; the materials are a roll masker, masking tape, and protection tape.
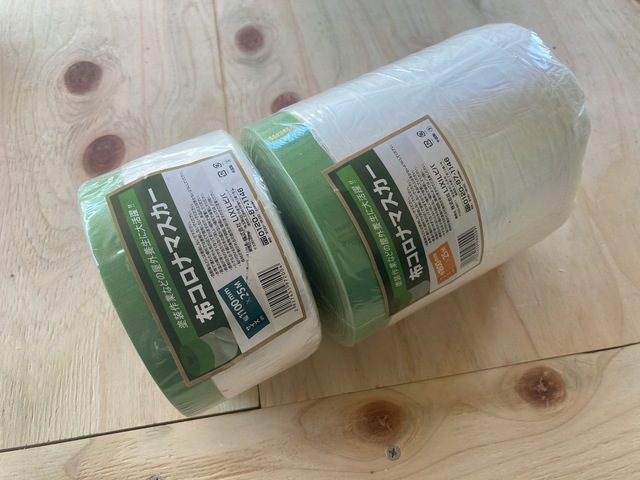
Roll Masker
A gaffer-tape strip with a protective plastic sheet attached. Used for covering large areas quickly.
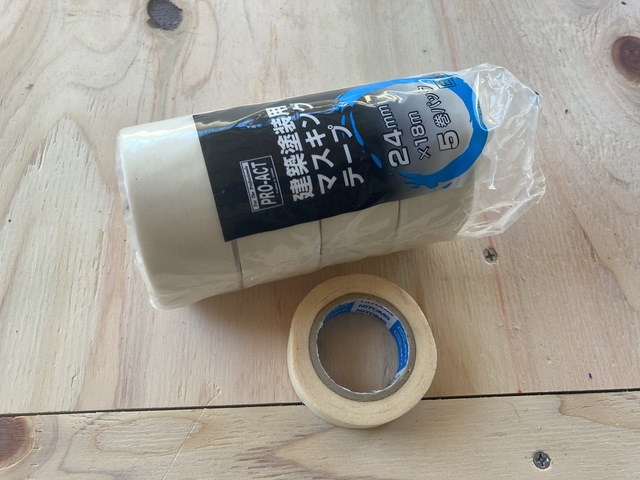
Masking Tape
For protecting fine details. The adhesive is relatively weak u2014 repositioning isn’t reliable, so get the placement right the first time.
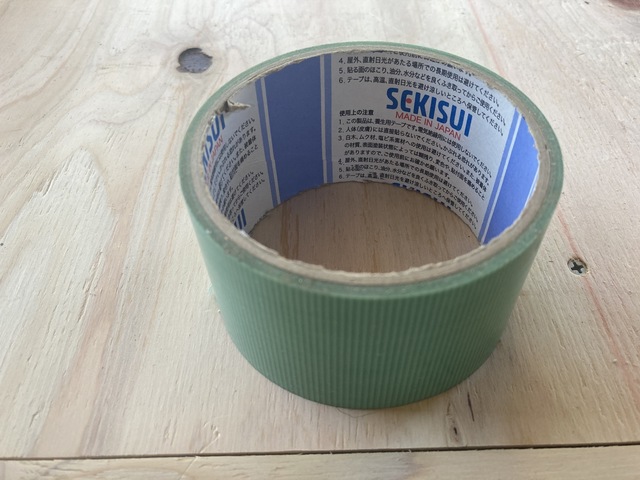
Protection Tape (Piolan)
Wide and with stronger adhesion u2014 highly versatile. Works for temporarily securing protective sheeting and doubles as general masking tape.
Masking Is Critical u2014 Never Skip It
Masking is one of the most important steps in renovation quality. Thorough masking means:
- Paint and adhesive stay where they’re supposed to
- Clean, straight finish lines
- Far less cleanup and rework afterward
Skipping or rushing masking leads to costly corrections u2014 rework takes far more time and effort than the masking itself would have. DIY Dad has learned this the hard way by cutting corners on masking u2014 and dealing with messy recoveries. (Ha!) The cleanup is brutal. (Major sweating)
That’s all for today! (^^)/~~~
ud83dudd27 DIY Dad’s Recommended Power Tools
A compact, USB rechargeable cordless driver set that’s easy for anyone to use u2014 even beginners.

ud83dudcdd DIY Dad’s note u2014 Premium Article
Real Cost & Timeline Database for DIY Renovation
Detailed actual cost records for renovating every room across apartments and two houses. Estimate comparison data broken down by wallpaper, flooring, and plumbing.
u00a5500 u2014 View the real numbers u2192

ud83dudcdd DIY Dad’s note u2014 Premium Article
DIY Renovation Estimate Review Manual
How to read renovation quotes through the eyes of a mechanical engineer. Unit price benchmarks, how to spot inflated figures, and negotiation tactics u2014 fully disclosed.
u00a5300 u2014 Scrutinize the quote u2192
ud83dudcda Tools & Materials Guide u2014 8 of 10
u2190 Tools Vol.3e: Wall Base Prep u2014 Plywood & Plasterboard u00b7 Series Index u00b7 Tools Vol.5a: Painting u2014 Brush & Roller u2192
ud83cudfe0 More from DIY Father
15 years of landlord experience u00b7 3 apartment buildings u00b7 DIY renovations that saved millions of yen. Browse all articles at diytosan.com