ud83dudcda Kitchen 2 Renovation Series u2014 40 of 45
u2190 Kitchen2 Vol.39: Dishwasher Install Vol.17 u00b7 Series Index u00b7 Kitchen2 Vol.41: Dishwasher Install Vol.19 u2192
2026 Update from DIY Dad: Dishwasher Done + Sink Light = Kitchen Phase 2 Complete
ud83duded2 RECOMMENDED PRODUCTS
Modern Kitchen Cabinet Handles
New handles cost u00a53,000u20138,000 and make a kitchen feel 10 years newer instantly.
Final touches on the dishwasher and sink light complete Kitchen Phase 2.
Final Dishwasher Checklist
ud83duded2 RECOMMENDED PRODUCTS
Kitchen Faucets
A faucet upgrade is the single highest-impact kitchen DIY per yen spent.
- No leaks at the water supply hose connection
- Drain hose correctly connected with no back-slope
- Power cord not pinched
- Front panel level and aligned
- Door opens and closes smoothly
- Test run operates normally
- No abnormal sounds or odors
Kitchen Phase 2 Summary
Total cost: approx. 120,000 yen (including the dishwasher). Professional quotes: 350,000u2013500,000 yen. Massive cost savings through DIY.
Hi, it’s DIY Dad.
Project KS u2014 we had a family trip recently. A seaside inn with fresh seafood. The monkfish liver was rich and incredible!
The schedule was too tight to relax properly u2014 next time I’ll plan more breathing room.
Continuing the 1F kitchen renovation u2014 the drain connection.
This was the hardest part to figure out. I searched for a connector to join the sink’s drain hose with the dishwasher’s drain hose, but couldn’t find anything that fit. Checked the internet and home improvement stores u2014 nothing clicked.
No choice but to improvise with brute force.
One concern: the sink’s corrugated drain hose is rated to 60u00b0C, but dishwasher drain water is probably hotter u2014 maybe 70u201380u00b0C.
So I’ll extend the drain to the PVC pipe past the corrugated hose.
u2191 PVC drain pipe.
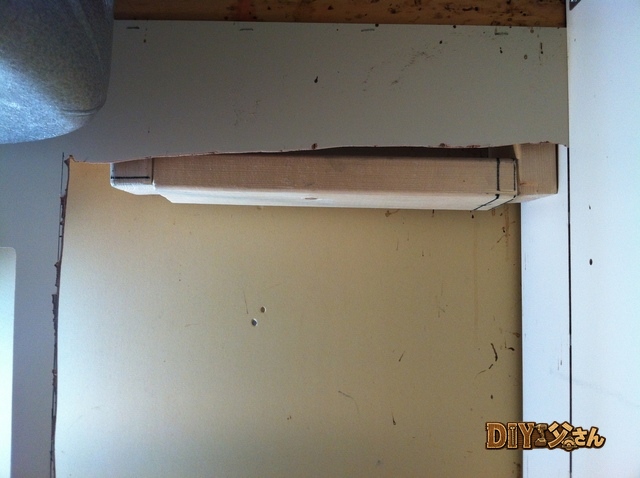
But another problem u2014 the hose isn’t long enough.
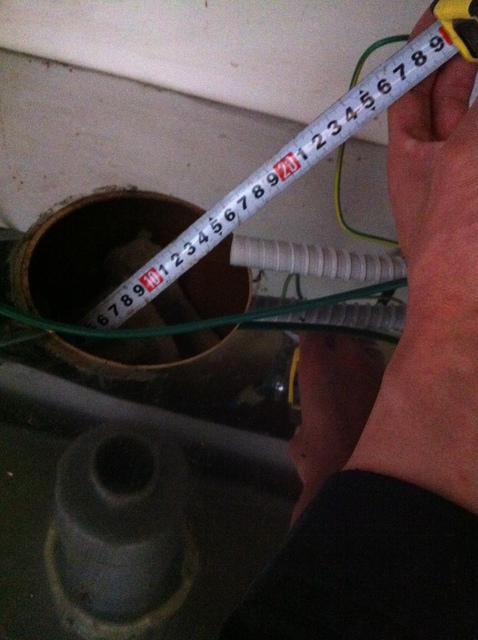
u2191 Length shortage.
Hmm, what to do? Have to extend it. Something heat-resistant that also flexes like a corrugated hose… Seems too good to be true.
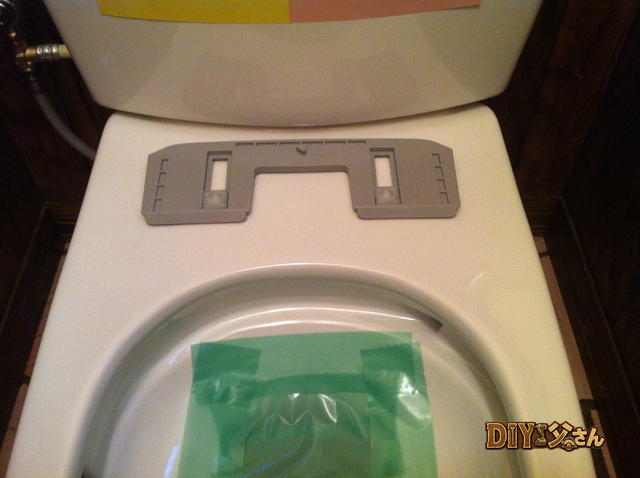
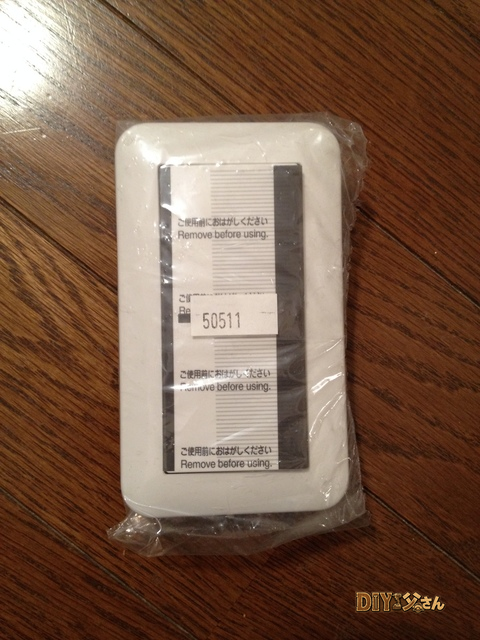
Searched around the house for something usable, and found it u2014 leftover pipe from the toilet installation!
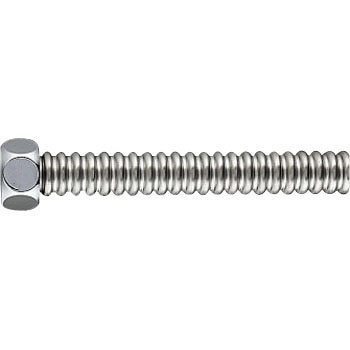
u2191 Flexible water supply pipe.
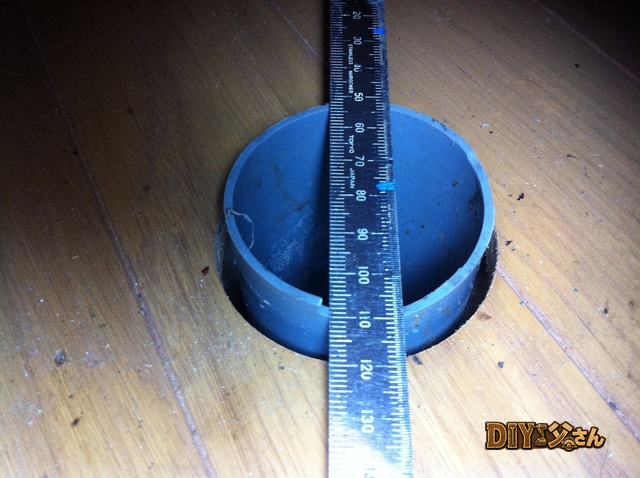
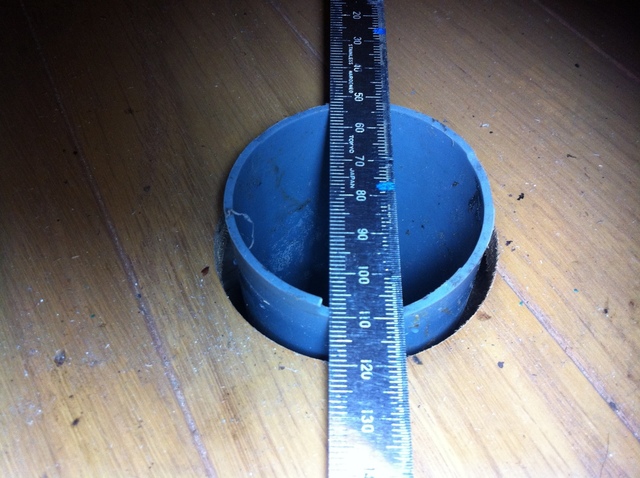
Joining the drain hose and flexible pipe. Measured the hose inner diameter.
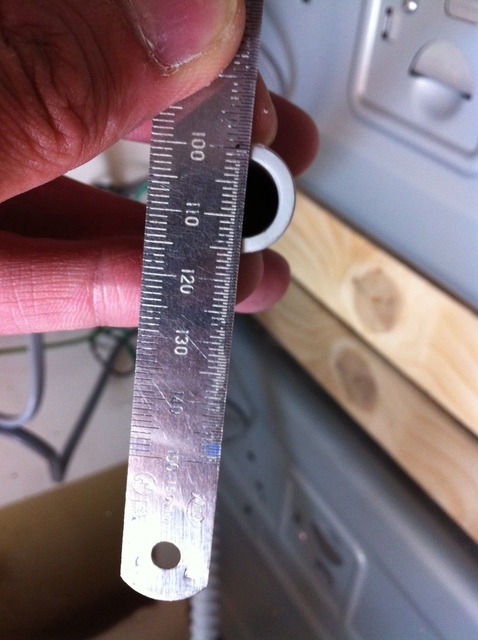
u2191 Drain hose inner diameter.
Used a hose nipple matching this inner diameter, bought from the home improvement store.
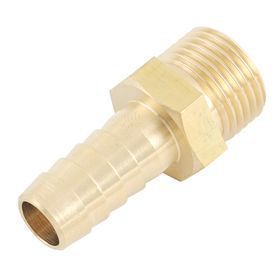
u2191 Hose nipple.
Screw the flexible pipe onto the G-thread side, push the hose onto the barb side. Secured the hose with a hose clamp to prevent it pulling out.
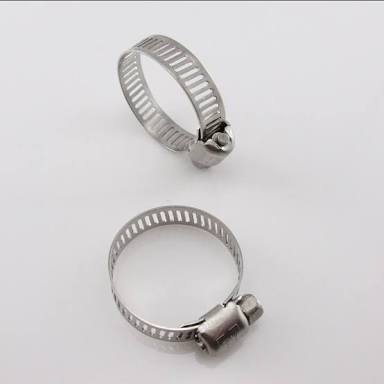
u2191 Hose clamp.
Hose extension complete!
That’s it for today u2014 see you next time!
ud83dudcda Kitchen 2 Renovation Series u2014 40 of 45
u2190 Kitchen2 Vol.39: Dishwasher Install Vol.17 u00b7 Series Index u00b7 Kitchen2 Vol.41: Dishwasher Install Vol.19 u2192
DIY Renovation Quote Review Manual
How to read, compare, and negotiate contractor quotes. This manual saved me u00a5800,000 on a single renovation project.
ud83cudfe0 More from DIY Father
15 years of landlord experience u00b7 3 apartment buildings u00b7 DIY renovations that saved millions of yen. Browse all articles at diytosan.com