ud83dudcda Kitchen 2 Renovation Series u2014 12 of 45
u2190 Kitchen2 Vol.11: Faucet Removal u00b7 Series Index u00b7 Kitchen2 Vol.13: Faucet Installation u2192
u270fufe0f Originally published: 2016-12-30 / ud83dudd04 Updated: May 8, 2026
2026 Update u2014 Kitchen Finishing Work: A Recap
ud83duded2 RECOMMENDED PRODUCTS
Modern Kitchen Cabinet Handles
New handles cost u00a53,000u20138,000 and make a kitchen feel 10 years newer instantly.
The finishing phase of the kitchen series. The sequence was: wallpaper removal u2192 caulk removal u2192 faucet swap u2192 light removal u2192 faucet installation u2192 fan reinstall. With plumbing and electrical involved, order and safety checks are essential. ^ ^
Removing Old Silicon Caulk
ud83duded2 RECOMMENDED PRODUCTS
Kitchen Faucets
A faucet upgrade is the single highest-impact kitchen DIY per yen spent.
Degraded silicon caulk in tile joints and wall seams should be removed before applying fresh caulk u2014 both waterproofing and appearance improve dramatically.
Tools: liquid caulk remover, or a utility knife with a caulk scraper. Apply the remover, wait 30u201360 minutes, then peel away.
Replacing the Single-Handle Mixer Faucet
A kitchen faucet swap is a solid DIY task. Key points: close the supply valves completely, and confirm the mounting hole diameter matches between old and new faucets.
Standard Single-Lever Faucet Swap Steps
- u2460 Close hot and cold shut-off valves under the sink
- u2461 Remove the nut holding the old faucet
- u2462 Disconnect the supply hoses
- u2463 Insert the new faucet through the mounting hole
- u2464 Tighten the mounting nut
- u2465 Reconnect the supply hoses
- u2466 Open valves and check for leaks
A new faucet changes the whole feel of a kitchen u2014 upgrading to a single-lever mixer instantly gives it a functional, modern look. ^ ^
Sink Under-Cabinet Light: Removal and Replacement
ud83duded2 RECOMMENDED PRODUCTS
Kitchen Backsplash Tile Kits
A tiled backsplash protects the wall and dramatically upgrades the kitchen appearance.
The under-cabinet fluorescent light above the sink must be removed before re-wallpapering. Simply remove the mounting screws and wrap the exposed wire ends in electrical tape until reinstall time.
Replacing it with an LED type is the smart move for energy efficiency and long service life. As with the fan reinstall, any electrical work involving the wiring itself requires a licensed electrician.
Fan Reinstall
The cleaned fan goes back in the reverse order of removal u2014 with the breaker off throughout. If there’s unusual noise after installation, check that the propeller is properly secured. DIY Dad found a loose nut on the first test run and tightened it. (Laughs)
As a Landlord u2014 Looking Back on the Kitchen Renovation
Fresh caulk, a new faucet, and a clean fan transformed the kitchen from “old and grimy” to “clean and functional.” The combination of new wallpaper + CF + faucet + fan cleaning runs about 80,000u2013120,000 yen in materials. Hiring out the same work would cost 400,000u2013600,000 yen. DIY makes a massive difference. ^ ^
One firm rule from DIY Dad: gas equipment stays with the professionals. Gas work is life-safety territory. (Laughs)
Now to the Step-by-Step u2014 Removing the Sink Light
Hi, it’s DIY Dad! ^ ^
My wife and the kids aren’t fully recovered yet, but the fever has gone down. My wife was determined to go to her parents’ house for the holiday and decided: “We’re getting on the Shinkansen before the fever comes back!” I had my worries, but I followed her lead. ^_^;
A sudden schedule change. We took the Shinkansen. Shinkansen plus transfers u2014 almost six hours to arrive at the in-laws’ house. ^ ^ We’ll make it to New Year’s after all.
Continuing with the 1F kitchen renovation. Following the single-handle faucet removal, it’s time to remove the sink light. Tools and materials used: impact driver, screwdriver, vinyl electrical tape.
The existing under-cabinet light doesn’t turn on u2014 it may be a dead fluorescent tube or a failed unit. Either way, it’s coming out and being replaced with a brighter new one.
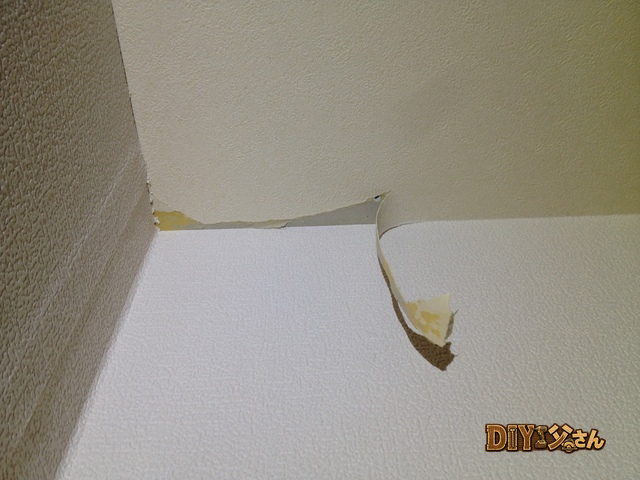
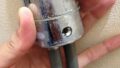
The light is screwed to the wall cabinet. Use the impact driver to loosen the screws. Disconnect the wiring. The wires have a retention lock u2014 insert a flat-blade screwdriver to release the lock and pull the wires free. Wrap the exposed wire ends with electrical tape.
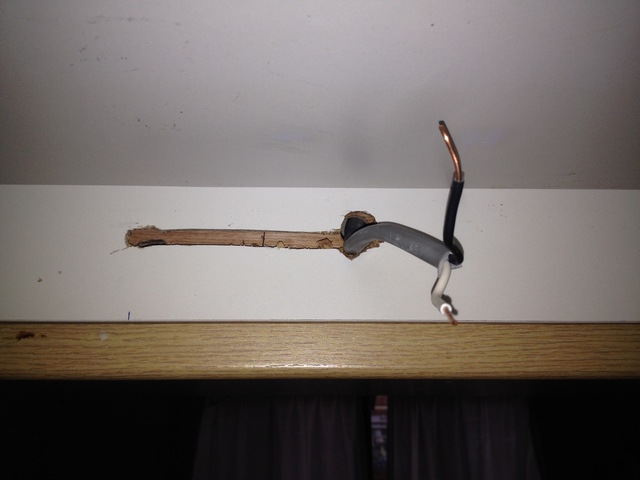
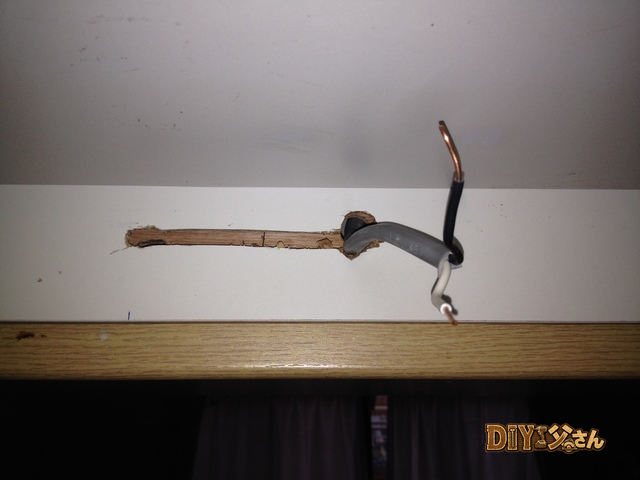
^ Wiring after the sink light removal. All fixtures are now removed. ^ ^
That’s all for today! (^^)/~~~
ud83dudcda Kitchen 2 Renovation Series u2014 12 of 45
u2190 Kitchen2 Vol.11: Faucet Removal u00b7 Series Index u00b7 Kitchen2 Vol.13: Faucet Installation u2192
DIY Renovation Quote Review Manual
How to read, compare, and negotiate contractor quotes. This manual saved me u00a5800,000 on a single renovation project.
ud83cudfe0 More from DIY Father
15 years of landlord experience u00b7 3 apartment buildings u00b7 DIY renovations that saved millions of yen. Browse all articles at diytosan.com