ud83dudcda Kitchen 2 Renovation Series u2014 19 of 45
u2190 Kitchen2 Vol.18: Floor Base Treatment u00b7 Series Index u00b7 Kitchen2 Vol.20: Cushion Floor Laying u2192
u270fufe0f Originally published: 2017-02-05 / ud83dudd04 Updated: May 8, 2026
2026 Update u2014 Kitchen Phase 2 Work: Outlets and Floor Repair
ud83duded2 RECOMMENDED PRODUCTS
Modern Kitchen Cabinet Handles
New handles cost u00a53,000u20138,000 and make a kitchen feel 10 years newer instantly.
After finishing the bathroom, I moved on to the kitchen’s second phase of work: adding outlets and repairing the floor. Kitchen floors take a beating, so it’s important to repair them properly before relaying the finish. ^ ^
Adding Kitchen Outlets
ud83duded2 RECOMMENDED PRODUCTS
Kitchen Faucets
A faucet upgrade is the single highest-impact kitchen DIY per yen spent.
In older homes, kitchen outlets are often few and far between u2014 run a microwave, rice cooker, and electric kettle at the same time and the breaker trips. I added outlets to keep up with modern living demands.
Methods for Adding Outlets
- u2460 Branch from an existing circuit (if capacity allows)
- u2461 Run a new dedicated circuit (for high-draw appliances)
- u2462 Install a new 20A kitchen-dedicated circuit from scratch
Adding outlets requires a Type 2 Electrical Work License. DIY Dad holds the license, so the work was done in-house. If you don’t have the license, you must hire a licensed electrical contractor.
About the Type 2 Electrical Work License
If you’re a landlord, I strongly recommend getting this license. It’s a national qualification that covers a written exam and a practical skills test, and once you have it you can add outlets, swap light fixtures, and replace switches yourself.
Exams are held twice a year. DIY Dad studied independently to pass. With study materials and tools, the total investment was about 30,000 yen u2014 and it has since saved hundreds of thousands of yen in outsourced electrical work. ^ ^
Kitchen Floor Repair
ud83duded2 RECOMMENDED PRODUCTS
Kitchen Backsplash Tile Kits
A tiled backsplash protects the wall and dramatically upgrades the kitchen appearance.
Kitchen floors are exposed to water, oil, and heat, so they deteriorate faster than any other room. The plywood subfloor beneath the cushion floor (CF) is often rotted out.
Floor Repair Steps
- u2460 Strip the existing CF and assess the subfloor
- u2461 Remove rotted or soft plywood
- u2462 Lay new 12mm plywood as the new subfloor
- u2463 Level any steps by filling with floor leveling compound
- u2464 Lay the new CF
If you leave a rotted subfloor in place and just re-lay the CF on top, it’ll be spongy again within a few years. It’s more work, but rebuilding from the subfloor is the right call.
Now to the Step-by-Step u2014 Laying the Cushion Floor
Hi, it’s DIY Dad! ^ ^
Today is Setsubun (Bean-Throwing Day). DIY Dad transforms into the oni (demon) u2014 the poor creature who gets pelted with beans and chased out. But before I get chased away, I plan to give the kids a serious scare! u03c8(u25bd)u03c8
Last year they literally jumped in fright. Too much, and the little commanders get upset u2014 then Mom gets upset at me u2014 and then it’s me who ends up sulking. I’ll dial it back this year. (Laughs)
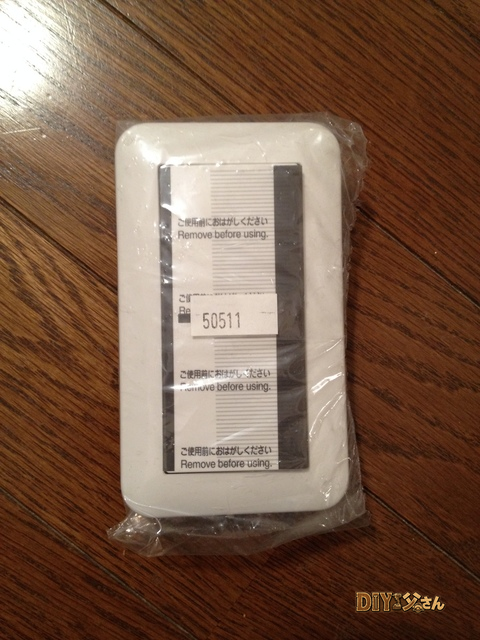
Continuing with the 1F kitchen renovation. After the substrate treatment, it’s time to lay the cushion floor. Tools and materials used: cushion floor, transition strip, CF adhesive, wood glue, masking tape, notched trowel, roller, scissors.
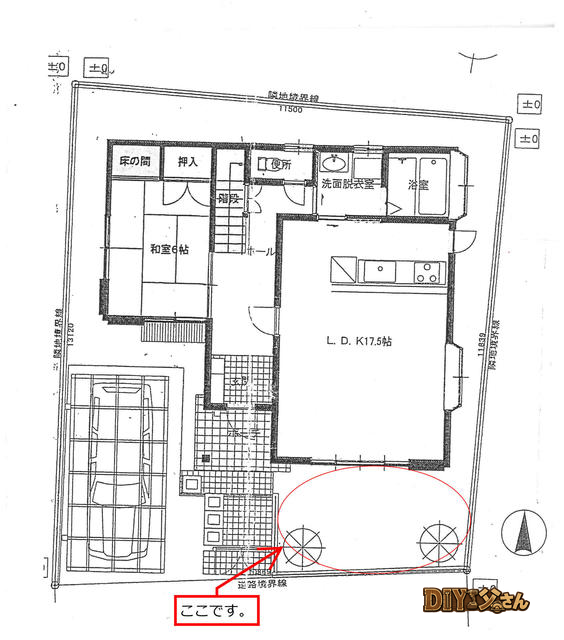
The area is small enough to do in one piece. Cut the CF to shape with scissors. Spread CF adhesive with a notched trowel. Wait for the adhesive to reach the right tack. Press the CF down. Roll it thoroughly to push out any air.
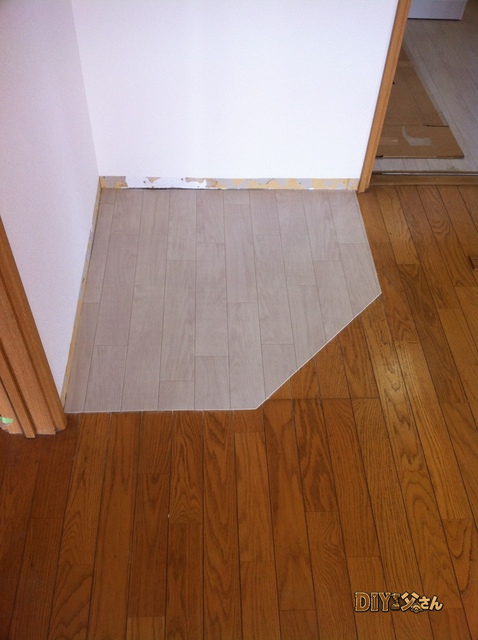
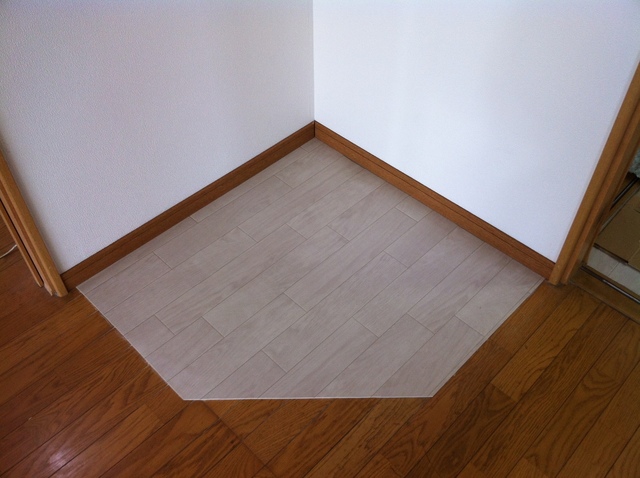
^ Cushion floor laid.
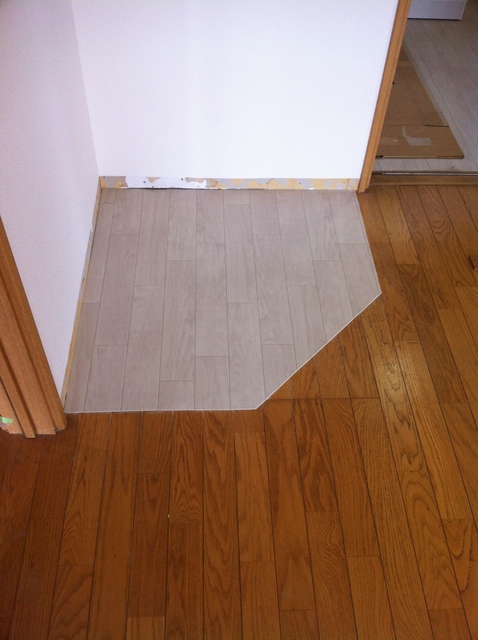
^ Cushion floor from above. While waiting for the adhesive to cure, I weighed it down u2014 not strictly necessary, but I was working close by and didn’t want to accidentally shift it. The weight I used was the salvaged vanity unit. ^ ^
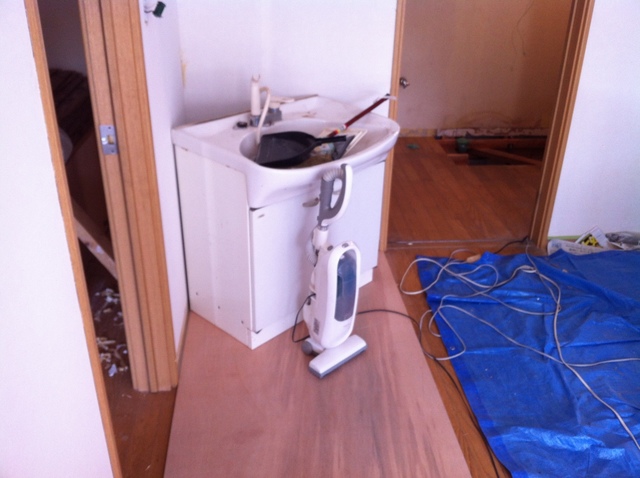
^ The removed vanity used as a weight.
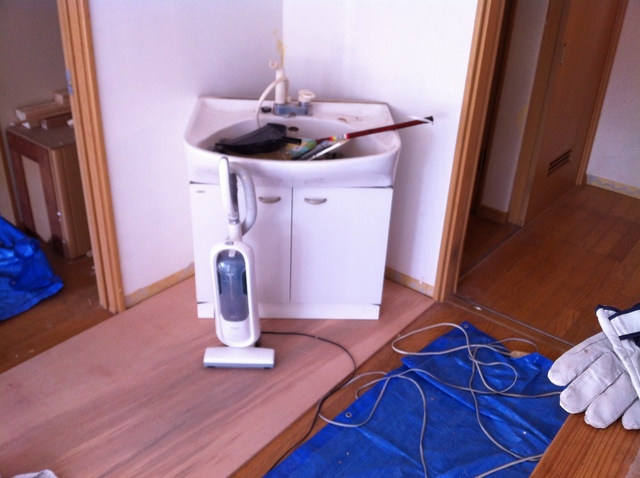
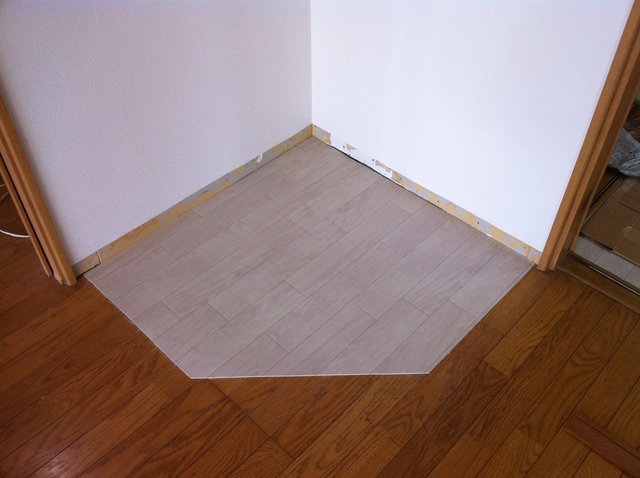
^ Another view of the vanity weight. Once the adhesive was firm, I installed the base molding. The molding is bonded with wood glue.
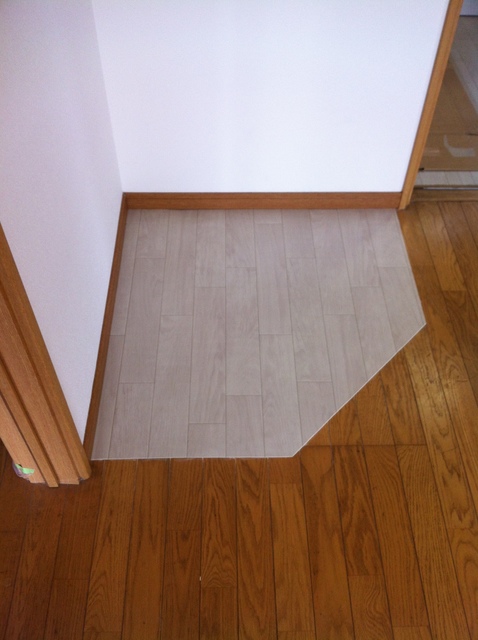
^ Base molding installed.
^ Base molding from the side.
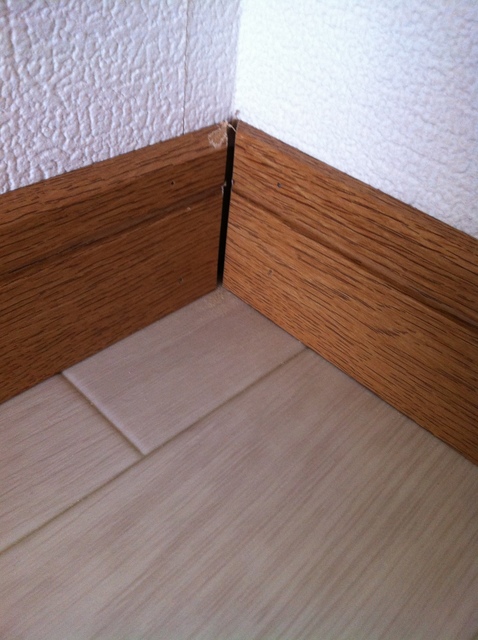
^ The corner joint of the molding.
That’s all for today! (^^)/~~~
ud83dudcda Kitchen 2 Renovation Series u2014 19 of 45
u2190 Kitchen2 Vol.18: Floor Base Treatment u00b7 Series Index u00b7 Kitchen2 Vol.20: Cushion Floor Laying u2192
DIY Renovation Quote Review Manual
How to read, compare, and negotiate contractor quotes. This manual saved me u00a5800,000 on a single renovation project.
ud83cudfe0 More from DIY Father
15 years of landlord experience u00b7 3 apartment buildings u00b7 DIY renovations that saved millions of yen. Browse all articles at diytosan.com