ud83dudcda Toilet Renovation Series u2014 21 of 25
u2190 Toilet Renovation Vol.20: Toilet Bowl Installation Pt.4 u00b7 Series Index u00b7 Toilet Renovation Vol.22: Wall Shelf Installation u2192
u270fufe0f Originally published: 2017-01-23 / ud83dudd04 Updated: May 8, 2026
2026 DIY Dad’s Note: Toilet Complete! u2014 From Accessories to Finish
ud83duded2 RECOMMENDED PRODUCTS
Washlet Toilet Seats (Bidet)
A washlet seat is the single upgrade that impresses every tenant in Japan.
Once the toilet bowl was set in place, it was time for the finishing touches: installing the accessories. With the paper holder, towel ring, and washlet (bidet seat) all in place, the toilet renovation was finally complete. ^ ^
Order of Accessory Installation
ud83duded2 RECOMMENDED PRODUCTS
Toilet Repair Kits
Keep a repair kit stocked u2014 toilet calls come without warning at midnight.
The golden rule is to install accessories from top to bottom:
- Wall shelf
- Towel ring
- Toilet paper holder
- Washlet (electronic bidet seat)
- Outlet cover plate u2014 last of all
The reason: if you install the lower items first, they get in the way u2014 or get scratched u2014 when you go to work on the upper ones.
Installing the Washlet
Fitting a washlet is surprisingly straightforward:
- Set the mounting plate on the toilet rim (two bolts)
- Slide the washlet body onto the plate and lock it in
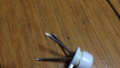
- Attach the diverter valve to the shut-off valve (splicing a branch fitting into the existing supply line)
- Plug the power cord into the outlet
- Turn on the water and check for leaks
- Test all functions
The diverter valve is the critical step. Check the thread size of your shut-off valve in advance and buy a matching diverter before you start. ^ ^
Step-by-Step: The Accessories
ud83duded2 RECOMMENDED PRODUCTS
Toilet Accessories Sets
Matching accessories cost u00a52,000 and make a small toilet feel designed.
Hi, this is DIY Dad. ^ ^ I recently had a great time catching up with childhood friends at our once-a-year gathering u2014 hearing about marriages, new babies, transfers to other cities. Looking forward to meeting again next year. These are the people I’ve known longest, outside of family. Truly irreplaceable.
Now, continuing the first-floor toilet renovation. Next up: the accessories. I’m fitting the outlet plate, the ventilation fan, the towel ring, and the toilet paper holder.
Tools and materials: outlet plate, ventilation fan, towel ring, toilet paper holder, impact driver, screwdriver.
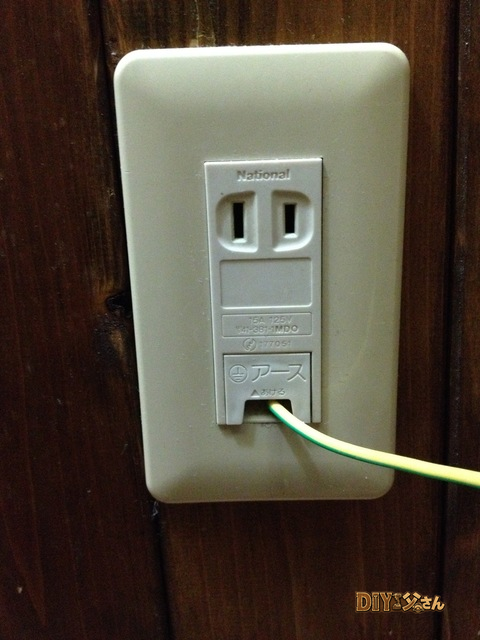
Outlet
Fix the outlet bracket to the wall with screws, then snap on the cover plate. Because this is a wet area, I used a grounded outlet.
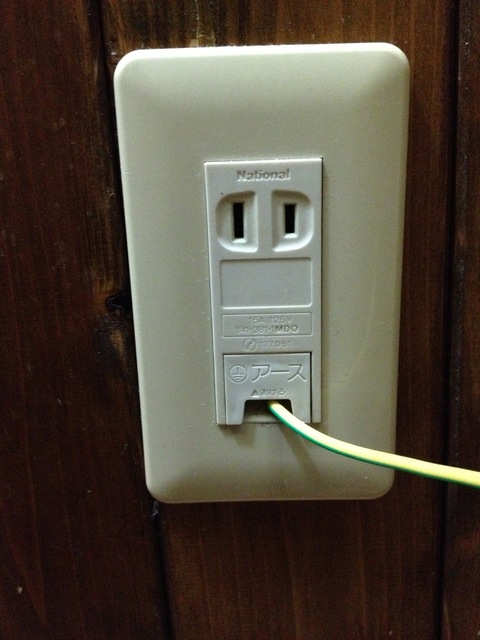
The outlet. The plate neatly hides the gap around the wiring u2014 looking good. ^ ^
Ventilation Fan
Screw the fan unit in place, then snap on the cover.
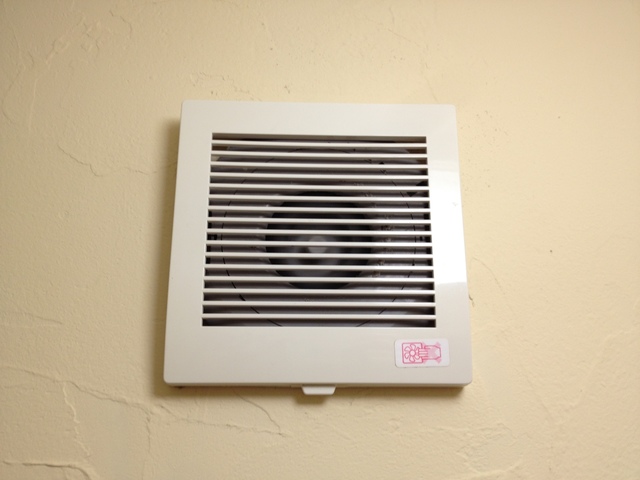
The ventilation fan.
Towel Ring
Fixed to the wall with screws.
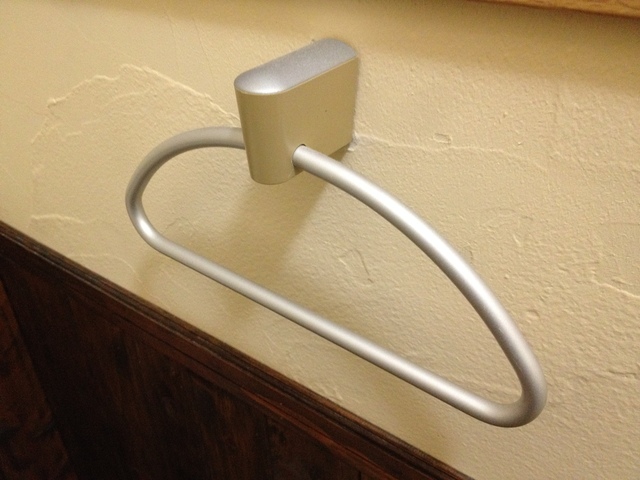
The towel ring.
Toilet Paper Holder
Fixed to the wall with screws.
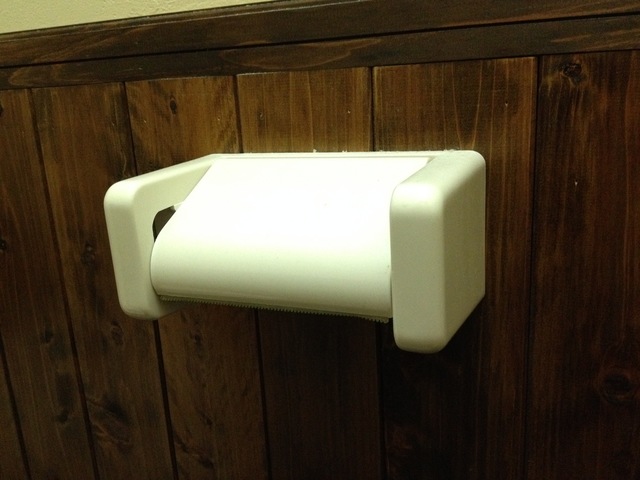
The toilet paper holder. With that, all the accessories are in place u2014 the toilet is taking shape nicely!
ud83dudebd Thinking About a Toilet Renovation?
Even just replacing the toilet bowl makes a dramatic difference to the feel of the room. Upgrading to a modern toilet with a built-in washlet is a change DIY Dad has applied to every property in his portfolio. ^ ^
24-hour emergency plumbing u2014 Water Rescue Squad u00bb
Marutoku Shop | Wainscoting panels and timber u2014 order by the piece u00bb
ud83dudcda Toilet Renovation Series u2014 21 of 25
u2190 Toilet Renovation Vol.20: Toilet Bowl Installation Pt.4 u00b7 Series Index u00b7 Toilet Renovation Vol.22: Wall Shelf Installation u2192
DIY Renovation Quote Review Manual
How to read, compare, and negotiate contractor quotes. This manual saved me u00a5800,000 on a single renovation project.
ud83cudfe0 More from DIY Father
15 years of landlord experience u00b7 3 apartment buildings u00b7 DIY renovations that saved millions of yen. Browse all articles at diytosan.com