ud83dudcda Kitchen 2 Renovation Series u2014 34 of 45
u2190 Kitchen2 Vol.33: Dishwasher Install Vol.11 u00b7 Series Index u00b7 Kitchen2 Vol.35: Dishwasher Install Vol.13 u2192
-> Back to all English articles
First published: 2017-02-27 / Updated: May 2026
2026 Note from DIY Dad: Dishwasher Installation u2014 Mid-stage to Finishing
ud83duded2 RECOMMENDED PRODUCTS
Modern Kitchen Cabinet Handles
New handles cost u00a53,000u20138,000 and make a kitchen feel 10 years newer instantly.
The dishwasher installation involves many steps and requires patience. DIY Dad expected it to take time u2014 and it took even more. But the satisfaction when it’s done is something else!
Cabinet Opening and Reinforcement
ud83duded2 RECOMMENDED PRODUCTS
Kitchen Faucets
A faucet upgrade is the single highest-impact kitchen DIY per yen spent.
When fitting a dishwasher into an existing cabinet, securing the opening’s structural strength is crucial. After removing shelves and dividers, verify the remaining frame can support the dishwasher’s weight (about 30u201340 kg).
Add reinforcing material (lumber or plywood) as needed. Since a dishwasher vibrates during operation, a solid, rigid base that won’t loosen or deform is essential. m(_ _)m
Routing the Plumbing Cleanly
Secure water supply and drain hoses under the sink with cable ties and clips so they don’t interfere with other pipes. A kinked hose reduces flow and at worst can cause a leak.
DIY Dad organizes the plumbing first, then closes the cabinet door for a final check. Even with the door closed, verify no hose is under undue stress.
Providing a Dedicated Power Supply
ud83duded2 RECOMMENDED PRODUCTS
Kitchen Backsplash Tile Kits
A tiled backsplash protects the wall and dramatically upgrades the kitchen appearance.
The dishwasher needs a 100V, 15A or greater outlet. If there’s no outlet under the sink, a new circuit must be run (requires a licensed electrician).
Even if you use an existing outlet, a dedicated circuit is strongly recommended. Sharing a breaker with other large appliances will cause it to trip frequently. m(_ _)m
As a Landlord: Tenants Love the Dishwasher
Since installing the dishwasher, tenant feedback has been excellent. “Having a dishwasher makes daily cleanup so much easier” u2014 especially families and dual-income couples love it.
DIY Dad always leads with “built-in dishwasher included” in property listings. It’s a magic phrase that boosts viewing inquiry rates.
Total Labor for the DIY Dishwasher Install
- Cabinet opening work: half a day
- Water supply and drain plumbing: half a day
- Electrical work: 2 hours
- Unit placement and leveling: 2 hours
- Front panel fabrication and fitting: half a day
- Test run and final check: 1 hour
- Total: approximately 2 full days
Hiring a contractor just for labor would cost 150,000u2013200,000 yen. DIY Dad did it including the appliance itself for around 80,000 yen total.
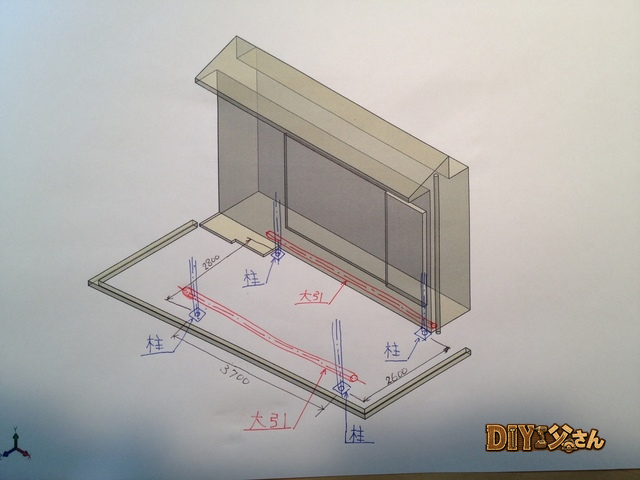
Hi, it’s DIY Dad! Project OS u2014 our partner contact came through! The counterparty agreed to the negotiation. However, because the application was delayed, the system apparently won’t allow withdrawal of the existing application. Is there really no other way…? Continuing the 1F kitchen renovation!
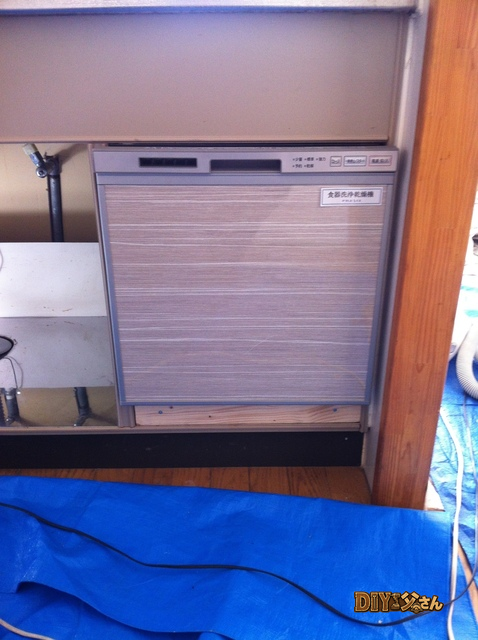
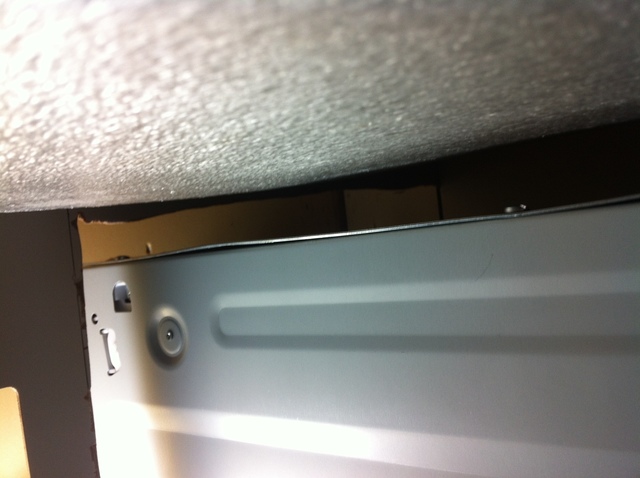
The raising platform is fitted. Let’s slide the dishwasher in right away.
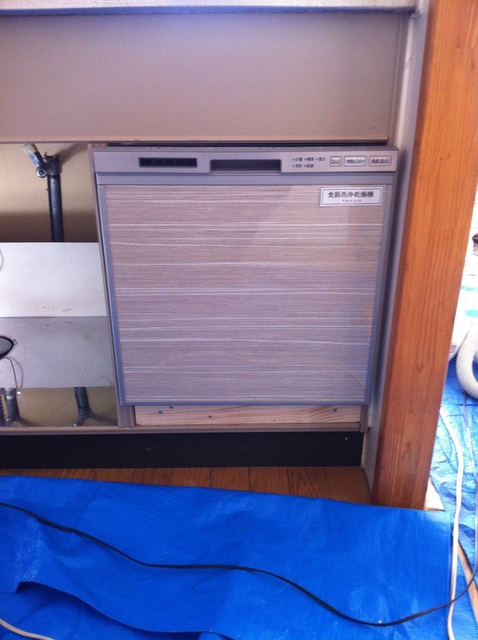
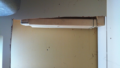
Sliding the dishwasher in.
Sliding the dishwasher in. It’s sitting in a great position u2014 just barely fits!
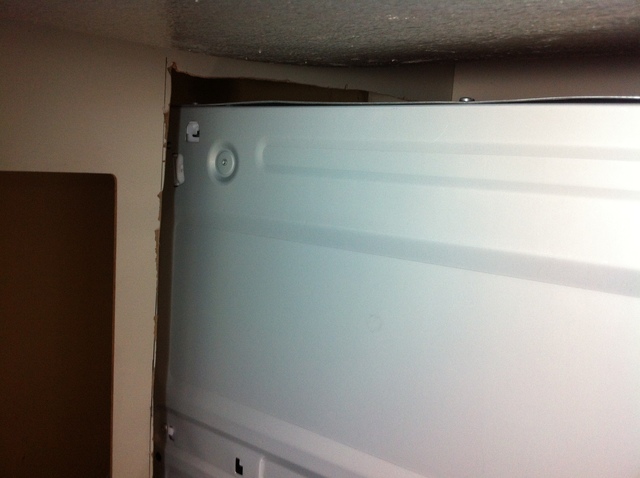
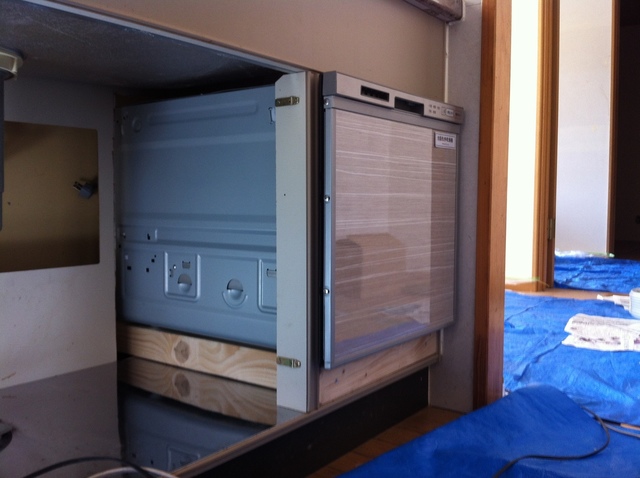
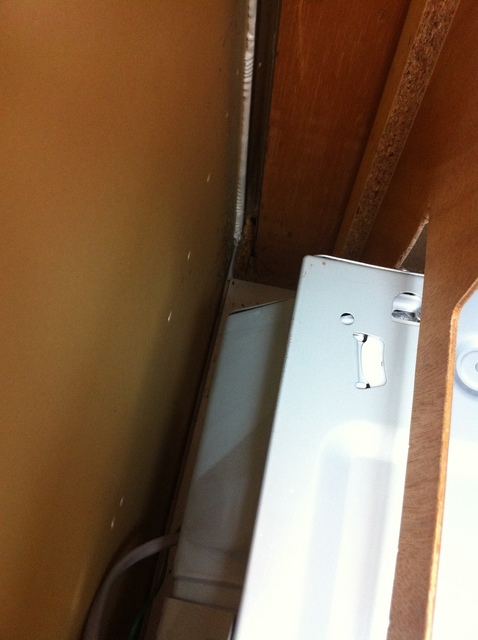
Clearance gap.
Clearance gap. Here’s what the rear looks like.
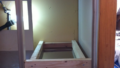
Rear view.
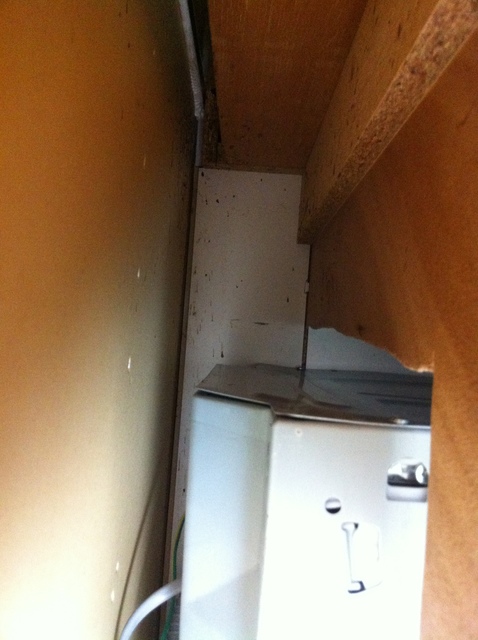
Rear view. The dishwasher is seated nicely u2014 looks almost done visually (not yet functional though). DIY Dad tries pulling the drawer. Thunk! The dishwasher lurched forward. Hmm… that’s a problem. That’s all for today!
ud83dudcda Kitchen 2 Renovation Series u2014 34 of 45
u2190 Kitchen2 Vol.33: Dishwasher Install Vol.11 u00b7 Series Index u00b7 Kitchen2 Vol.35: Dishwasher Install Vol.13 u2192
DIY Renovation Quote Review Manual
How to read, compare, and negotiate contractor quotes. This manual saved me u00a5800,000 on a single renovation project.
ud83cudfe0 More from DIY Father
15 years of landlord experience u00b7 3 apartment buildings u00b7 DIY renovations that saved millions of yen. Browse all articles at diytosan.com