ud83dudcda Wood Deck Build Log u2014 2 of 19
u2190 Design #12: Column Buckling Calcs u00b7 Series Index u00b7 Design #14: Materials List u2192
2026 Update from DIY Dad: Final Planning Phase u2014 Preparing for Construction
ud83duded2 RECOMMENDED PRODUCTS
Pressure-Treated Deck Lumber
Pressure-treated lumber is the baseline u2014 skip it and you’ll be rebuilding in 5 years.
The latter half of the planning phase. Planning continued through 2018, but the final design was locked in and construction preparations were complete. The major design change was switching the structural skeleton material to steel scaffold pipe.
Why Steel Scaffold Pipe for the Skeleton
I changed the skeleton from the originally planned aluminum square tube to steel scaffold pipe (u03a648.6 mm). The reasons were cost reduction and ease of sourcing. Scaffold pipe is available cheaply at any home center and can be freely assembled with clamps.
The downside is that it can rust, but this is addressed with a rust-proof paint coat before construction. The structural strength is also more than adequate u2014 it’s a proven choice for wood deck skeletons.
Final Design Specifications
DIY Dad’s final confirmed wood deck specifications:
- Decking: Serangan Batu hardwood, 20 mm thick u00d7 120 mm wide
- Skeleton: Steel scaffold pipe + clamps
- Deck floor size: 4.5 m wide u00d7 2.4 m deep
- Roof: Polycarbonate corrugated sheet (pergola structure)
- Railing / fence: Serangan Batu hardwood
- Stairs: 2 steps
The long planning period meant very few construction mistakes. “Take your time planning and build it right” rather than “rush in and fail” is the DIY Dad way.
Timing Your Material Orders
Hardwood is purchased from online specialty stores, and lead times can be 1u20132 weeks. The best approach is to place the order before construction starts so the wood arrives just as the skeleton is going up.
Design Log
ud83duded2 RECOMMENDED PRODUCTS
Deck Stains & Waterproof Sealers
Stain every 2u20133 years. It’s the single cheapest way to double deck lifespan.
Hi, I’m DIY Dad.
Continuing with the exterior renovation series. The structural strength checks for all members are largely complete. Now let’s look at the floor board layout.
I had been thinking about this during the strength review, so the order is slightly mixed up u2014 but “layout” here doesn’t mean installation technique. It’s mainly about the orientation of the boards and how they interface with the structure.
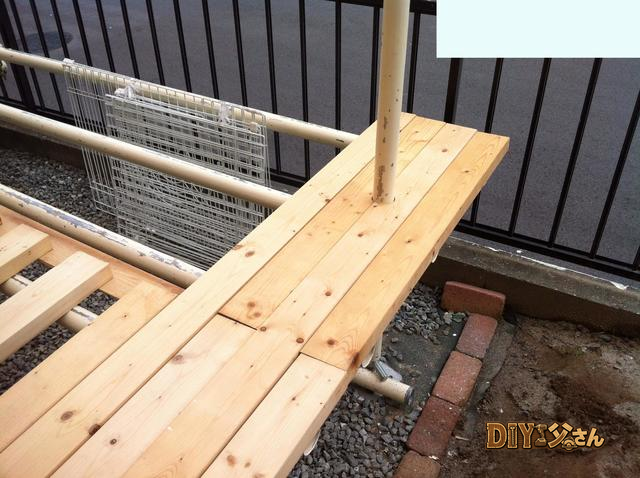
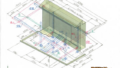
“Layout” refers to whether the boards run lengthwise (parallel to the long dimension) or crosswise (parallel to the short dimension). For example, laying boards in the lengthwise direction looks like this u2014 using SPF 1u00d74 u00d7 6-ft lumber:
u2191 Floor board layout u2014 lengthwise orientation, version 1
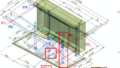
Here’s another version also in the lengthwise direction:
u2191 Floor board layout u2014 lengthwise orientation, version 2
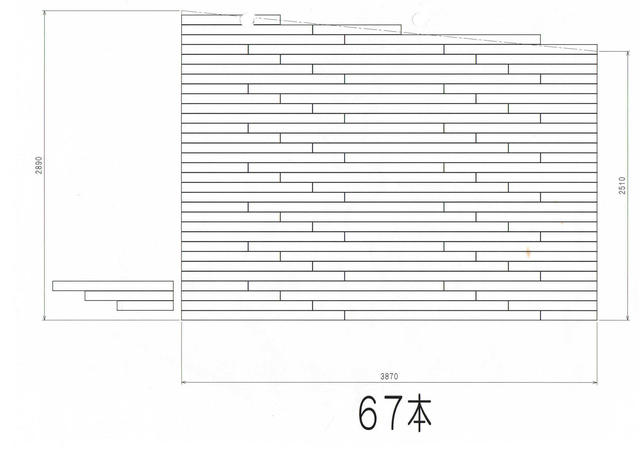
And here it is with boards running crosswise:
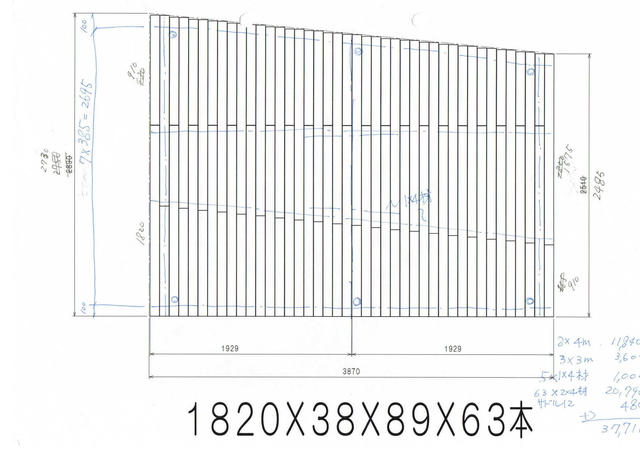
u2191 Floor board layout u2014 crosswise orientation
There are plenty of sketch marks on the drawings u2014 just ignore those. Since the floor plan area is the same either way, the total material required doesn’t change much between orientations. Obvious in hindsight, I suppose.
For this project, the floor surface is a trapezoidal shape, so running boards crosswise gives a cleaner result.
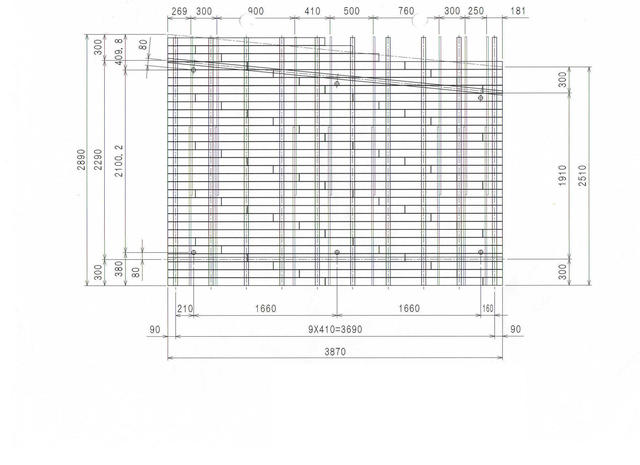
Next is the interface: how the floor boards connect to the floor joists (neta). I’ll use the saddle-band clamps considered earlier. However, if every single board-to-joist connection is a saddle clamp, the number of clamps would be enormous u2014 and costly. So DIY Dad put on his thinking cap.
After various ideas, I concluded: to reduce the number of saddle clamps, group the boards into panels by fixing them together, then clamp each panel as a unit. The method is to connect boards on the underside with a bridging piece.
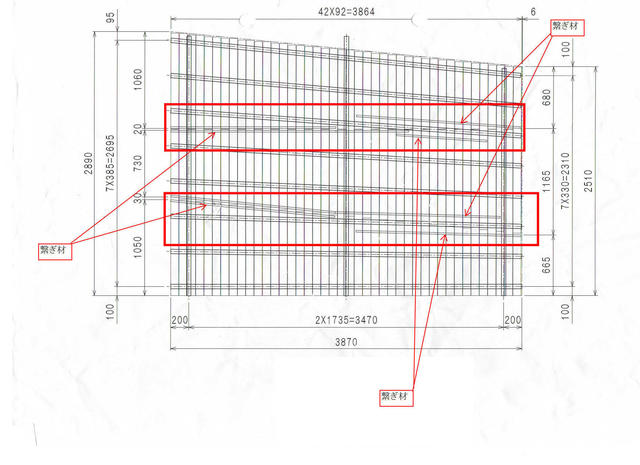
u2191 Bridging piece detail
There’s no reference photo yet, but I’ll show the bridging piece in construction photos later. With this approach, about 4 saddle clamp fixings per panel should be enough. DIY Dad went pretty… economical… with that cost-cutting move!
That’s all for today!
ud83dudcda Wood Deck Build Log u2014 2 of 19
u2190 Design #12: Column Buckling Calcs u00b7 Series Index u00b7 Design #14: Materials List u2192
DIY Renovation Quote Review Manual
How to read, compare, and negotiate contractor quotes. This manual saved me u00a5800,000 on a single renovation project.
ud83cudfe0 More from DIY Father
15 years of landlord experience u00b7 3 apartment buildings u00b7 DIY renovations that saved millions of yen. Browse all articles at diytosan.com