ud83dudcda Apt.1 Staircase Repair Series u2014 1 of 2
u2190 (first article) u00b7 Series Index u00b7 Apt.1 Staircase Repair Vol.2: Finishing u2192
u270fufe0f Originally published: 2021-09-04 / ud83dudd04 Updated: May 8, 2026
- 2026 Update u2014 1F Ceiling & Staircase Repair Highlights
- 1F Ceiling Repair (4.5-Tatami Room)
- Staircase Repair u2014 Ceiling & Wall Painting
- Working Safely on a Staircase
- 1F Japanese Room Wall Repair u2014 Starting Up
- Landlord Tip: Running Multiple Rooms in Parallel
- ud83cudfe2 For Anyone Considering Apartment Investment & Renovation
2026 Update u2014 1F Ceiling & Staircase Repair Highlights
ud83duded2 RECOMMENDED PRODUCTS
Cordless Drill & Driver Kit
The single most-used tool across 15 years of rental property repairs.
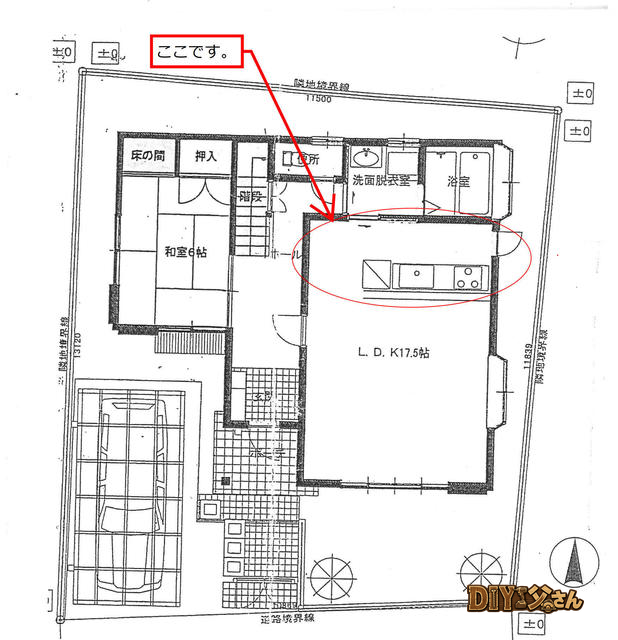
Following the 2F work, I completed the 1F ceiling repair and moved on to the staircase. The staircase is a visible, high-traffic corridor u2014 every prospective tenant walks through it u2014 so the finish has a direct impact on first impressions.
1F Ceiling Repair (4.5-Tatami Room)
ud83duded2 RECOMMENDED PRODUCTS
Complete Home Repair Tool Set
A complete kit beats buying individual tools every time u2014 cheaper and always ready.
The 1F 4.5-mat Japanese room also had the old slatted ceiling. I followed the same process as the 2F:
- Masking (walls, floor, doors)
- Sealer coat (stain-blocking / absorption primer)
- First coat of white water-based paint (roller)
- Second coat after drying
Having done it upstairs first, the 1F ceiling went much more smoothly. The second time you run any task, setup is noticeably faster.
Staircase Repair u2014 Ceiling & Wall Painting
The apartment staircase is the face of the shared areas u2014 every tenant and visitor passes through it, so I put real effort into the repair.
What makes staircase painting tricky:
- Unstable footing: improvised scaffolding from ladder and stair treads
- Sloped ceiling: painting at an angle rather than flat
- Complex masking: the step levels make floor masking time-consuming
- Ventilation: semi-enclosed space u2014 paint fumes concentrate fast
Working Safely on a Staircase
ud83duded2 RECOMMENDED PRODUCTS
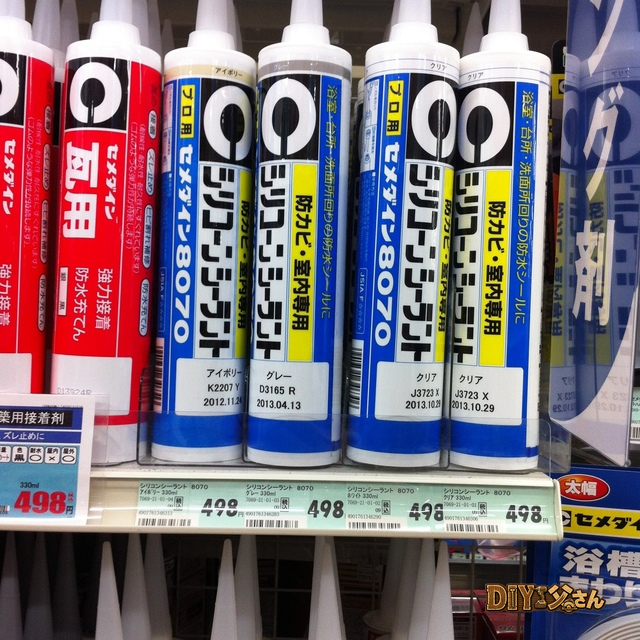
Adhesives & Sealants
Keep a stock of these u2014 you’ll use them on every single repair job.
- Set the ladder on a stable, level tread u2014 no wobbling
- Adjust to exactly the right height for each section
- Avoid solo overhead work u2014 have someone steady the ladder from below
- Stay aware of the drop behind you
- Wear non-slip footwear
“No rushing, no hurrying” is the rule for working at height.
1F Japanese Room Wall Repair u2014 Starting Up
With the ceiling and staircase done, I moved to the 1F Japanese room walls. As with the 2F work, these are old sand plaster and fiber-finish walls. The process: substrate prep (sealer u2192 compound) u2192 wallpaper. Getting this room right lifts the whole apartment’s appeal.
Landlord Tip: Running Multiple Rooms in Parallel
- Use drying time productively u2014 mask Room B while compound dries in Room A
- Buy materials in bulk for multiple rooms u2014 unit cost drops
- Share setup time u2014 one drop-cloth layout covers several spaces
- Build on your learning u2014 refine techniques from earlier rooms in later ones
Parallel progress beats sequential room-by-room u2014 total project time shrinks noticeably.
ud83cudfe2 For Anyone Considering Apartment Investment & Renovation
Cost-effectiveness is everything in apartment renovation. DIY-ing the work yourself can slash costs dramatically.
- Marutoku Shop | Renovation materials & lumber online u00bb
![]()
Hi, it’s DIY Dad! Today I’m starting the staircase ceiling and wall repair. The existing surfaces here were in fairly solid condition, so I’ll go with a paint finish.
The repair sequence:
- Substrate prep (compound patching)
- Masking
- Primer coat (sealer)
- Top coat (white)
For tool and material details, see the “DIY Dad’s Tools & Materials” series: Vol.3 for substrate prep, Vol.4 for masking, Vol.5 for painting.
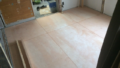
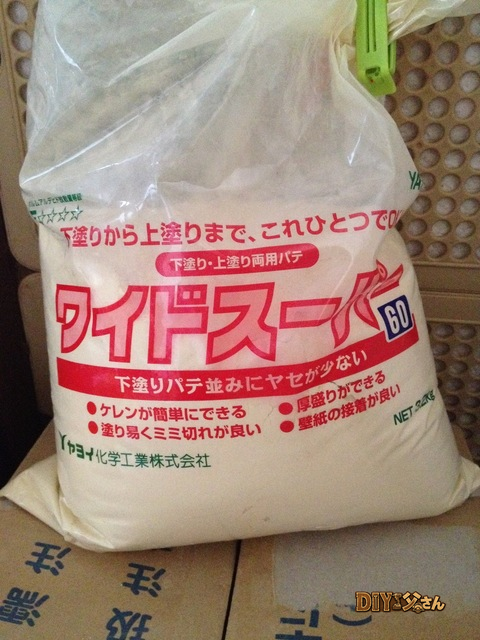
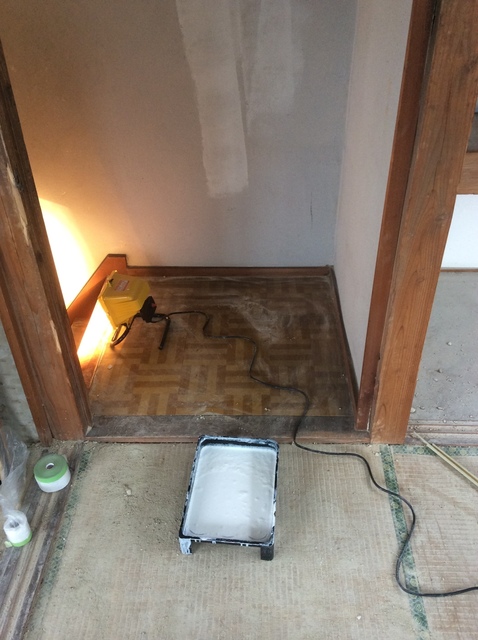
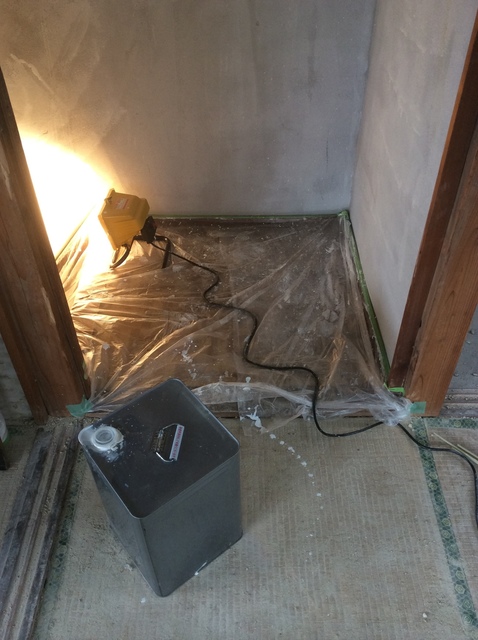
I used Wide Super compound and a putty knife to level out all the bumps in the ceiling and walls. Compound shrinks as it dries, so areas that look fine after one coat often need a second pass. Thick areas get sanded back down. (I don’t have photos of that part, sorry.)

u2191 Wide Super compound
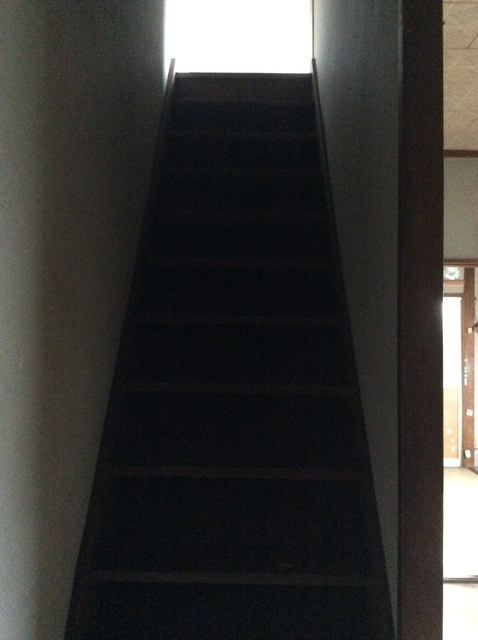
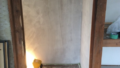
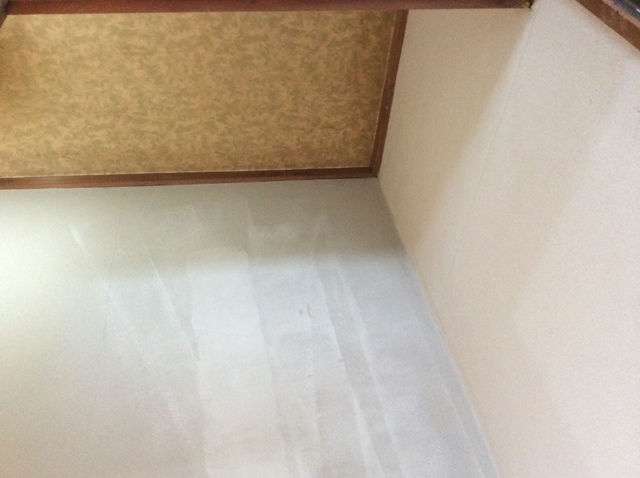
u2191 Staircase ceiling and walls before painting

u2191 Before painting
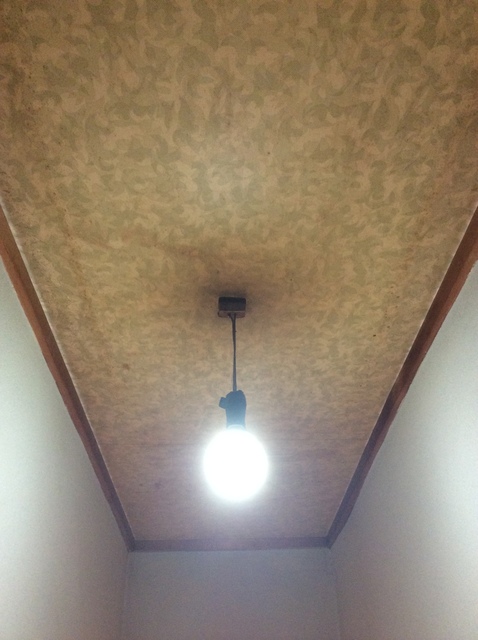
u2191 Before painting
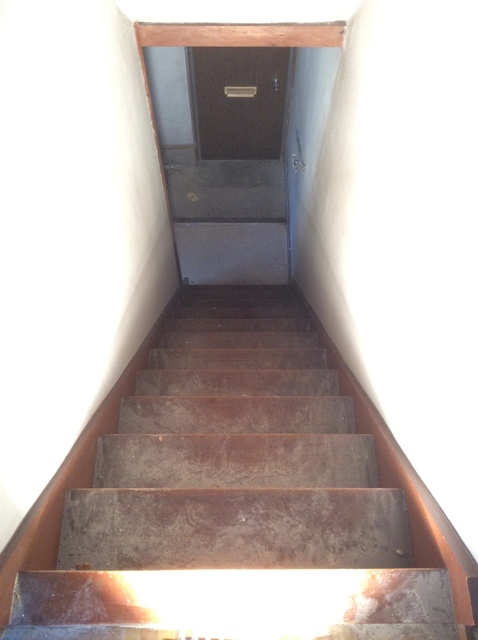
u2191 Before painting
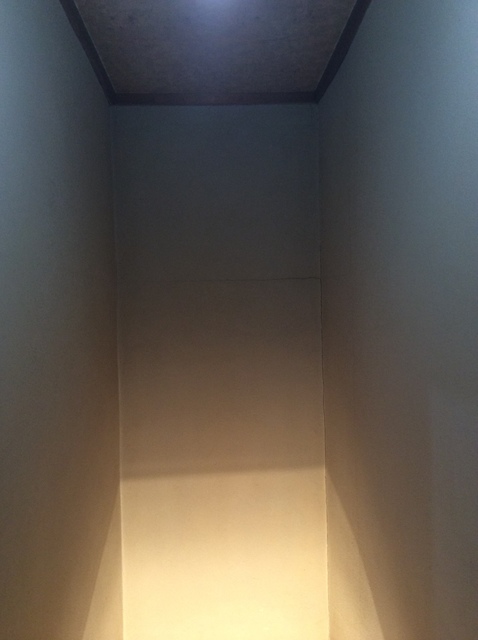
u2191 Before painting
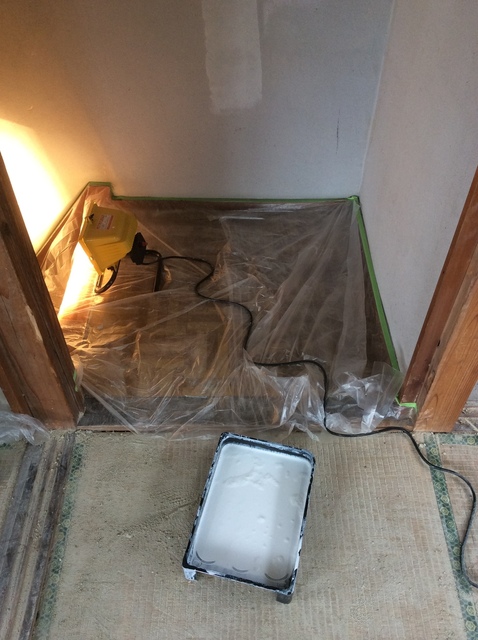
Right, time to apply the sealer!
u2191 Primer coat (sealer)
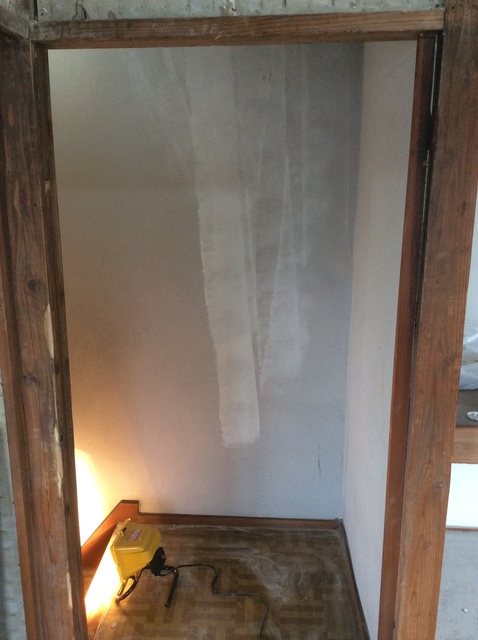
u2191 Primer coat
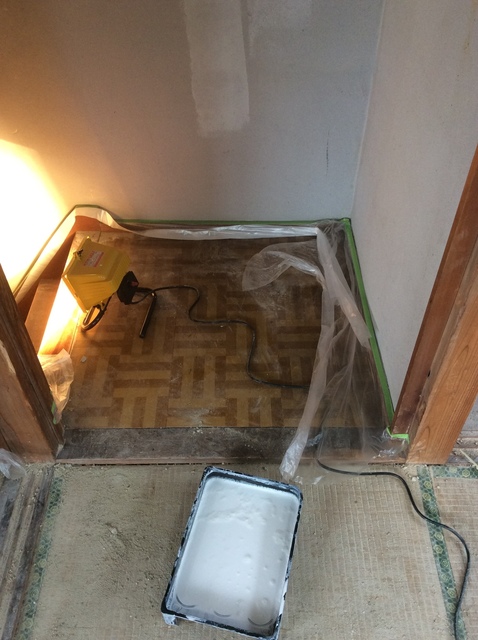
u2191 Primer coat u2014 wait, I forgot to mask! Quickly getting that sorted.

u2191 Primer coat
u2191 Primer coat

u2191 Primer coat
u2191 Primer coat
u2191 Primer coat
Between you and me, I was working through this stage with a constant undercurrent of “is this actually going to work out?” u2014 but I’ll keep that to myself. That’s all for today. See you next time!
ud83dudcda Apt.1 Staircase Repair Series u2014 1 of 2
u2190 (first article) u00b7 Series Index u00b7 Apt.1 Staircase Repair Vol.2: Finishing u2192
DIY Renovation Quote Review Manual
How to read, compare, and negotiate contractor quotes. This manual saved me u00a5800,000 on a single renovation project.
ud83cudfe0 More from DIY Father
15 years of landlord experience u00b7 3 apartment buildings u00b7 DIY renovations that saved millions of yen. Browse all articles at diytosan.com