ud83dudcda Toilet Renovation Series u2014 25 of 25
u2190 Toilet Renovation Vol.24: Silicone Caulking u00b7 Series Index u00b7 (last article) u2192
u270fufe0f Originally published: 2017-01-29 / ud83dudd04 Updated: May 8, 2026
2026 Update from DIY Dad: Toilet Complete! u2014 From Accessories to Finish
ud83duded2 RECOMMENDED PRODUCTS
Washlet Toilet Seats (Bidet)
A washlet seat is the single upgrade that impresses every tenant in Japan.
With the toilet bowl set in place, it’s time for the final accessories. Once the paper holder, towel ring, and washlet (electronic bidet seat) are installed, the toilet is done. ^ ^
Order of Accessory Installation
ud83duded2 RECOMMENDED PRODUCTS
Toilet Repair Kits
Keep a repair kit stocked u2014 toilet calls come without warning at midnight.
The rule is to install from top to bottom:
- Wall shelf
- Towel ring
- Toilet paper holder
- Washlet (electronic bidet seat)
- Replace the outlet cover plate last
The reason to work top-down: if you install the lower items first, they get in the way and risk being damaged when you’re putting in the upper ones. m(_ _)m
Installing the Washlet (Electronic Bidet Seat)
Installing a washlet is easier than you’d think:
- Set the mounting plate on the bowl (2 bolts)
- Slide the seat body onto the plate until it clicks
- Install the diverter valve on the shutoff valve (tap into the existing supply line)
- Plug the power cord into the outlet
- Turn on the water and check for leaks
- Test all functions
The diverter valve is the trickiest part. Check the thread size on your shutoff valve before buying u2014 get the matching diverter fitting. ^ ^
Silicone Caulking Around the Toilet
ud83duded2 RECOMMENDED PRODUCTS
Toilet Accessories Sets
Matching accessories cost u00a52,000 and make a small toilet feel designed.
Apply a silicone bead along the joint between the toilet base and the floor. This isn’t just cosmetic u2014 it prevents dirt and moisture from working under the toilet.
Before Caulking
- Mask around the toilet with tape
- Apply silicone caulk evenly
- Smooth with a finger (or a dedicated spatula)
- Peel off the masking tape immediately u2014 before it dries
Use a silicone-type caulk with mold inhibitor for wet areas. Modified silicone can be painted over, but standard silicone is fine around a toilet. m(_ _)m
Wall Shelf Installation
I installed a wall-mounted shelf for spare toilet paper and small items. It’s anchored to the wall with anchor bolts.
Tip for anchoring into diatomaceous earth plaster: Diatomite plaster is brittle u2014 over-tightening anchor screws will crack it. “Hand-tight plus a small snug turn” is about right. (Ha!)
The Toilet Is Done! u2014 Thoughts from a Landlord
The old squat toilet became a Western-style washlet toilet with wainscoting and diatomaceous earth plaster walls. The response from potential tenants viewing it: “This toilet is gorgeous!” ^ ^
Total material cost for the toilet renovation: approx. u00a5120,000 (toilet u00a580,000 + wainscoting u00a530,000 + vinyl/plaster etc. u00a510,000). A contractor’s quote was u00a5400,000u2013u00a5600,000. DIY saved a huge amount.
24-Hour Emergency Plumbing u2014 Water Rescue Squad u00bb
Marutoku Shop | Wainscoting & Lumber u00bb
Hello, I’m DIY Dad. ^ ^
We had a takoyaki party the other day. I don’t remember doing much of the cooking, to be honest u2014 it turns out it’s harder than it looks. My first batch came out as half-spheres with the octopus sticking out. But we all had a great time eating together! My personal favorite was the cheese version u2014 it had a great snack-food vibe.
Anyway u2014 here’s the finale of the 1st-floor toilet renovation. The toilet is complete!
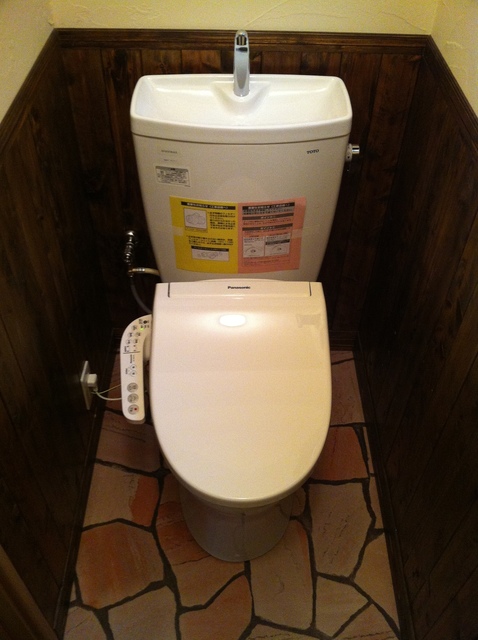
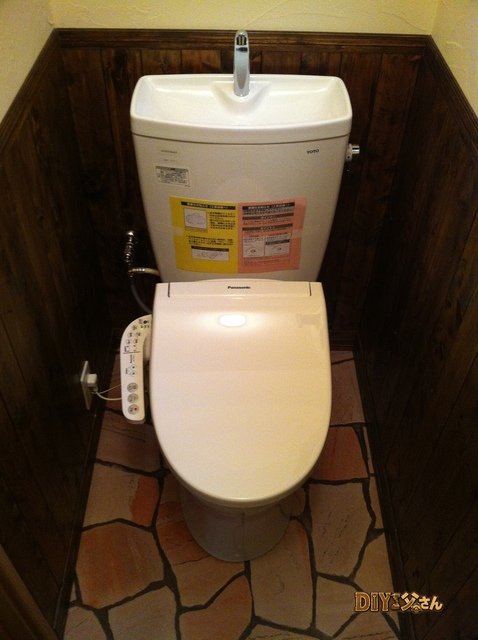
The complete toilet set.
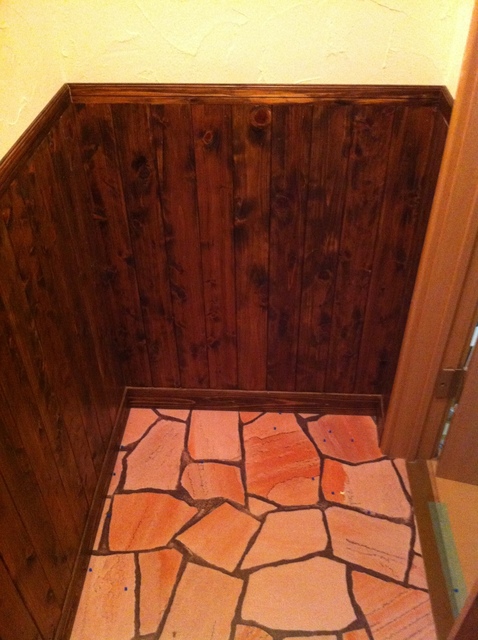
The wainscoting and cushion floor.
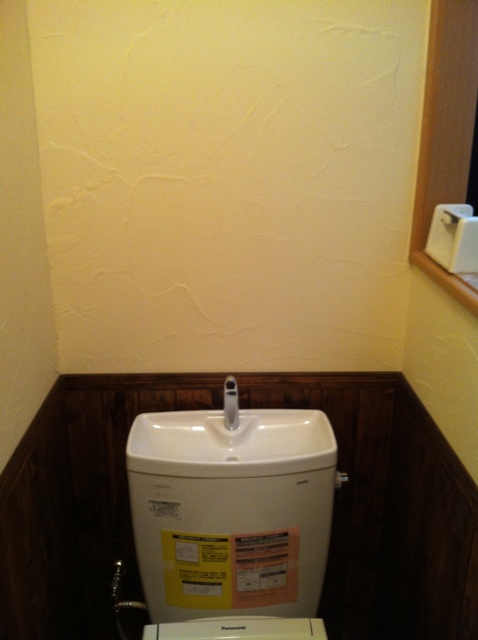
The wainscoting and diatomaceous earth plaster wall.
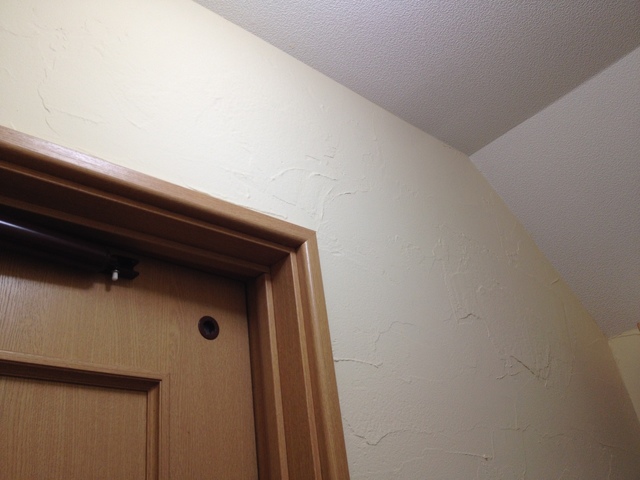
A different angle.
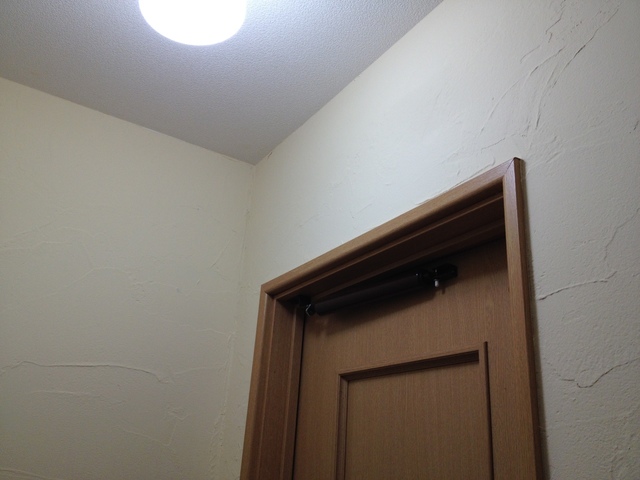
Another angle.

Another angle.

Another angle.
What do you think? ^ ^ I’m pretty happy with how it turned out. DIY Dad’s signature style u2014 “the toilet of a European-style izakaya.” I mentioned it so many times in this series that it must have started to look like one to you too, right? (Ha!)
That’s all for today! (^^)/~~~
ud83dudcda Toilet Renovation Series u2014 25 of 25
u2190 Toilet Renovation Vol.24: Silicone Caulking u00b7 Series Index u00b7 (last article) u2192
DIY Renovation Quote Review Manual
How to read, compare, and negotiate contractor quotes. This manual saved me u00a5800,000 on a single renovation project.
ud83cudfe0 More from DIY Father
15 years of landlord experience u00b7 3 apartment buildings u00b7 DIY renovations that saved millions of yen. Browse all articles at diytosan.com