ud83dudcda Apt.1 Toilet Series u2014 4 of 6
u2190 Apt.1 Toilet Vol.3: Wall Putty & Wood Frame Painting u00b7 Series Index u00b7 Apt.1 Toilet Vol.5: Toilet Installation u2192
u270fufe0f Originally published: 2021-11-07 / ud83dudd04 Updated: May 8, 2026
2026 Update from DIY Dad: Full Renovation of the 1st-Floor Toilet
ud83duded2 RECOMMENDED PRODUCTS
Washlet Toilet Seats (Bidet)
A washlet seat is the single upgrade that impresses every tenant in Japan.
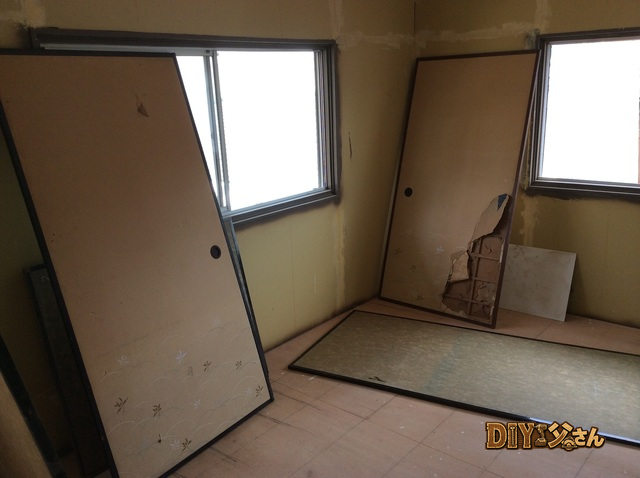
This is a complete overhaul u2014 tearing out the old toilet and starting fresh with new walls, flooring, and the toilet unit itself. Renovating the toilet in an older apartment is one of the highest-value improvements you can make. ^ ^
Full Renovation Workflow
ud83duded2 RECOMMENDED PRODUCTS
Toilet Repair Kits
Keep a repair kit stocked u2014 toilet calls come without warning at midnight.
- Vol.1: Demolition (remove toilet, strip wall material, pull up flooring)
- Vol.2: Entrance, wall & floor substrate framing (plywood & drywall)
- Vol.3: Wall putty work & wood frame painting
- Vol.4: Ceiling paint, wall wallpaper & cushion floor
- Vol.5: Combined toilet unit installation
- Vol.6: Silicone caulking & final inspection
By doing the full renovation myself, I brought the cost to roughly one-tenth of contractor pricing. m(_ _)m
Renovation Cost Breakdown (Real Numbers)
- Combined toilet unit: approx. u00a525,000
- Wallpaper & cushion floor: approx. u00a55,000
- Substrate materials: approx. u00a58,000
- Paint & sealer: approx. u00a53,000
- Caulk: approx. u00a5500
- Total: approx. u00a541,500
![]()
Hello, I’m DIY Dad. ^ ^
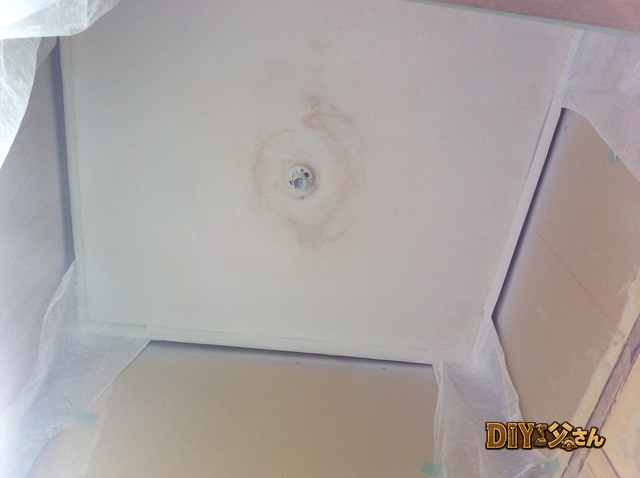
I’m painting the ceiling white. For information on painting tools and materials, see “Tools & Materials Vol.5: Painting u2014 1) Hand-Painting.”
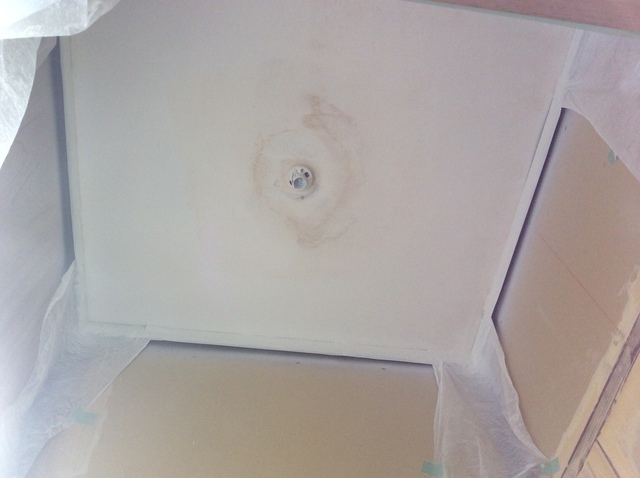
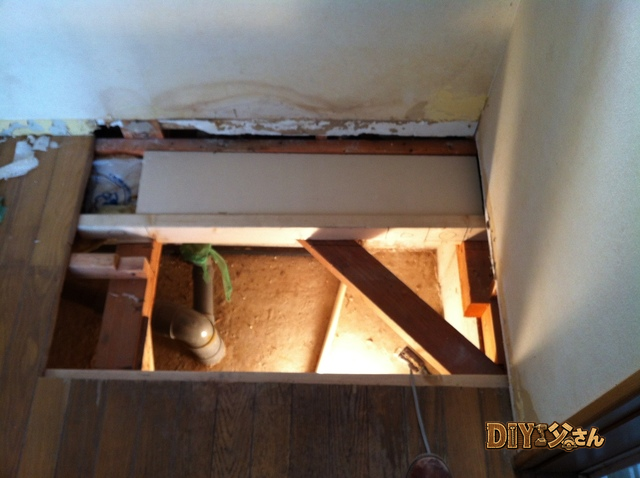
u2192 The ceiling u2014 heavy bleed-through staining (yikes!)
The walls will be finished with wallpaper. I’m hanging pre-pasted rolls with a woven texture. For wallpaper tools and materials, see “Tools & Materials Vol.1: Wallpaper Installation.”
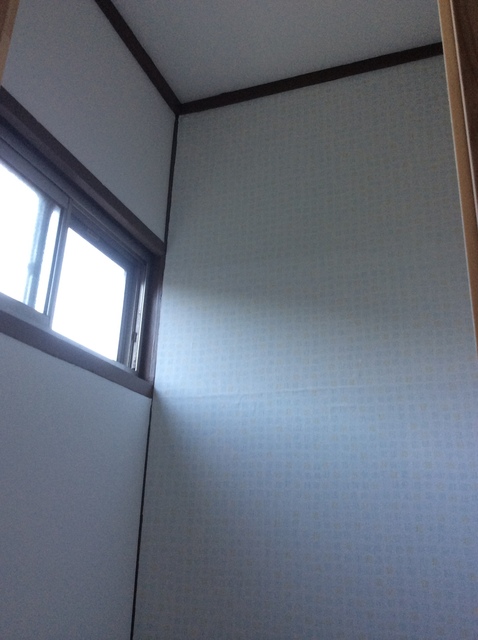
u2192 Wallpaper finished
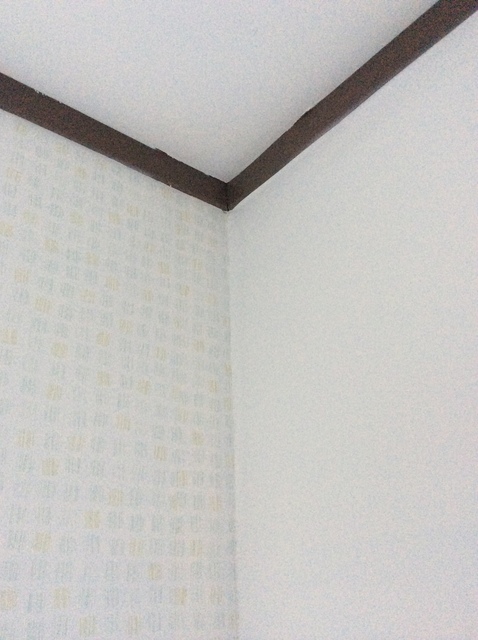
u2192 Wallpaper finished u2014 tight spaces are actually easy to paper!
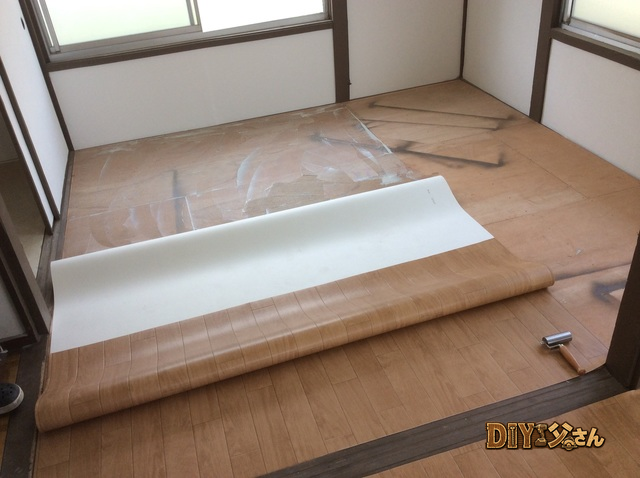
Next up: laying the cushion floor (vinyl sheet). For cushion floor tools and materials, see “Tools & Materials Vol.2: Cushion Floor Installation.” I’m using a wood-grain pattern.
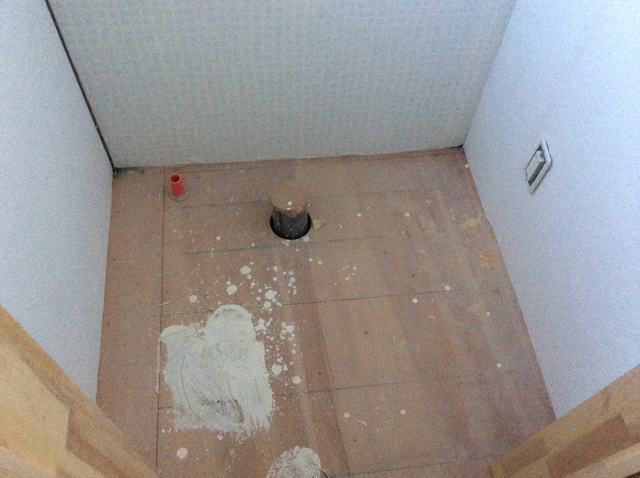
u2192 Cushion floor substrate
First, cut the vinyl sheet a few centimeters larger than the floor area. Cut out the center where the toilet drain pipe goes. Shape and adjust, then fold the edges back.
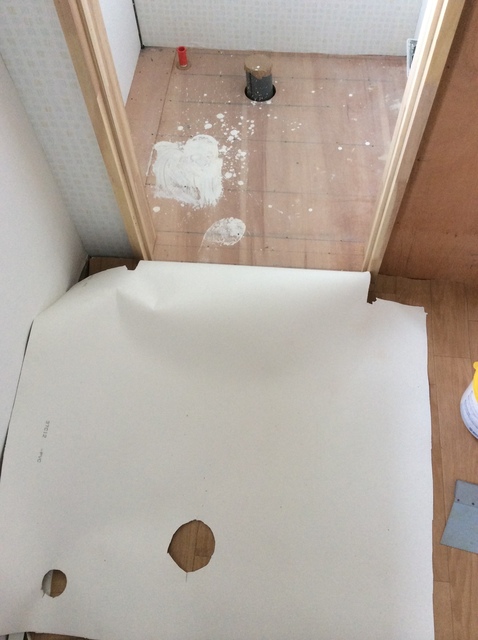
u2192 Cushion floor shaped and trimmed
Apply cushion floor adhesive to the substrate.
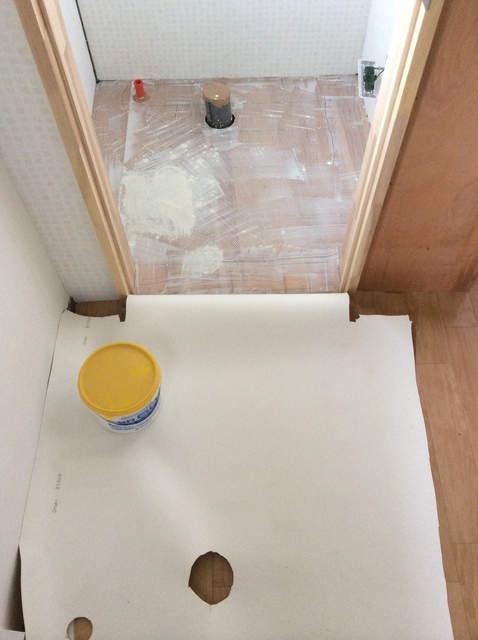
u2192 Applying cushion floor adhesive
After the open time, lay the vinyl sheet down. Use a roller to press from front to back, working out any air pockets. Then trim the edges to match the floor shape.
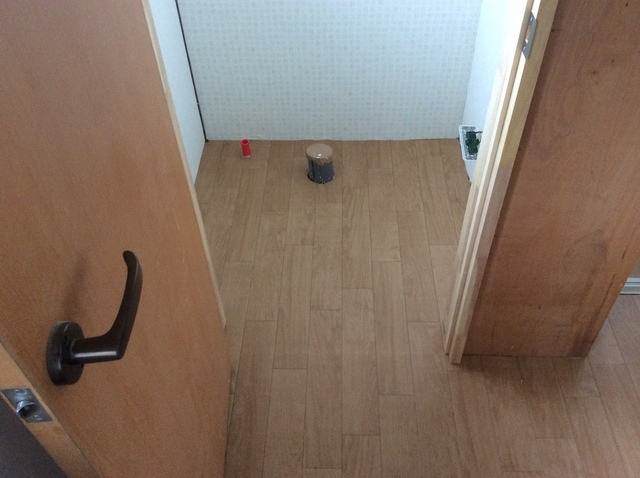
u2192 Cushion floor installation complete
That’s all for today! (^^)/~~~

ud83dudcdd DIY Dad’s Premium note Article
Real-Data Cost & Timeline Database for DIY Renovation
u00a5500
ud83dudcda Apt.1 Toilet Series u2014 4 of 6
u2190 Apt.1 Toilet Vol.3: Wall Putty & Wood Frame Painting u00b7 Series Index u00b7 Apt.1 Toilet Vol.5: Toilet Installation u2192
DIY Renovation Quote Review Manual
How to read, compare, and negotiate contractor quotes. This manual saved me u00a5800,000 on a single renovation project.
ud83cudfe0 More from DIY Father
15 years of landlord experience u00b7 3 apartment buildings u00b7 DIY renovations that saved millions of yen. Browse all articles at diytosan.com