ud83dudcda Toilet Renovation Series u2014 24 of 25
u2190 Toilet Renovation Vol.23: Washlet Installation u00b7 Series Index u00b7 Toilet Renovation Vol.25: Complete! u2192
u270fufe0f Originally published: 2017-01-28 / ud83dudd04 Updated: May 8, 2026
2026 Update from DIY Dad: Toilet Complete! u2014 From Accessories to Finish
ud83duded2 RECOMMENDED PRODUCTS
Washlet Toilet Seats (Bidet)
A washlet seat is the single upgrade that impresses every tenant in Japan.
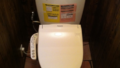
With the toilet bowl set in place, it’s time for the final accessories. Once the paper holder, towel ring, and washlet are installed, the toilet is done. ^ ^
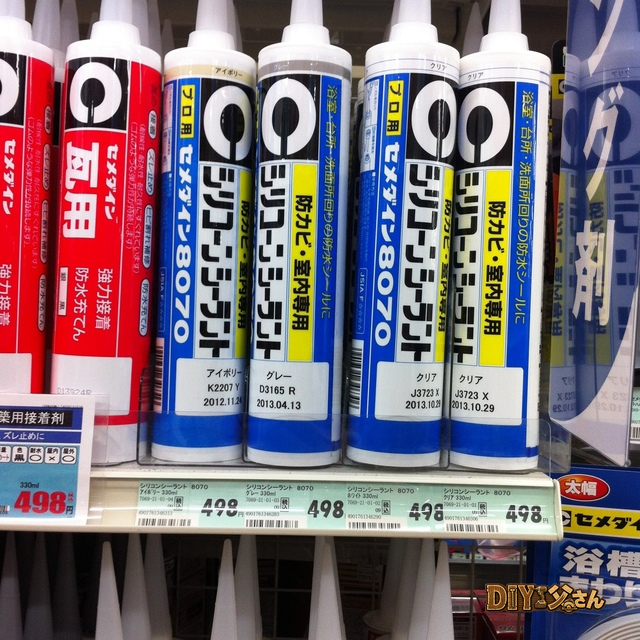
Why Silicone Caulking Is Important
ud83duded2 RECOMMENDED PRODUCTS
Toilet Repair Kits
Keep a repair kit stocked u2014 toilet calls come without warning at midnight.
Apply a silicone bead along the joint between the toilet base and the floor. This isn’t just cosmetic u2014 it prevents dirt and moisture from working under the toilet.
Before Caulking
- Mask around the toilet with tape
- Apply silicone caulk evenly
- Smooth with a finger (or dedicated spatula)
- Peel off masking tape immediately u2014 before it dries
Use a silicone-type caulk with mold inhibitor for wet areas. m(_ _)m
Wall Shelf Installation
I installed a wall-mounted shelf for spare toilet paper and small items, anchored with bolts.
Tip for diatomaceous earth plaster walls: The material is brittle u2014 over-tightening anchor screws will cause it to crumble. “Hand-tight plus a small snug turn” is the right amount.
Toilet Renovation Total Cost
ud83duded2 RECOMMENDED PRODUCTS
Toilet Accessories Sets
Matching accessories cost u00a52,000 and make a small toilet feel designed.
Total materials: approx. u00a5120,000 (toilet u00a580,000 + wainscoting u00a530,000 + vinyl/plaster etc. u00a510,000). Contractor quote: u00a5400,000u2013u00a5600,000. DIY cut costs dramatically.
24-Hour Emergency Plumbing u2014 Water Rescue Squad u00bb
Marutoku Shop | Wainscoting & Lumber u00bb
Hello, I’m DIY Dad. ^ ^
Bath time is freezing cold this time of year, isn’t it? DIY Dad is planning to add an inner window to improve things. I spotted a DIY inner-window kit at the home center u2014 quite interesting! It lets you build a custom-sized inner window yourself. I ended up installing one in the bathroom u2014 I’ll write a separate post on that. ^ ^
For now u2014 continuing the 1st-floor toilet renovation series. This is the last finishing touch before completion.
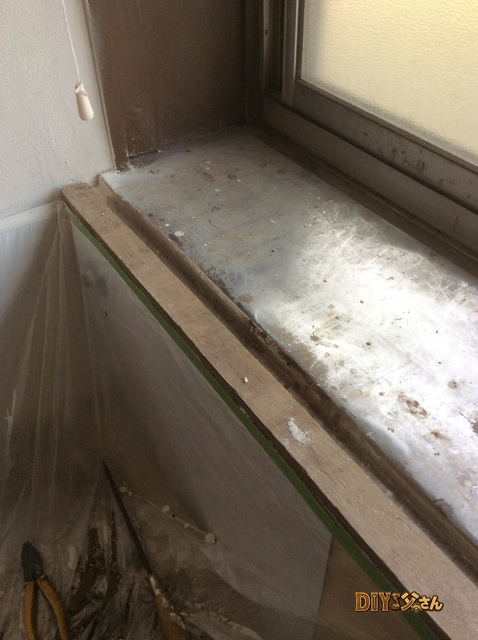
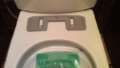
I changed the floor material to cushion floor (vinyl sheet). Even so, rot around the toilet base will eventually happen u2014 caused by dust and moisture seeping into the gap between the toilet and the floor. To make that less likely, I’m sealing the gap with silicone caulk. Materials used: silicone caulk (mold-resistant) and masking tape.
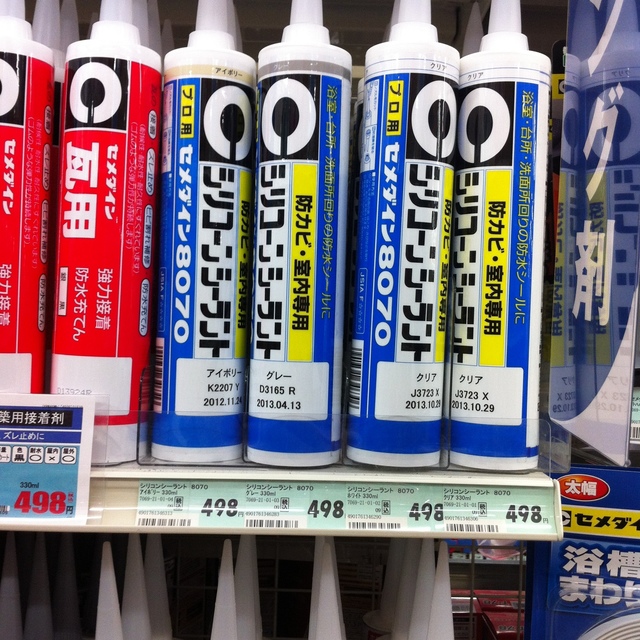
Silicone caulk (with mold inhibitor).
Apply masking tape. Apply the caulk bead. Shape it u2014 DIY Dad uses a finger rather than a spatula. Peel off the masking tape. Done. ^ ^
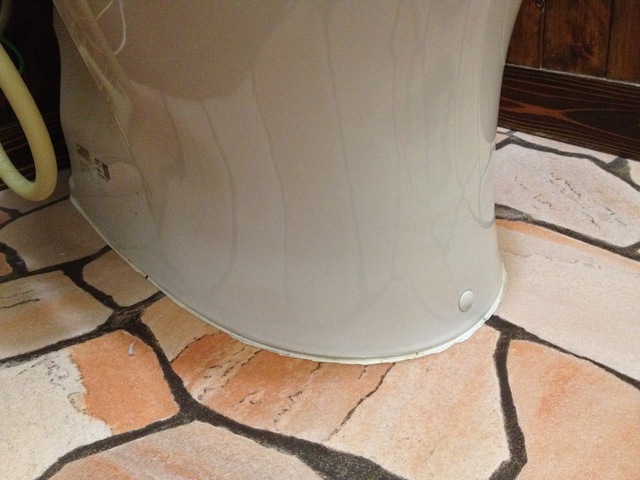
The caulk bead.
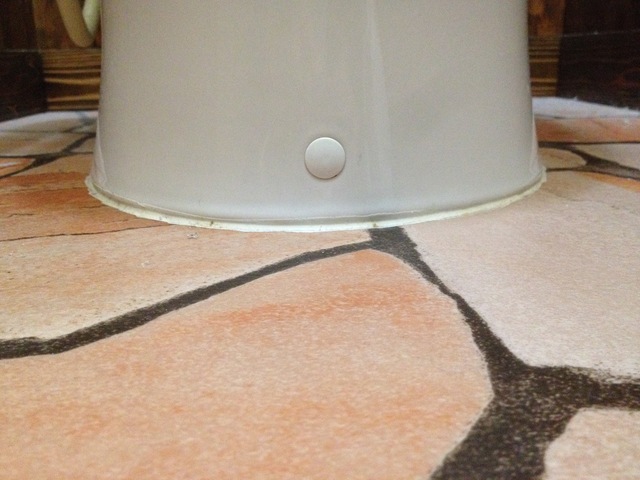
The caulk bead.
Unless you’re a professional, you probably don’t get many chances to install toilets yourself. It was a great learning experience for DIY Dad. ^ ^
That’s all for today! (^^)/~~~
ud83dudcda Toilet Renovation Series u2014 24 of 25
u2190 Toilet Renovation Vol.23: Washlet Installation u00b7 Series Index u00b7 Toilet Renovation Vol.25: Complete! u2192
DIY Renovation Quote Review Manual
How to read, compare, and negotiate contractor quotes. This manual saved me u00a5800,000 on a single renovation project.
ud83cudfe0 More from DIY Father
15 years of landlord experience u00b7 3 apartment buildings u00b7 DIY renovations that saved millions of yen. Browse all articles at diytosan.com