ud83dudcda Kitchen 2 Renovation Series u2014 30 of 45
u2190 Kitchen2 Vol.29: Dishwasher Install Vol.7 u00b7 Series Index u00b7 Kitchen2 Vol.31: Dishwasher Install Vol.9 u2192
-> Back to all English articles
First published: 2017-02-16 / Updated: May 2026
- 2026 Note from DIY Dad: Dishwasher Installation u2014 Mid-stage to Finishing
- Cabinet Opening and Reinforcement
- Routing the Plumbing Cleanly
- Dedicated Power Supply
- As a Landlord: Great Tenant Response
- Total Labor: ~2 days. DIY cost with appliance: ~80,000 yen vs. contractor estimate 150,000u2013200,000 yen.
2026 Note from DIY Dad: Dishwasher Installation u2014 Mid-stage to Finishing
ud83duded2 RECOMMENDED PRODUCTS
Modern Kitchen Cabinet Handles
New handles cost u00a53,000u20138,000 and make a kitchen feel 10 years newer instantly.
The dishwasher installation involves many steps and requires patience. DIY Dad took longer than expected u2014 but the satisfaction on completion is well worth it!
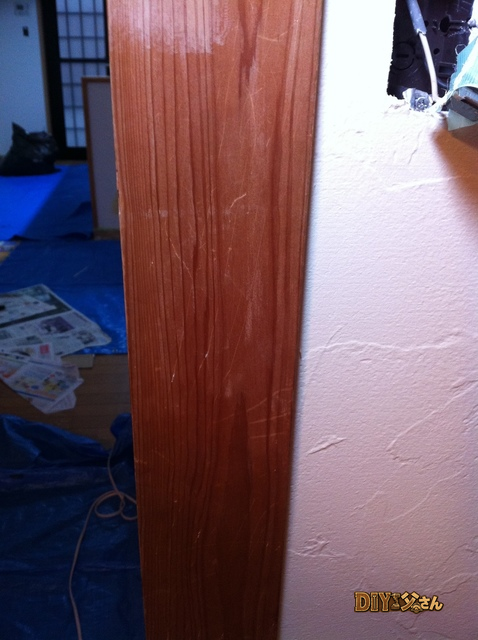
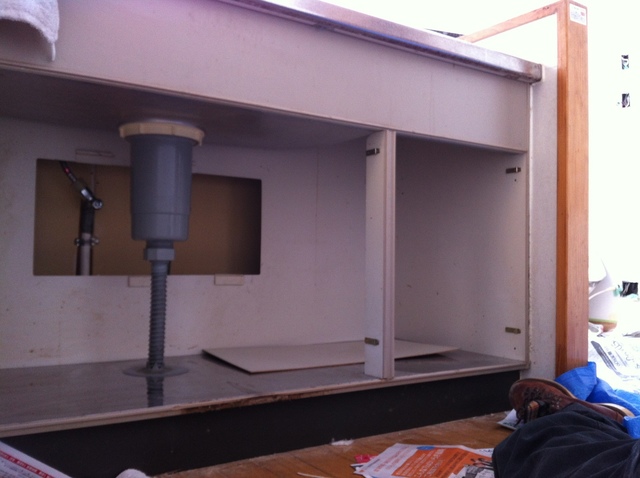
Cabinet Opening and Reinforcement
ud83duded2 RECOMMENDED PRODUCTS
Kitchen Faucets
A faucet upgrade is the single highest-impact kitchen DIY per yen spent.
Verify the frame handles the dishwasher’s weight (about 30u201340 kg). Add reinforcing material as needed. A rigid, vibration-resistant base is essential. m(_ _)m
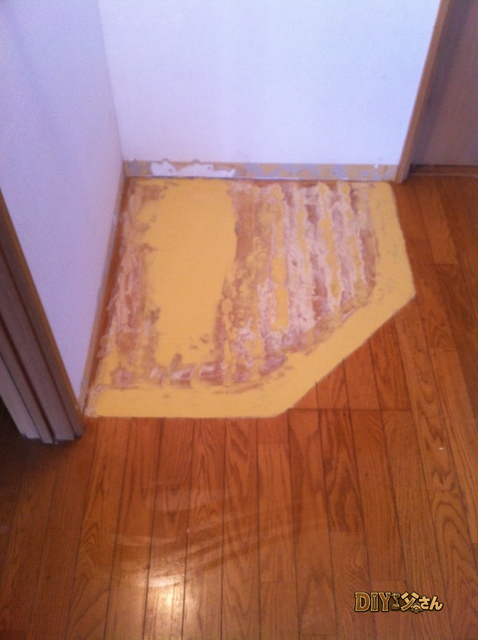
Routing the Plumbing Cleanly
Secure hoses with cable ties. No kinks, no stress on hoses when the cabinet door is closed.
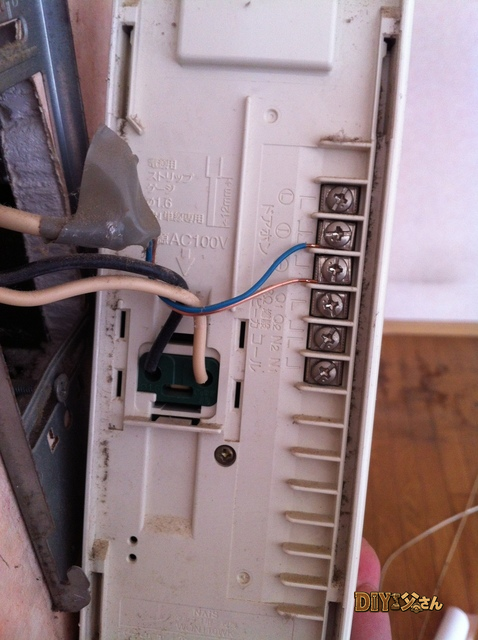
Dedicated Power Supply
ud83duded2 RECOMMENDED PRODUCTS
Kitchen Backsplash Tile Kits
A tiled backsplash protects the wall and dramatically upgrades the kitchen appearance.
100V, 15A or greater, dedicated circuit recommended. m(_ _)m
As a Landlord: Great Tenant Response
“Built-in dishwasher included” consistently boosts inquiry rates and tenant satisfaction u2014 especially with families and dual-income couples.
Total Labor: ~2 days. DIY cost with appliance: ~80,000 yen vs. contractor estimate 150,000u2013200,000 yen.
Hi, it’s DIY Dad! Multiple plans are converging u2014 things are progressing more or less as intended. Hay fever season is apparently starting soon (though DIY Dad insists he doesn’t have hay fever!). Continuing the 1F kitchen renovation!
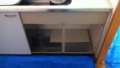
With the dishwasher model now decided, let’s figure out where to place it.
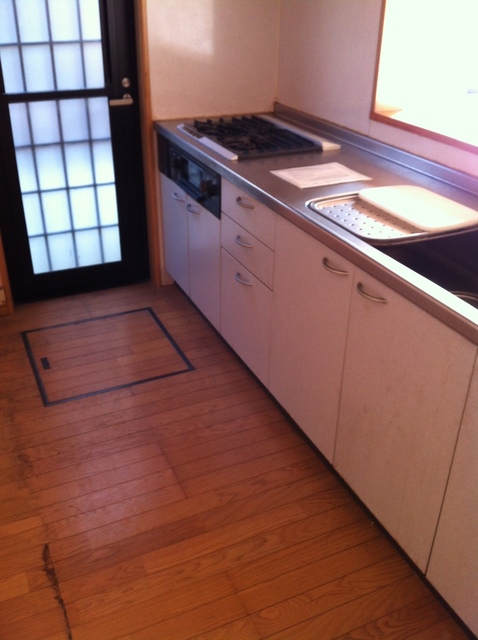
Kitchen before installation work.
There are several options to consider. The dishwasher needs to be near the sink for practical loading and unloading. So we place it directly adjacent to the sink. Having the dishwasher at upper-cabinet height (below the countertop) is also more convenient u2014 no need to bend down for dishes.
However, that position would sacrifice the kitchen’s only drawer. Also, the space below the dishwasher will be taken up by the raising platform, so it won’t be available for storage. Putting it at the very bottom makes loading awkward. The goal is to raise it as high as possible. Weighing storage efficiency and usability, we decide on the far-right position below the sink.
Far-right position below the sink u2014 decided. That’s all for today!
ud83dudcda Kitchen 2 Renovation Series u2014 30 of 45
u2190 Kitchen2 Vol.29: Dishwasher Install Vol.7 u00b7 Series Index u00b7 Kitchen2 Vol.31: Dishwasher Install Vol.9 u2192
DIY Renovation Quote Review Manual
How to read, compare, and negotiate contractor quotes. This manual saved me u00a5800,000 on a single renovation project.
ud83cudfe0 More from DIY Father
15 years of landlord experience u00b7 3 apartment buildings u00b7 DIY renovations that saved millions of yen. Browse all articles at diytosan.com