ud83dudcda Wood Deck Build Log u2014 16 of 45
u2190 Structural Design Pt.4: Finalizing Materials u00b7 Series Index u00b7 Detail #2: Structural Framing Sketches u2192
→ See the complete Wood Deck DIY Guide
2026 Note from DIY Dad: Detailed Planning and Construction Prep
ud83duded2 RECOMMENDED PRODUCTS
Pressure-Treated Deck Lumber
Pressure-treated lumber is the baseline u2014 skip it and you’ll be rebuilding in 5 years.
Once the overall structure was decided, it was time for detailed design and construction preparation. I carefully worked out how the parts fit together, finalized the materials list, and placed orders.
Key Points in Detail Design
ud83duded2 RECOMMENDED PRODUCTS
Deck Stains & Waterproof Sealers
Stain every 2u20133 years. It’s the single cheapest way to double deck lifespan.
“Detail design” means planning exactly how each part connects at joints and interfaces. The most critical connections in a wood deck are:
- Post-to-beam joint (footing post to beam): screws, metal hardware, or mortise-and-tenon
- Beam-to-floor-joist connection: joist hanger hardware or screw fastening
- Decking board end treatment: exposed cut edge, or hidden behind a fascia board
- Interface with the building exterior wall: gap sealing and drip edge
- Roof-to-column connection: how the pergola rafters (垂木) are fixed
Working out the detail design in advance means the actual construction goes smoothly. Starting without this thinking leads to painful rework later.
Creating the Materials List and Placing Orders
Once the detailed design is confirmed, create a complete materials list:
- Decking boards: quantity x length (add 10–15% for cut-off waste)
- Floor joists (根太): quantity x length
- Beams (大引き): quantity x length
- Posts (束柱): quantity x length (cut to height on site)
- Footings (束石): count
- Screws and hardware
- Wood stain / preservative (for natural timber)
Hardwood is not available at most home improvement stores, so I ordered from a specialist timber online retailer — Marutoku Shop in my case.
Ground Preparation Before Construction
ud83duded2 RECOMMENDED PRODUCTS
Deck Screws & Fasteners
Use stainless screws only u2014 standard screws rust and stain the deck within one rainy season.
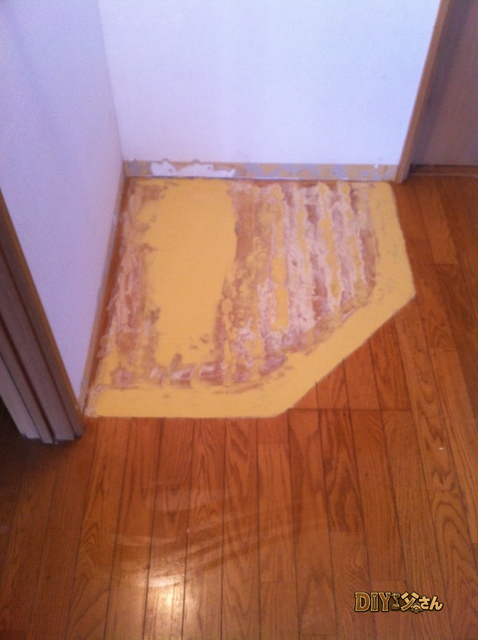
Preparing the ground beneath the deck is critical. Without treatment, weeds will grow up through the deck.
- Weed control fabric — most common and affordable option
- Gravel on top of fabric — adds weight to hold the fabric in place
- Concrete — complete weed suppression, but watch drainage
I used weed control fabric plus gravel — a good balance of cost, effectiveness, and ease of installation.
Tools to Have Ready
- Circular saw — for cutting lumber
- Impact driver — for driving screws
- Level — for setting footing heights
- Laser level — for horizontal reference lines
- Pipe couplers (クランプ) — for temporary clamping
- Try square and tape measure — for checking dimensions
Hardwood is extremely dense — always pre-drill before driving screws. Skipping this step will snap the screw or split the board.
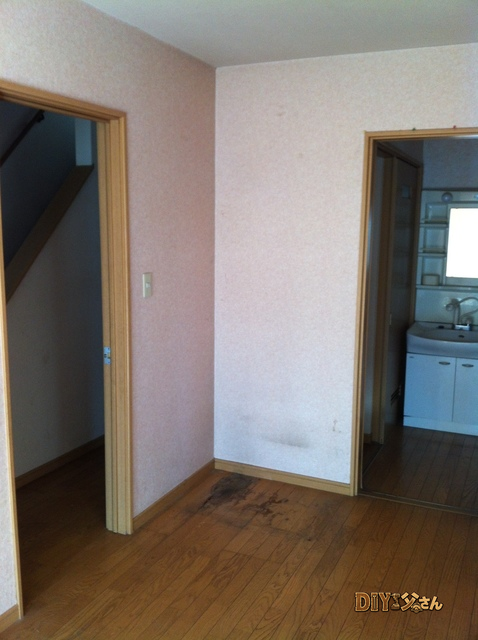
Confirming the Installation Site
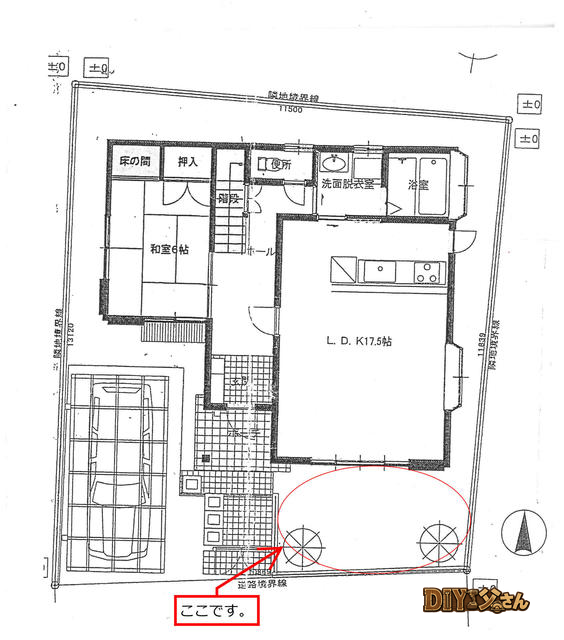
Originally published: 2017-05-31. With the materials decided, I re-confirmed the installation location.
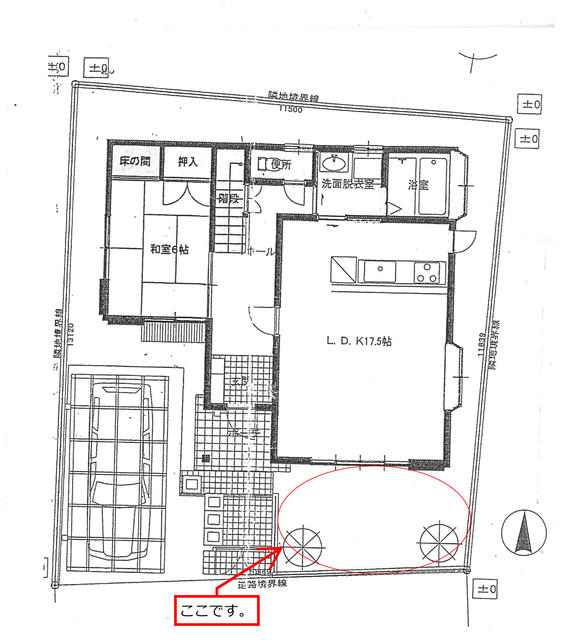
↑ Floor plan
The installation space dimensions come from the exterior elevation drawings (plan view).
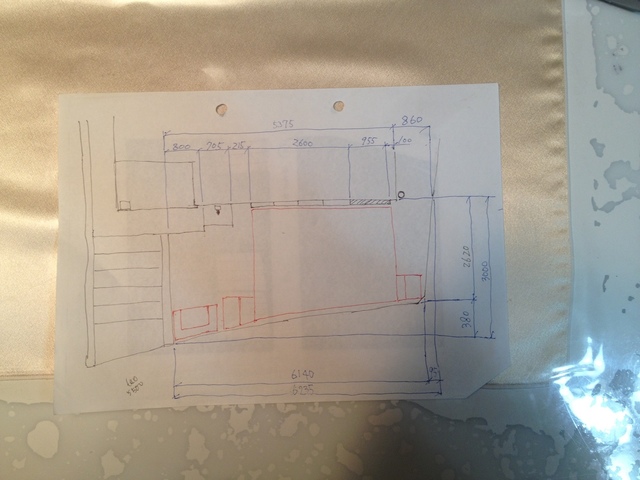
↑ Exterior plan — installation space — plan view (rough sketch)
The rough sketch makes it hard to get precise dimensions, so I redrew it in CAD.
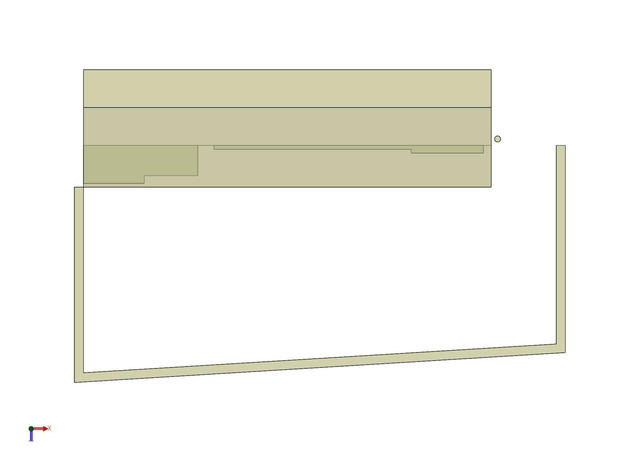
↑ Exterior plan — installation space — plan view — CAD. Much easier to read! I maximized the deck area to use the full available space.

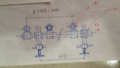
↑ Front elevation — installation space
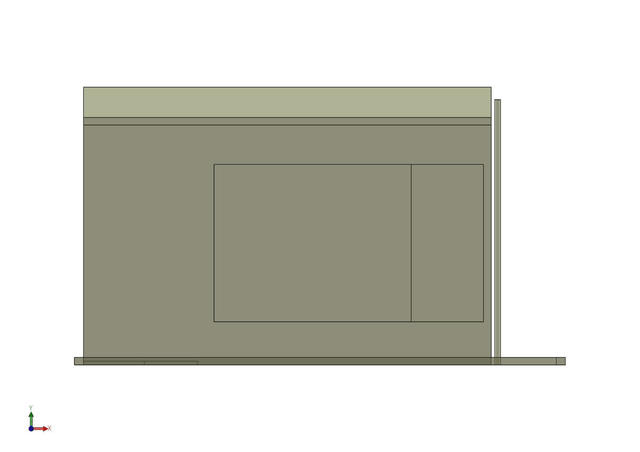
↑ Front elevation — installation space — CAD. Height relationships are worked out in the side elevation view.
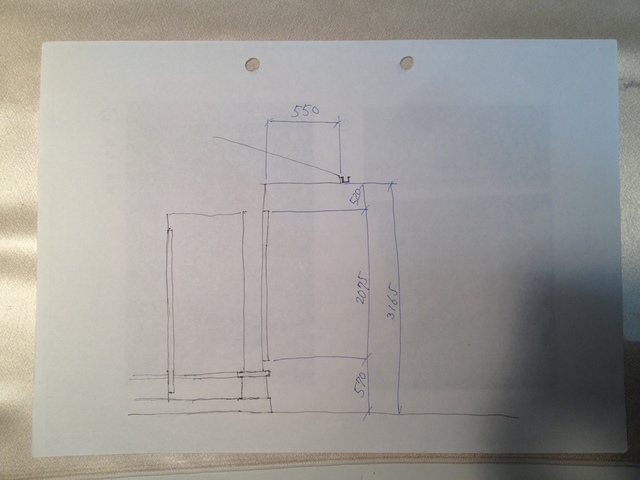
↑ Side elevation — installation space
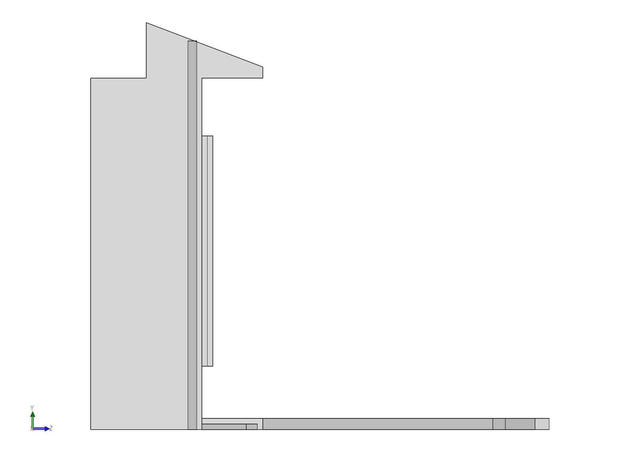
↑ Side elevation — installation space — CAD
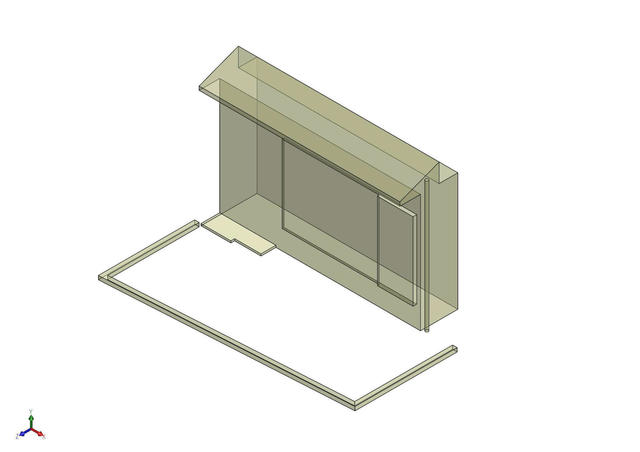
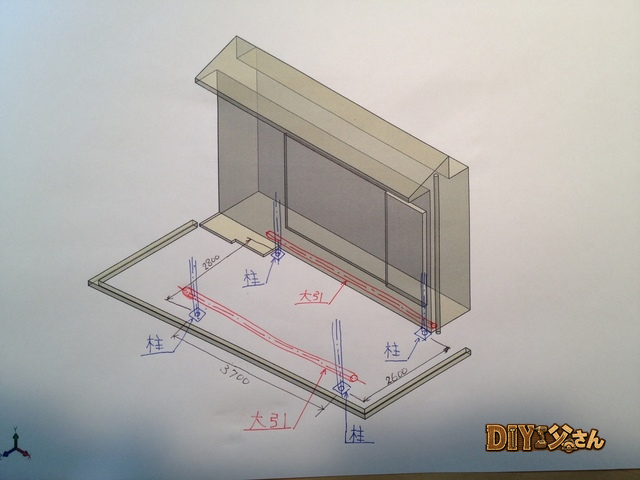
↑ Isometric view — installation space — CAD
I want the deck surface level with the living room floor. How much clearance will be available underneath? Starting from the living room floor level and subtracting the decking board thickness and floor joist depth:
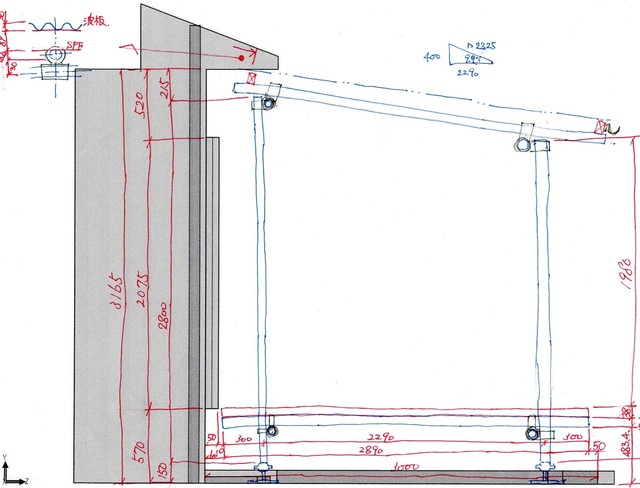
↑ Under-deck clearance study
Approximately 500 mm (483.5 mm) of clearance is available — more than enough for maintenance access and for the dogs to run around!
ud83dudcda Wood Deck Build Log u2014 16 of 45
u2190 Structural Design Pt.4: Finalizing Materials u00b7 Series Index u00b7 Detail #2: Structural Framing Sketches u2192
DIY Renovation Quote Review Manual
How to read, compare, and negotiate contractor quotes. This manual saved me u00a5800,000 on a single renovation project.
ud83cudfe0 More from DIY Father
15 years of landlord experience u00b7 3 apartment buildings u00b7 DIY renovations that saved millions of yen. Browse all articles at diytosan.com