ud83dudcda Apt.1 Laundry Room Series u2014 7 of 8
u2190 Apt.1 Laundry Room Vol.6: Cushion Floor Finish u00b7 Series Index u00b7 Apt.1 Laundry Room Vol.7b: Vanity Installation Pt.2 u2192
u270fufe0f Originally published: January 6, 2022 / ud83dudd04 Updated: May 8, 2026
2026 DIY Dad’s Note: Finishing the Laundry Room & Completing the 1st-Floor Renovation
ud83duded2 RECOMMENDED PRODUCTS
Mold-Resistant Bathroom Caulk
Re-caulk every 3u20135 years. Black mold on caulk is the #1 tenant complaint in Japan.
The finishing work in the laundry room u2014 wallpaper, cushion floor, and vanity u2014 is complete, and the full 1st-floor renovation has finally come to an end!
Wallpaper Finish (Vol.5)
Wallpapering in a laundry/changing room demands more moisture-resistance than a typical room:
- Choose wallpaper with anti-mold properties (essential)
- Apply caulk behind the vanity and around the bathroom door frame
- Breathable wallpaper is preferable u2014 it lets moisture escape
- White and light tones are popular for a clean, fresh look
This room gets hit with humidity every single day at bath time. Taking moisture-resistance seriously keeps the interior looking great for years.
Cushion Floor Finish (Vol.6)
The cushion floor in a laundry room must handle wet conditions:
- Choose a water-resistant CF rated for bathrooms and laundry areas
- Install base molding at wall joints to prevent water from seeping underneath
- Caulk around the vanity legs for waterproofing
- Minimize seams in the CF u2014 each seam is a potential entry point for water
Water getting under the CF can cause rot. Take extra care with seam waterproofing.
Vanity Installation (Vol.7)
Replacing a bathroom vanity is genuinely DIY-friendly:
- Remove the old vanity (disconnect cold water, hot water, and drain lines)
- Set the new vanity in position and secure it to the wall
- Connect the cold and hot water supply lines (flexible hose connectors)
- Connect the drain (P-trap)
- Open the shut-off valve and check for leaks
- Caulk around the vanity perimeter
Supply and drain work is generally DIY-legal (unlike gas, no license required). Be meticulous about checking all connections for leaks.
Apt.1 u2014 1st Floor Renovation Complete!
Japanese-style room, kitchen, toilet, bathroom, and laundry room u2014 every room on the 1st floor has been renovated.
1st-Floor Renovation Summary
- Japanese room: sandy plaster walls u2192 wallpaper, tatami u2192 CF, ceiling repainted
- Kitchen: fixtures replaced, walls refinished
- Toilet: full gut renovation u2014 new toilet and interior
- Bathroom: converted from traditional wet bath to unit bath
- Laundry room: new partition wall and all fixtures installed
The sense of accomplishment from doing every room yourself is something else. “It was a lot of work u2014 but I’m really glad I did it” u2014 that’s the honest take from DIY Dad.
ud83cudfe2 Thinking About Apartment Investment or Renovation?
For apartment renovations, return on investment is everything. DIY Dad dramatically cuts costs by doing the work himself.
Marutoku Shop u2014 Renovation Materials & Timber Online u00bb
![]()
Hey there u2014 DIY Dad here! Continuing the 1st-floor laundry room renovation. The walls and floor are finished, so now it’s time to install the fixtures.
Washing Machine Pan Installation
ud83duded2 RECOMMENDED PRODUCTS
Bathroom Vanity & Mirror Cabinets
Mirror cabinets add storage and light u2014 tenants notice immediately.
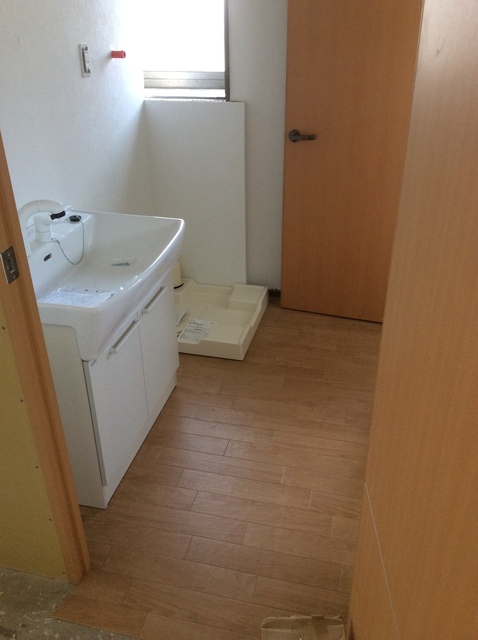
Starting with the washing machine pan. No photos for this part, so bear with me as I describe it.
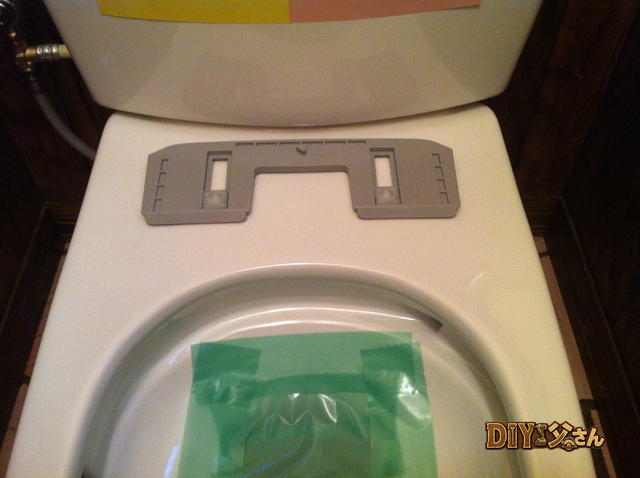
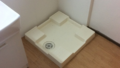
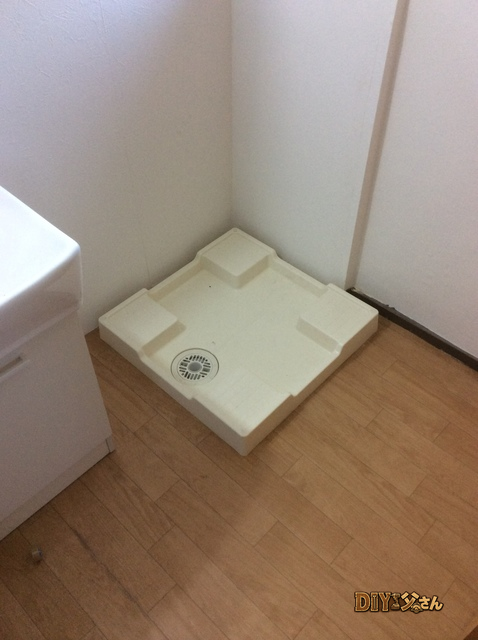
I used a 640mm square pan with a bottom-drain trap. Cut a notch in the floor around the drain pipe using a drill and jigsaw u2014 drill at each corner, then connect the holes with the jigsaw. Fitted the pan and drain trap, connected the drain pipe to the trap. Sealed the gasket with silicone caulk (plugging it in would work, but caulk is more secure) to block odors and insects. Secured the pan to the floor with screws through the four corner holes, then covered the holes with decorative caps.
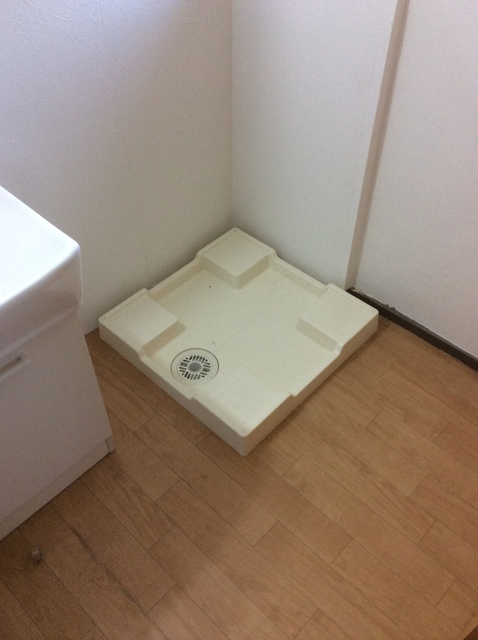
u2191 Washing machine pan installed.
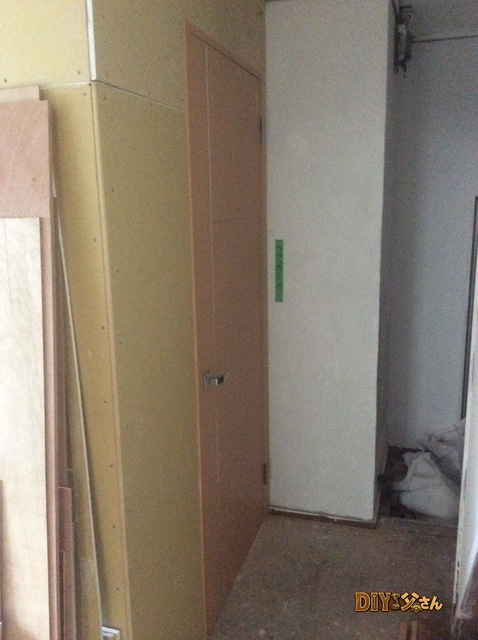
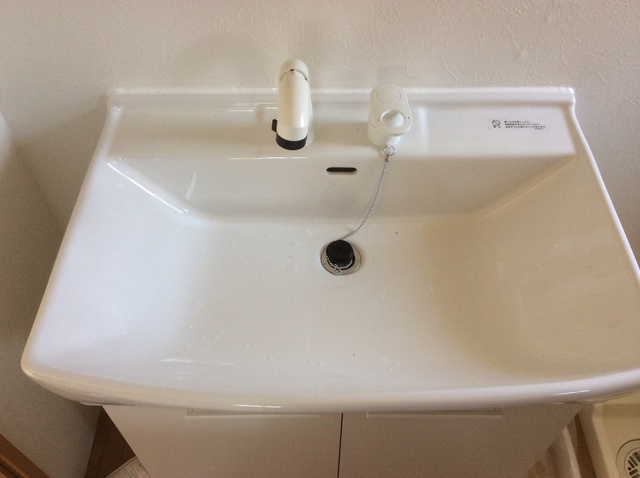
Vanity u2014 Lower Cabinet Positioning
Next: the vanity. Using a LIXIL unit, 750mm wide. The vanity comes in two sections u2014 lower and upper u2014 and is installed bottom-first.
Temporarily set the lower section in place.
u2191 Vanity lower cabinet u2014 temporary placement.
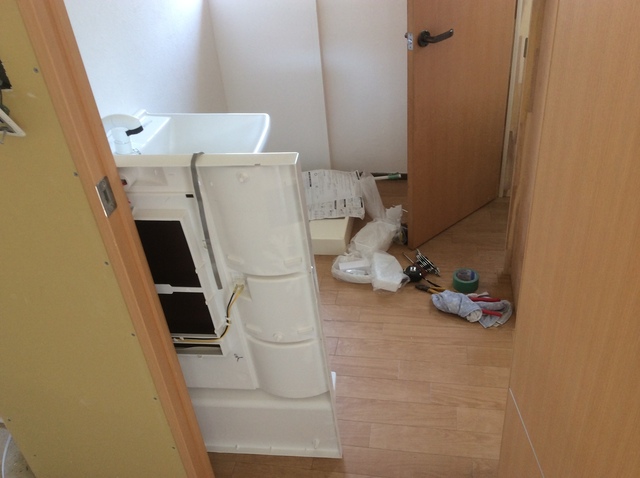
u2191 Back panel of the upper cabinet.
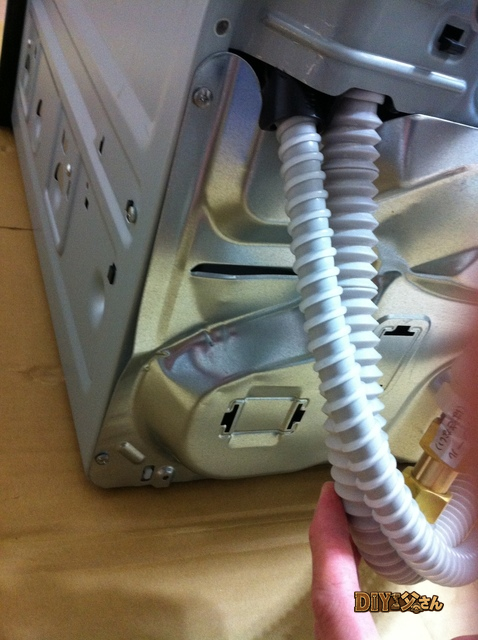
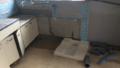
The drain connection from the subcontractor came in slightly off from the specified location. Discovered it on installation day u2014 had to fix it on the fly. No time to go under the floor, so I rerouted above the floor with an elbow fitting, hidden in the cavity behind the lower cabinet.
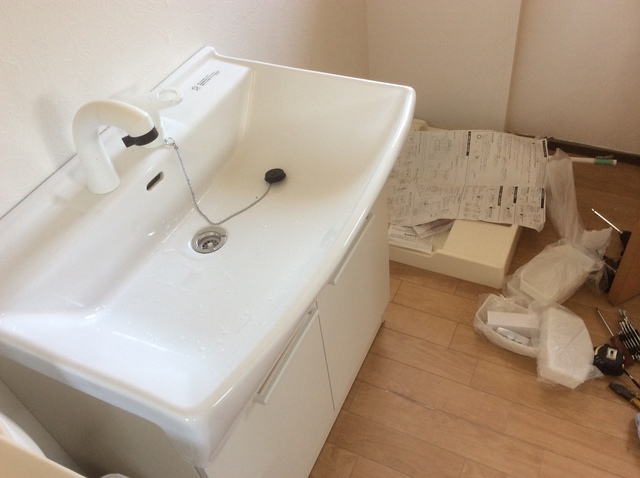
u2191 Vanity lower cabinet with plumbing connections ready.
Connect cold water, hot water, and drain. Before fitting the upper cabinet, caulk the gap between the lower cabinet and the wall.
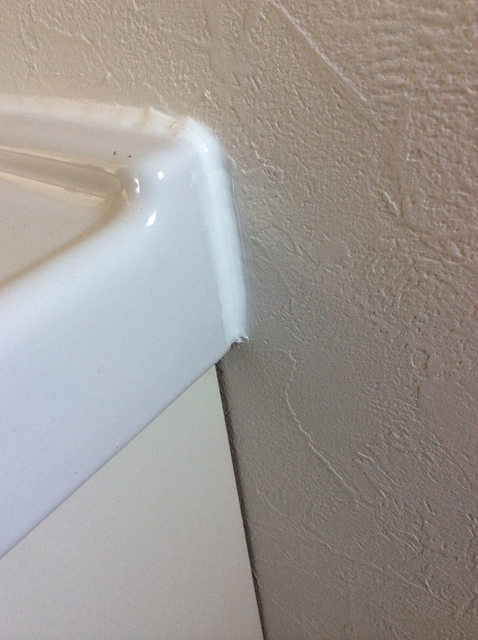
u2191 Caulking the wall gap.
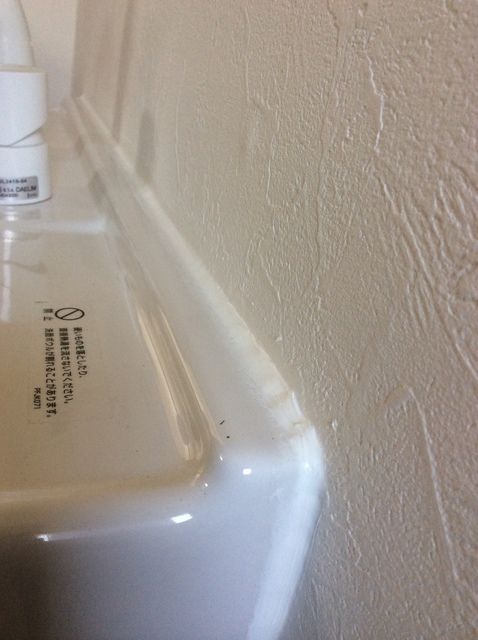
u2191 Caulking continues.
u2191 Caulking complete.
That’s all for today u2014 the upper cabinet installation continues in Vol.7b. See you next time!

ud83dudcda Apt.1 Laundry Room Series u2014 7 of 8
u2190 Apt.1 Laundry Room Vol.6: Cushion Floor Finish u00b7 Series Index u00b7 Apt.1 Laundry Room Vol.7b: Vanity Installation Pt.2 u2192
DIY Renovation Quote Review Manual
How to read, compare, and negotiate contractor quotes. This manual saved me u00a5800,000 on a single renovation project.
ud83cudfe0 More from DIY Father
15 years of landlord experience u00b7 3 apartment buildings u00b7 DIY renovations that saved millions of yen. Browse all articles at diytosan.com