ud83dudcda Bathroom Renovation Series u2014 11 of 25
u2190 Bathroom Renovation Vol.10: Washing Machine Stand Pt.1 u00b7 Series Index u00b7 Bathroom Renovation Vol.12: Under-Floor Storage Pt.1 u2192
u270fufe0f Originally published: 2016-12-03 / ud83dudd04 Updated: May 8, 2026
2026 Update from DIY Dad: Bathroom/Laundry Room Renovation Strategies
ud83duded2 RECOMMENDED PRODUCTS
Mold-Resistant Bathroom Caulk
Re-caulk every 3u20135 years. Black mold on caulk is the #1 tenant complaint in Japan.
The bathroom/laundry room is one of the more challenging DIY projects because of its wet-area nature u2014 but with the right approach, it’s absolutely doable.
Floor Work in the Bathroom/Laundry Room
The biggest challenge in this series was the full floor replacement: checking for joist rot u2192 repairs u2192 plywood subfloor u2192 cushion floor finish. This is among the more difficult DIY tasks in wet-area renovation.
What to Check Before Laying the Subfloor
Before laying 12mm structural plywood, always confirm the following:
- Measure joist spacing (typically 303mm = 1 shaku)
- Check joists are level with a spirit level
- Visually inspect and press-test for rot or termite damage
- Lay plywood sheets in a staggered pattern (u5343u9ce5u5f35u308a) so seams don’t line up across panels
Without the staggered pattern, all seams fall in a straight line and the floor will make a hollow clunking sound when walked on. DIY Dad caught this on the very first sheet and fixed it.
Tips for Laying Cushion Floor
- Make a paper template (trace the floor shape using roll paper or cardboard)
- Cut the cushion floor 5u201310mm oversize, then trim to final fit on site
- Cut walls edges straight down with a utility knife (not at an angle)
- Spread adhesive evenly with a notched trowel, then press down the cushion floor while rolling out air
- Reinforce seams with seam-specific adhesive if the floor has joints
The bathroom/laundry room has a complex shape where the vanity, washing machine pan, and toilet meet at right angles in three directions u2014 taking a careful paper template is the key to success.
Installing the Washing Machine Stand
Always confirm the floor is level before setting the waterproof pan in place. If it’s off-level, the washing machine will vibrate and move during use. Also verify that the drain hole in the pan aligns with the existing drain location, and that the drain hose reaches (typically within 1.5u20132m).
What DIY Dad Prioritizes as a Landlord
- Use seamless sheet cushion floor for easy maintenance
- Choose a washing machine pan shape that’s easy to clean around the drain
- Always verify the ventilation fan is working u2014 essential for mold prevention
- Caulk (waterproof seal) carefully u2014 especially at the vanity, washing machine pan, and wall joints
DIY Dad’s 15 years of landlord experience has made one thing very clear: the cleanliness of the bathroom/laundry room directly affects occupancy rates. Cutting corners here always causes problems at move-out.
ud83dudebf For Anyone Considering a Vanity or Wet-Area Renovation
Confirm drain pipe types and measurements before starting to avoid leaks and costly surprises.
![]()
Washing Machine Stand Installation u2014 Fixing a Drain Pipe Mismatch
ud83duded2 RECOMMENDED PRODUCTS
Bathroom Vanity & Mirror Cabinets
Mirror cabinets add storage and light u2014 tenants notice immediately.
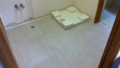
Hi, this is DIY Dad! Continuing the first-floor bathroom/laundry room renovation series.
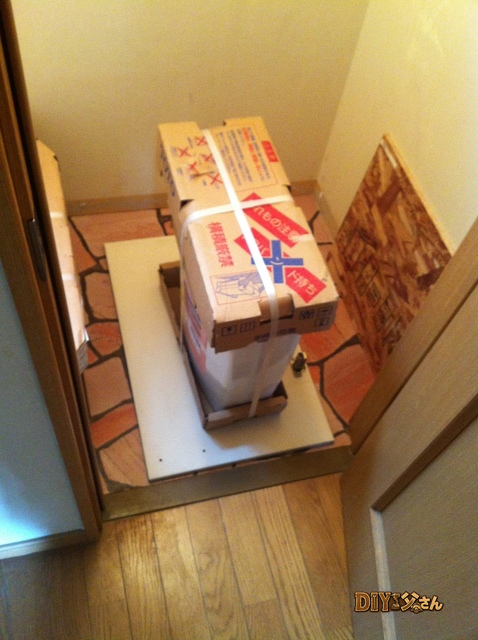
After a trial placement of the washing machine stand, a problem appeared right away:
Wait u2014 the drain trap doesn’t fit! The hole was too small.
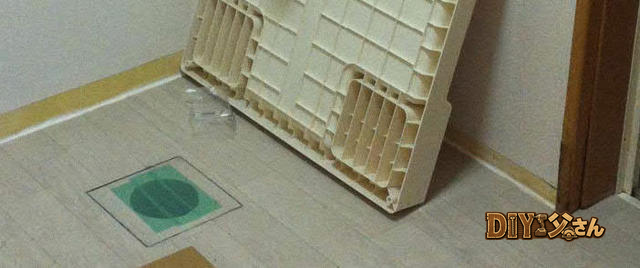
On reflection, this hole didn’t need to be a tight fit at all. Time to cut it larger u2014 a do-over. Annoying, but it happens.
New layout lines are marked out.
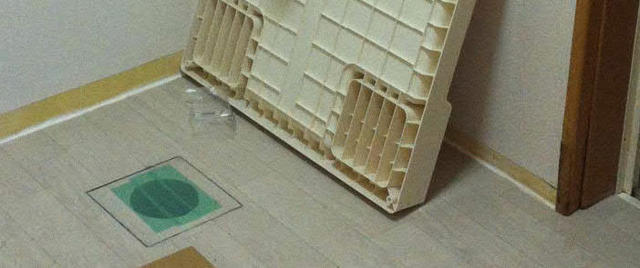
u2191 The revised layout markings.
The hole is enlarged with the jigsaw. Since the washing machine stand covers this hole completely, there’s no need for a clean cut u2014 just make it big enough.
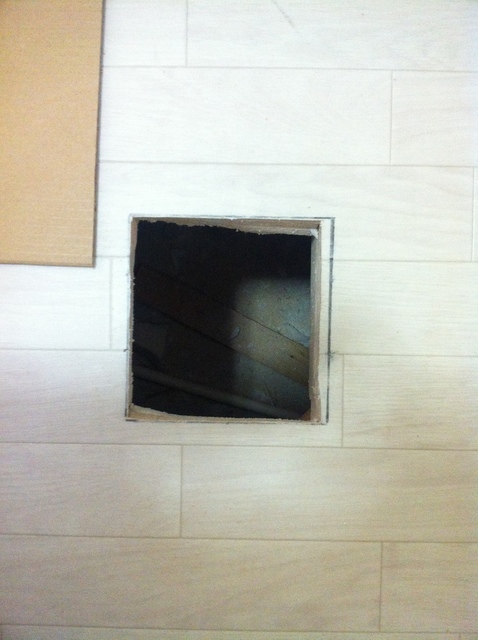
u2191 The enlarged hole.
With the stand positioned over the opening, DIY Dad crawls under the floor to check that the under-floor drain pipe and the stand’s drain will connect. Looks like they’ll link up.
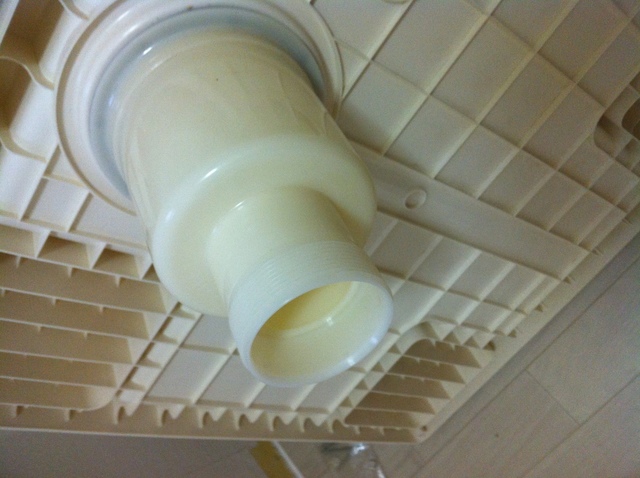
u2191 The drain pipe junction confirmed.
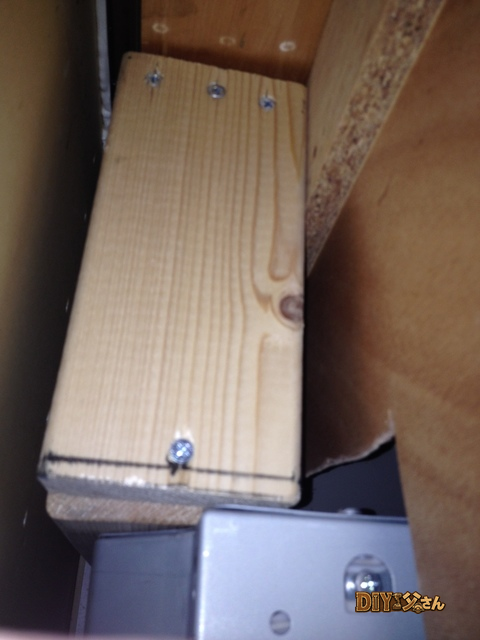
The washing machine stand is secured to the floor with screws at all four corners. Done!
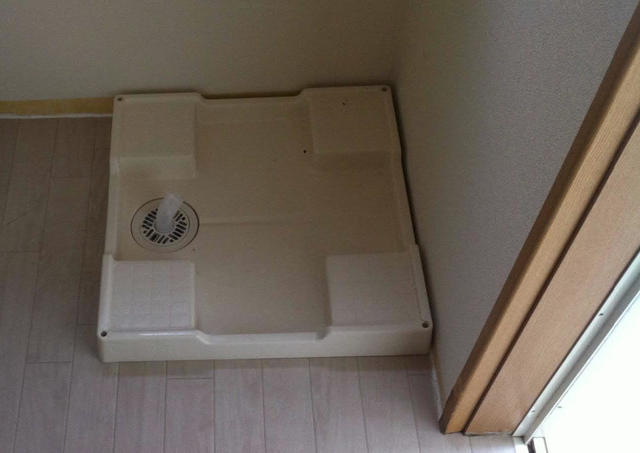
u2191 The washing machine stand secured in place. Pricing and specs are in the DIY Dad Equipment Guide u2014 Bathroom/Laundry Room Edition. That’s all for today u2014 see you next time!
ud83dudcda Bathroom Renovation Series u2014 11 of 25
u2190 Bathroom Renovation Vol.10: Washing Machine Stand Pt.1 u00b7 Series Index u00b7 Bathroom Renovation Vol.12: Under-Floor Storage Pt.1 u2192
DIY Renovation Quote Review Manual
How to read, compare, and negotiate contractor quotes. This manual saved me u00a5800,000 on a single renovation project.
ud83cudfe0 More from DIY Father
15 years of landlord experience u00b7 3 apartment buildings u00b7 DIY renovations that saved millions of yen. Browse all articles at diytosan.com