ud83dudcda Wood Deck Build Log u2014 19 of 19
u2190 Build #44: Fence Assembly u00b7 Series Index u00b7 (last article) u2192
u7acau30fbSee the complete Wood Deck DIY Guide
Originally published: 2021-01-30 / Revised: May 8, 2026
2026 Update from DIY Dad: Wood Deck Complete! Finishing the Floor, Fence, and Stairs
ud83duded2 RECOMMENDED PRODUCTS
Pressure-Treated Deck Lumber
Pressure-treated lumber is the baseline u2014 skip it and you’ll be rebuilding in 5 years.
After all the floor boarding, I attached the fence and stairs to finish the wood deck. A project that took over 3 years from planning to completion was finally done!
Second Half of Floor Boarding
ud83duded2 RECOMMENDED PRODUCTS
Deck Stains & Waterproof Sealers
Stain every 2u20133 years. It’s the single cheapest way to double deck lifespan.
Once all the floor boards are laid, trim the ends to a straight line. Use a chalk-line guide against a circular saw to cut in one clean pass. Hardwood is dense, so the blade wears faster u2014use a carbide-tipped saw blade.
After cutting, sand the raw edges (#80 u7acau30fb#120 grit sandpaper) and then apply finish coating. Hardwood has natural oils that can resist paint adhesion u2014use an oil-based wood preservative such as Xyla-Decor or similar. m(_ _)m
Fence Assembly
Attaching the fence (railing / privacy screen):
- Fix the vertical posts to the scaffold pipe skeleton
- Screw the top rail (cap rail) to the posts
- Attach the horizontal boards (fence slats) at even spacing
Set the board spacing to the minimum needed to block sightlines from outside, while still maintaining airflow. Making it completely gap-free increases wind pressure on the structure.
Stair Fabrication and Installation
ud83duded2 RECOMMENDED PRODUCTS
Deck Screws & Fasteners
Use stainless screws only u2014 standard screws rust and stain the deck within one rainy season.
I built stairs from the deck down to the ground:
- Treads (horizontal surfaces): Selangan Batu wood, 2 boards side by side
- Risers (vertical faces): omitted (open-riser design)
- Stringers: the diagonal members that support the treads
Stair dimension design:
- Tread depth: 270u201400 mm
- Rise height: 150u201400 mm
- Number of steps: deck height uff83uff77 rise height
Stairs directly affect daily usability. Too high a rise makes them difficult to climb. For households with elderly users or young children, aim for lower rises (150 mm or less).
Wood Deck Complete! u2014Full Summary
It took over 3 years from planning start to completion, but it’s finally done. Total material cost: approx. 220,000 yen (including hardwood, scaffold pipe, polycarbonate roofing, etc.). Contractor estimates had ranged from 800,000 to 1.2 million yen.
The sense of achievement the first time we had a family barbecue on the completed deck was something else. The pride of “I built this myself” is the greatest reward of DIY.
Hi, DIY Dad here.
The wood deck series is finally wrapped up! I actually built this thing 6 years ago u2014it’s ancient history as DIY projects go. I have a mountain of current-day projects, and the blog updates just keep not happening… Keeping up consistent blog posts is tough (sweat).
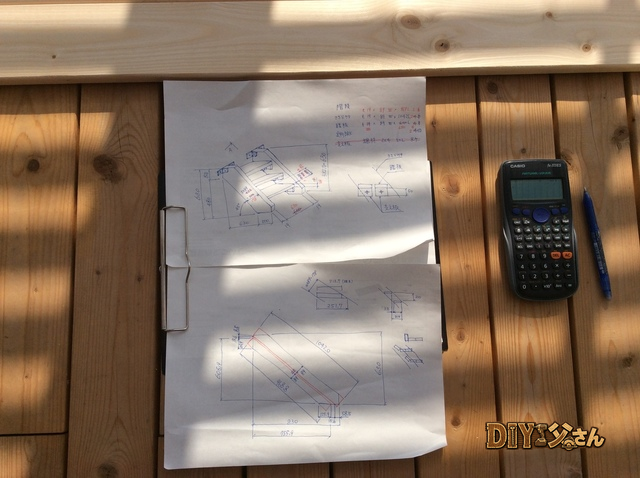
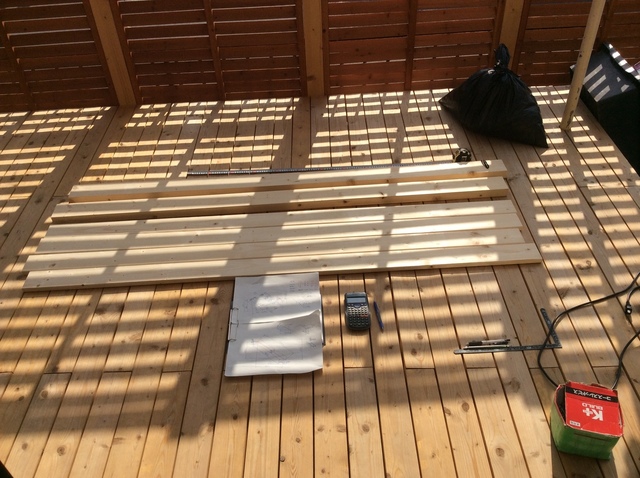
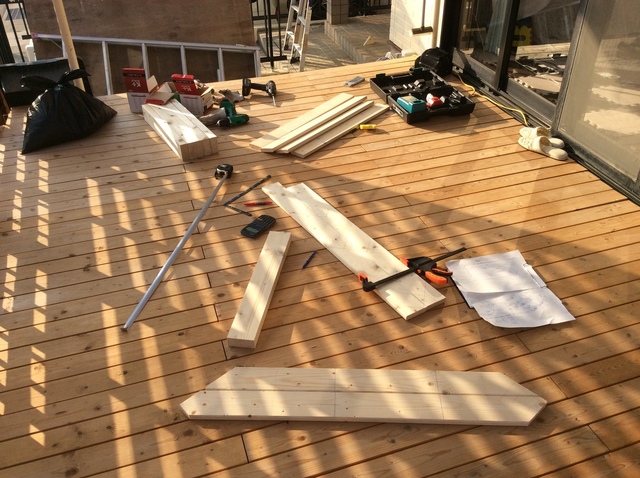
Anyway, continuing the wood deck renovation series. I’m building a stair to go from the entrance side up onto the deck. First, the plan!
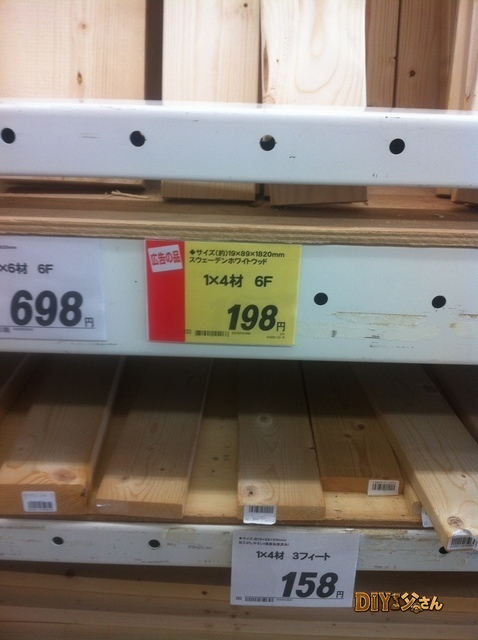
- Stringers: SPF 1uff83u30fb, 6-foot
- Treads: SPF 2uff83u30fb, 6-foot
- Ground to deck top surface: approx. 550 mm
- Rise height: approx. 185 mm
- Effective width: 700 mm
- No handrail (height is low enough)
It’s a small 2-step stair.

u7acau30fbFloor plan
u7acau30fbMaterials list
u7acau30fbMaterials list
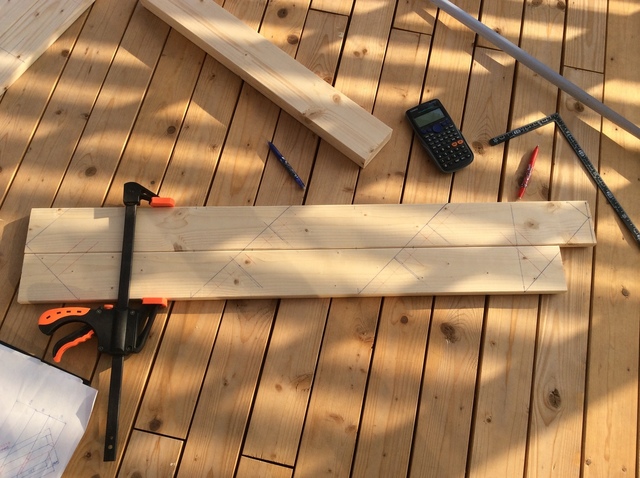
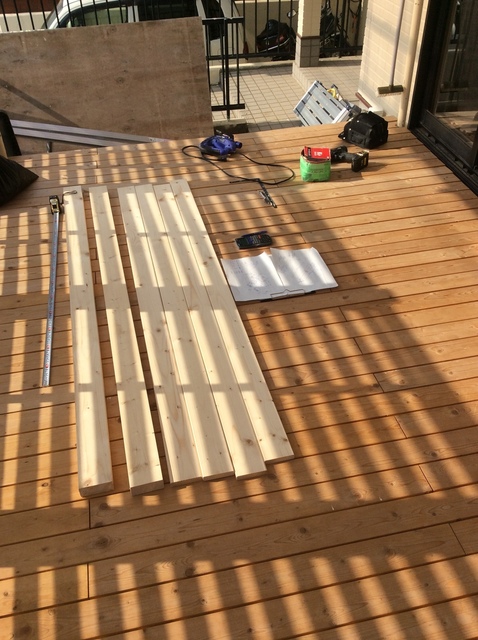
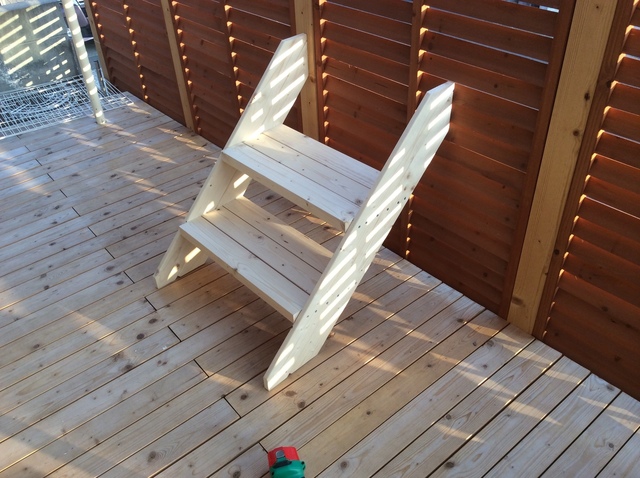
u7acau30fbStringers
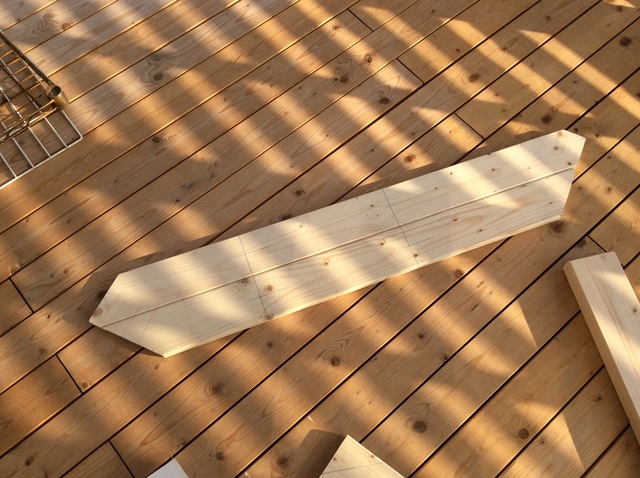
u7acau30fbStringers
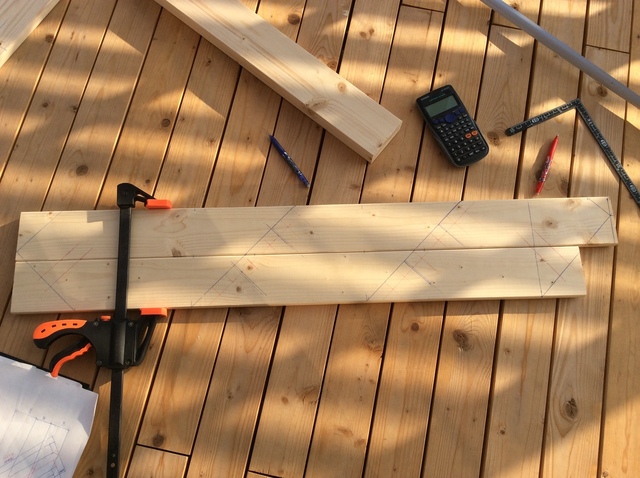
u7acau30fbStringers
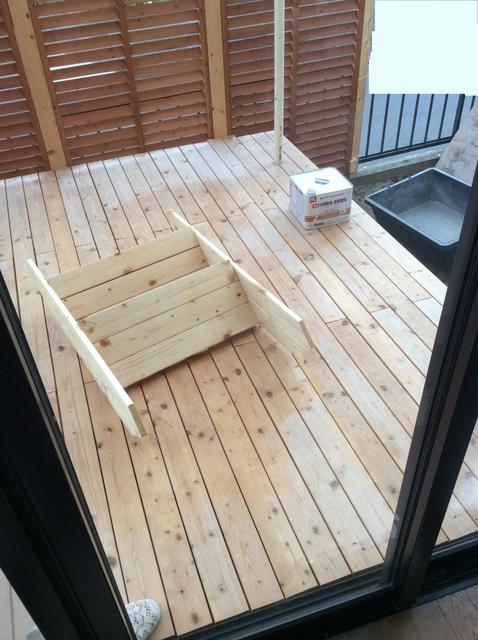
u7acau30fbTreads
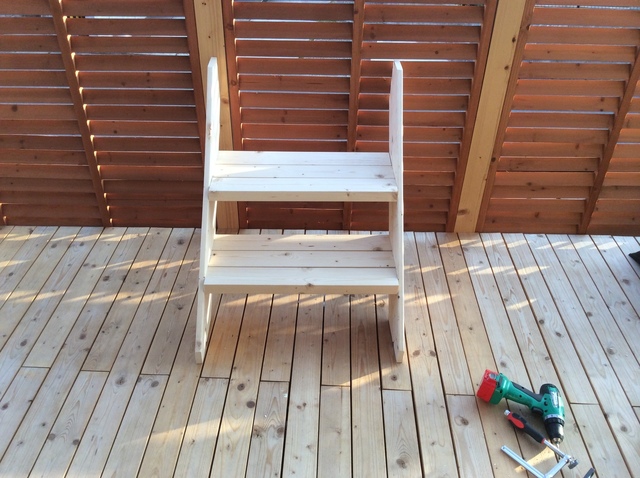
u7acau30fbAssembly complete
u7acau30fbAssembly complete
u7acau30fbAssembly complete
u7acau30fbAssembly complete
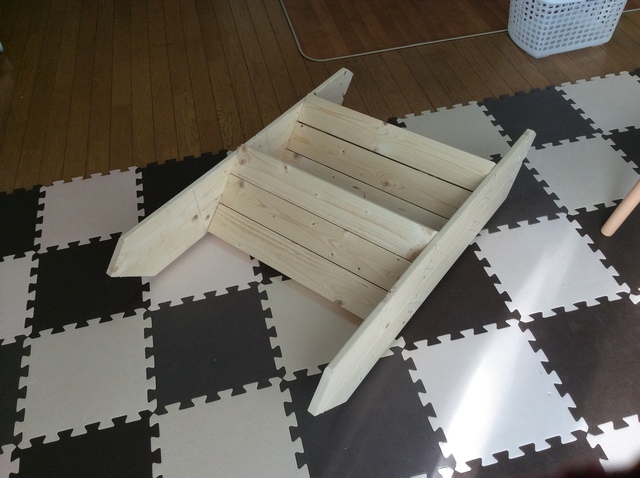
u7acau30fbAssembly complete
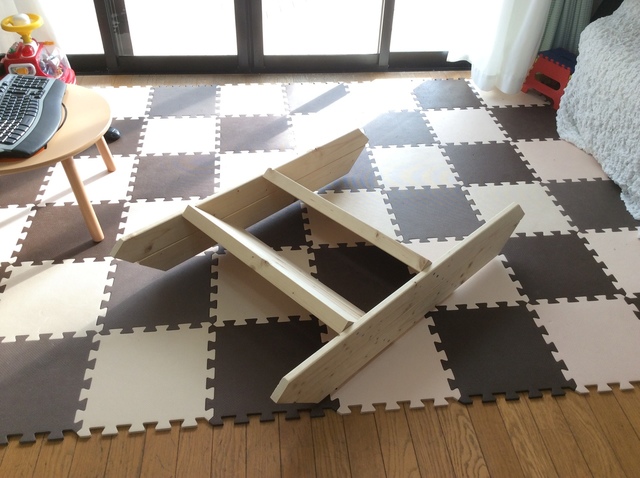
u7acau30fbAssembly complete
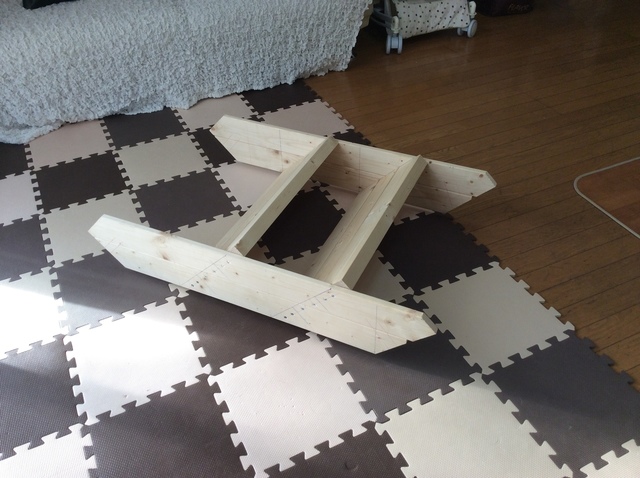
u7acau30fbAssembly complete
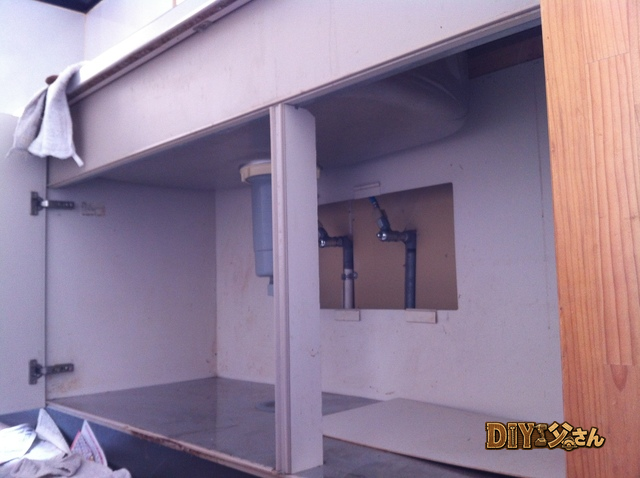
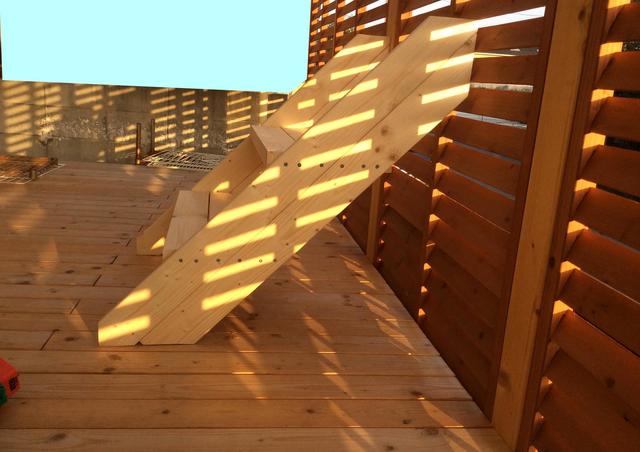
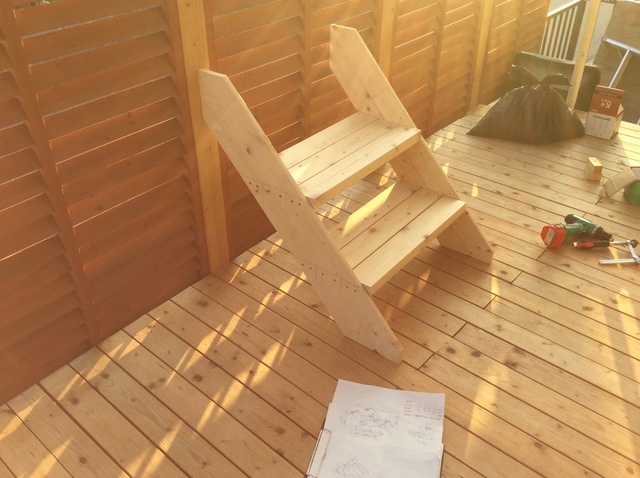
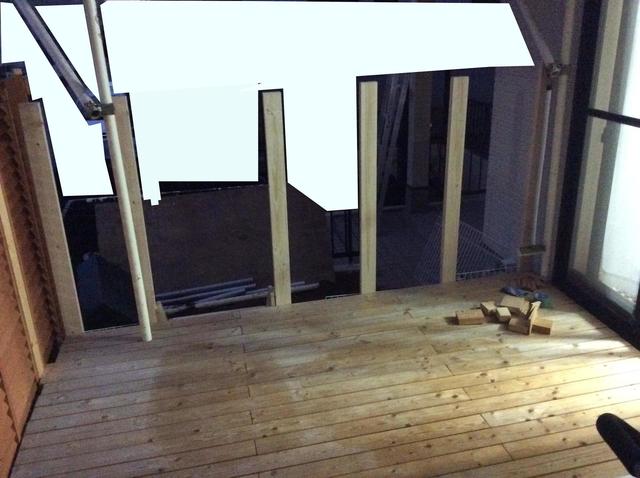
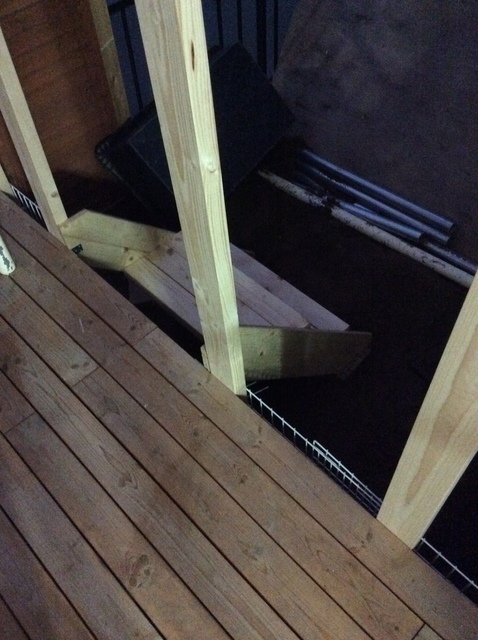
Now mounting it onto the deck.
u7acau30fbInstallation photo
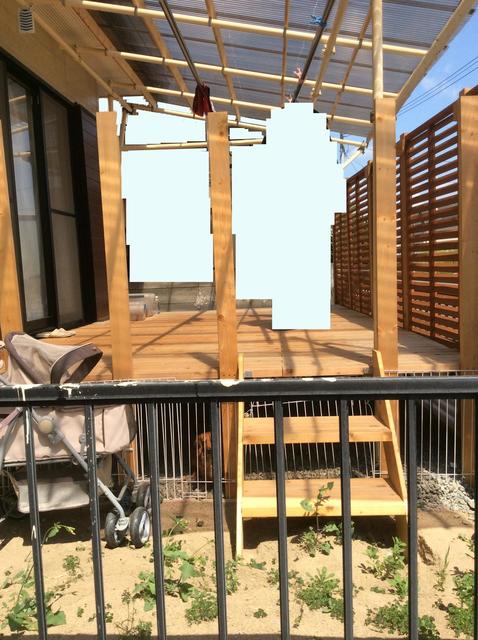
Moving on due to photo limitations! I want the area under the deck to be a dog run, so I need to fence it in to keep the dogs from escaping. I also added a handrail to keep the kids from falling off the deck surface. The handrail uses SPF 2uff83u30fb and 1uff83u30fb.
u7acau30fbHandrail
u7acau30fbHandrail

u7acau30fbInstallation photo

u7acau30fbHandrail
u7acau30fbLower fence
It has a bit of an improvised feel, but I’m not going to worry about it. The project is essentially complete! I noticed some wobble in the frame, so afterward I repositioned and added some bracing, added more roofing material where it was missing, and made a few small tweaks. Not bad for a first-time structural design and build, if I do say so myself.
ud83dudcda Wood Deck Build Log u2014 19 of 19
u2190 Build #44: Fence Assembly u00b7 Series Index u00b7 (last article) u2192
DIY Renovation Quote Review Manual
How to read, compare, and negotiate contractor quotes. This manual saved me u00a5800,000 on a single renovation project.
ud83cudfe0 More from DIY Father
15 years of landlord experience u00b7 3 apartment buildings u00b7 DIY renovations that saved millions of yen. Browse all articles at diytosan.com