ud83dudcda Wood Deck Build Log u2014 7 of 19
u2190 Build #32: Foundation Pt.2 u00b7 Series Index u00b7 Build #34: Pipe Painting u2192
2026 Update from DIY Dad: Construction Begins u2014 Foundation to Skeleton Assembly
ud83duded2 RECOMMENDED PRODUCTS
Pressure-Treated Deck Lumber
Pressure-treated lumber is the baseline u2014 skip it and you’ll be rebuilding in 5 years.
After a long planning phase, construction finally begins! From setting the footing stones to assembling the steel pipe skeleton u2014 this is the heart of the wood deck build.
Footing Stone Installation Steps
- String a layout line over the installation area for positioning (layout marking)
- Dig the hole, fill with gravel and compact it
- Set the footing stone while checking level with a spirit level
- Align the height of each footing stone with the neighboring ones (using the layout line as reference)
The most critical step is getting all footing stones at the same height. If this is off, it affects the entire skeleton assembly that follows.
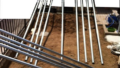
Rust-Proof Painting of the Steel Pipes
Since the steel scaffold pipes are made of steel, rust-proof painting is essential. Apply rust-inhibiting primer, let it dry, then apply a topcoat. Make sure to paint the cut ends as well. Apply paint to the areas where clamps will grip before starting assembly.
This extra step makes a huge difference in durability 10 years down the line. I treated it as an upfront investment to reduce future maintenance.
Skeleton Assembly Sequence
- Fix the bundle posts (vertical) to the footing stones
- Fix the beams / oki (horizontal) to the bundle posts
- Fix the floor joists / neta (cross members supporting the decking) to the beams
- Final-tighten each connection while confirming level and plumb
Always follow the sequence: temporary tighten u2192 check overall level and plumb u2192 final tighten. If you final-tighten one spot before moving on, you won’t be able to adjust later.
Construction Log
ud83duded2 RECOMMENDED PRODUCTS
Deck Stains & Waterproof Sealers
Stain every 2u20133 years. It’s the single cheapest way to double deck lifespan.
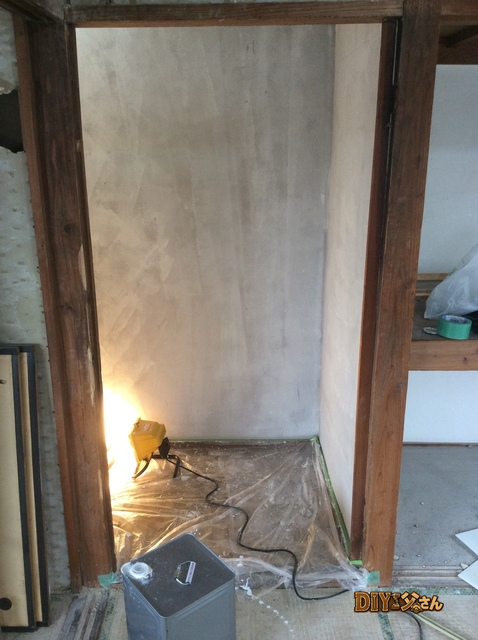
Hi, I’m DIY Dad.
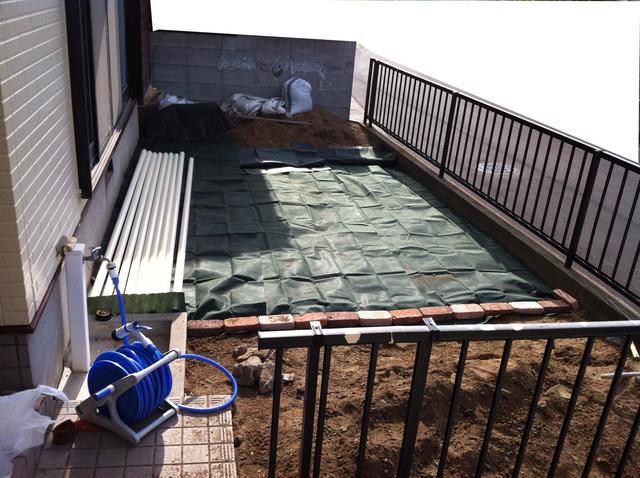
Continuing with the exterior renovation series. After the foundation work, it’s time to lay the weed-barrier sheet.
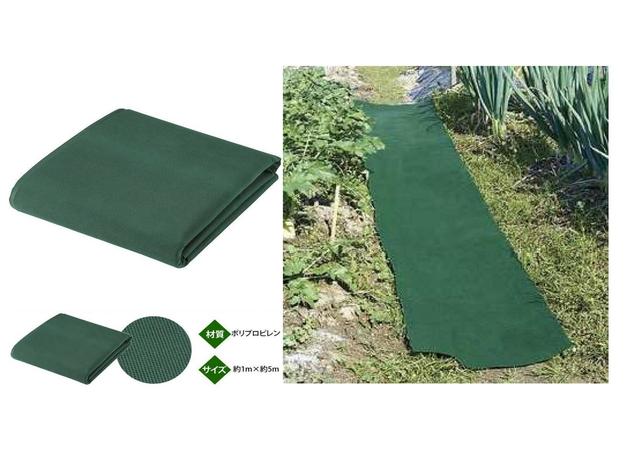
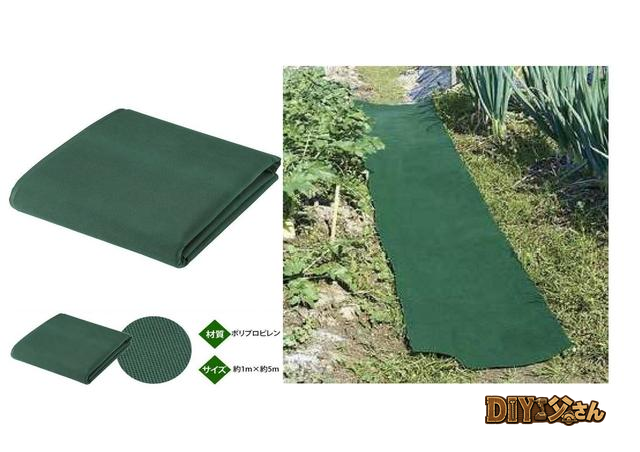
u2191 Garden u2014 weed-barrier sheet
The sheet I used was a slightly better quality one u2014 only slightly, mind you! A 1 m u00d7 10 m roll cost u00a51,000. The installation area is about 25 mu00b2, so I’ll need 3 rolls u2014 u00a53,000 total.
I had never selected or used a weed-barrier sheet before, and I was worried about durability. Since the area was small, I skipped the thinnest cheapest option. It’s a DuPont product, so I figured it would hold up well enough.
Weed-barrier sheets are normally fixed to the ground with pins.

u2191 Weed-barrier sheet pins
100 pins for about u00a5500 at a home center. However, since the area under the deck is going to serve as a sleeping and play area for our dogs (a dog run), there’s a risk they’d tear up an exposed sheet. So instead of pins, I decided to cover the sheet with gravel. It costs a bit more, but it’s a cost-effective solution when you think about future maintenance.
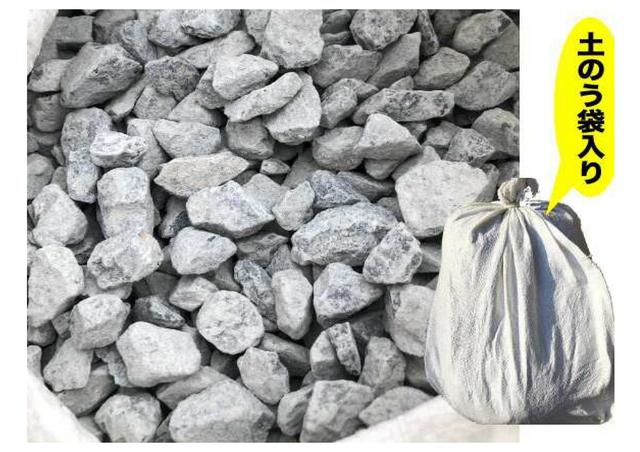
u2191 Garden u2014 gravel
At the home center you can fill sandbags yourself u2014 cram in as much as possible, about 25 kg for u00a5398 per bag. Research says a 50 mm layer of gravel is effective for weed suppression. Let me figure out how much I need:
- Required gravel volume: 0.05 m u00d7 25 mu00b2 = 1.25 mu00b3
- Volume per sandbag: approx. 0.02 mu00b3
- Number of bags needed: 1.25 / 0.02 = 62.5 u2192 63 bags
No way. That’s impossible. Too heavy, too expensive, and I really don’t want to haul 62 bags. Let’s just start laying and eyeball the amount as we go.
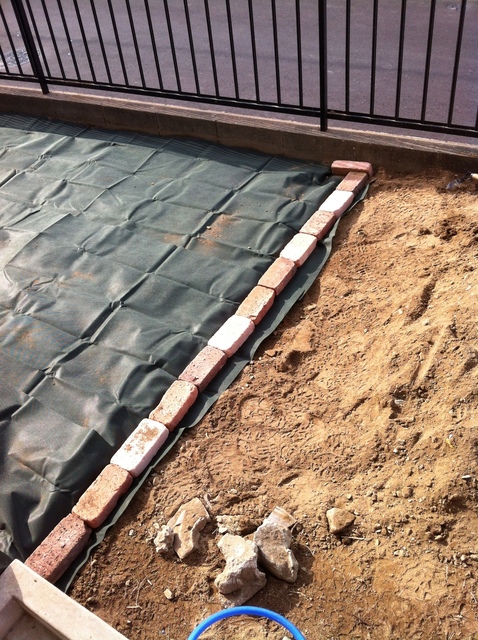
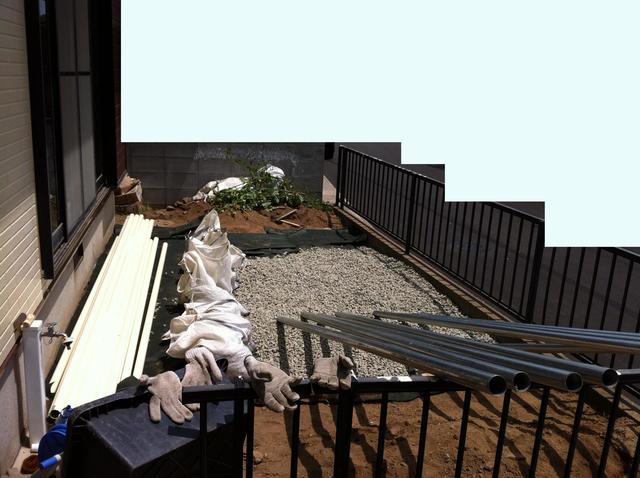
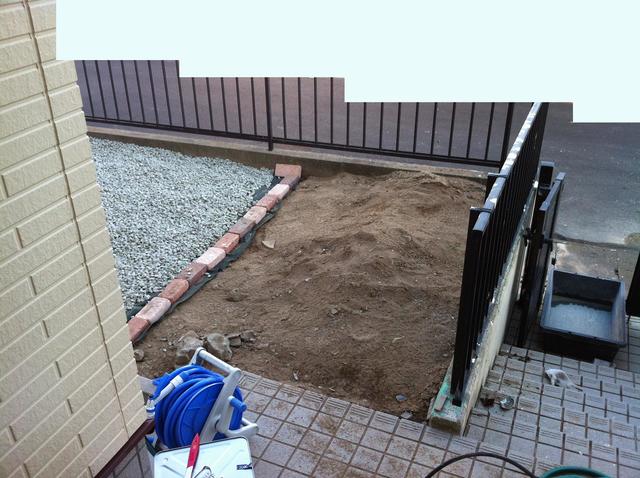
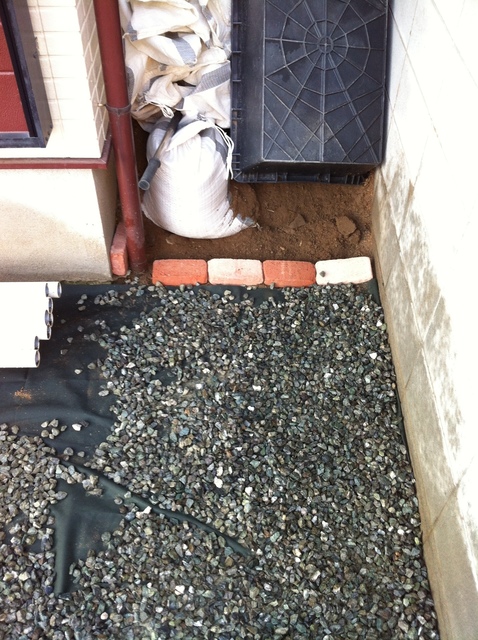
First, I lay the sheet and install an edging border between the sheeted and non-sheeted areas.
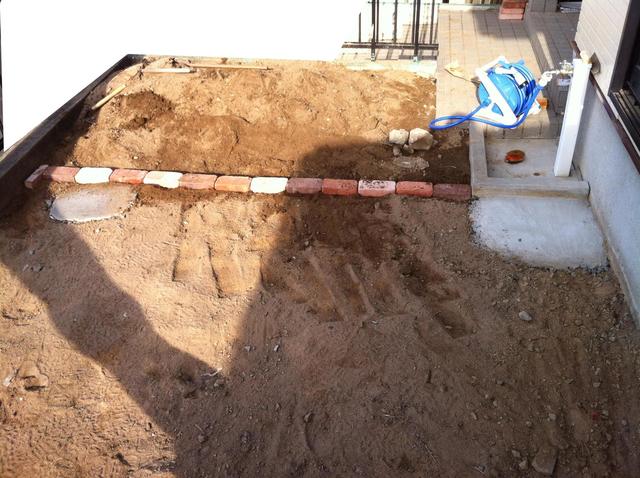
u2191 Garden u2014 weed-barrier sheet edging border
Laying the sheet:
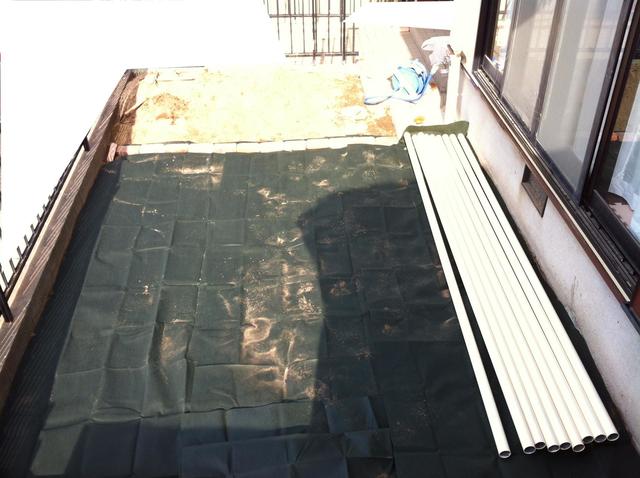
u2191 Garden u2014 weed-barrier sheet
u2191 Garden u2014 weed-barrier sheet
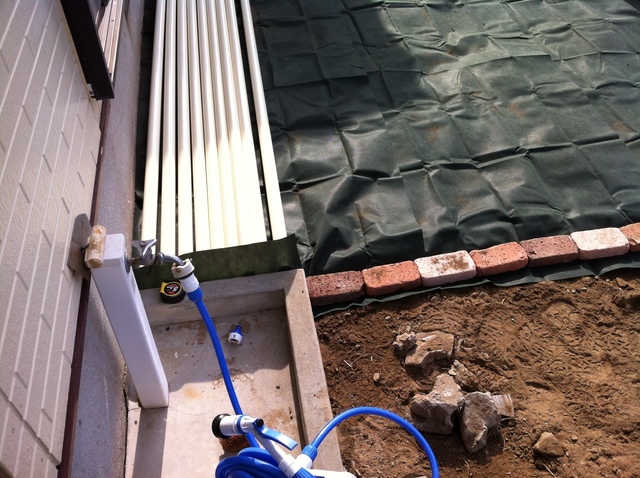
u2191 Garden u2014 weed-barrier sheet
u2191 Garden u2014 weed-barrier sheet
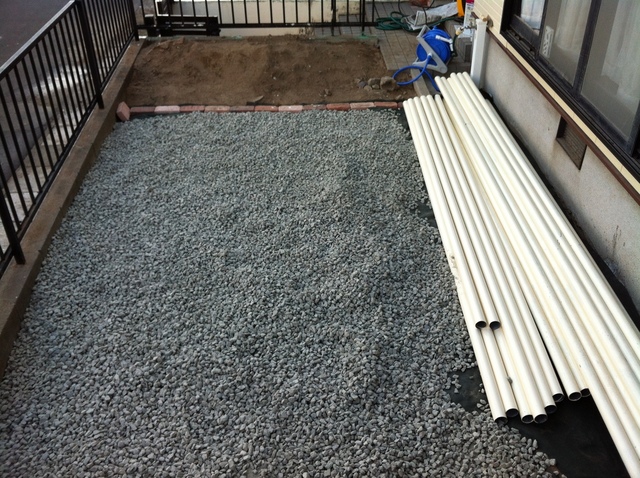
Now for the gravel! My back was already threatening to give out from all the weeding…
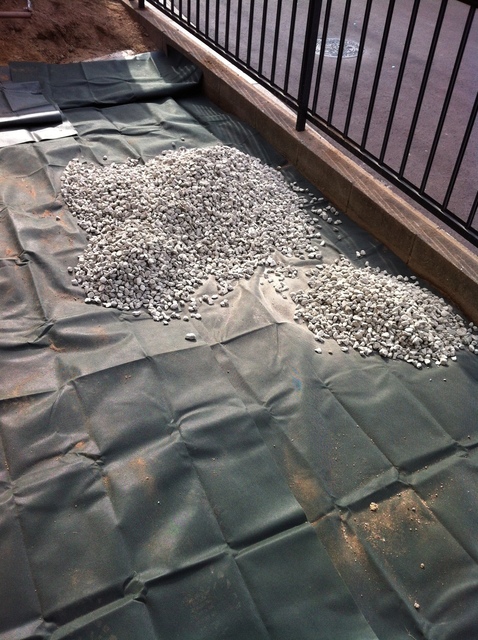
u2191 Garden u2014 gravel

u2191 Garden u2014 gravel
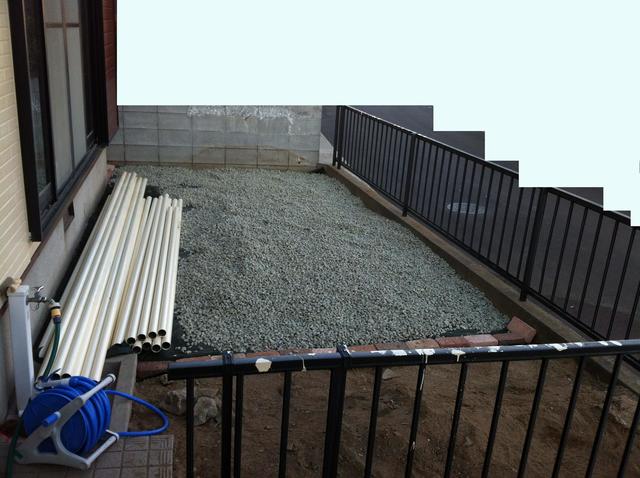
u2191 Garden u2014 gravel

u2191 Garden u2014 gravel
u2191 Garden u2014 gravel
u2191 Garden u2014 gravel
u2191 Garden u2014 gravel
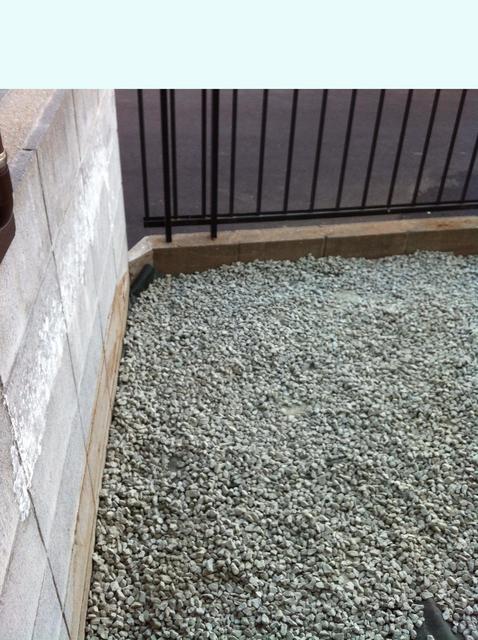
u2191 Garden u2014 gravel
u2191 Garden u2014 gravel
It’s far fewer than 62 bags, but still required quite a bit u2014 12 bags total. At this point, a small sense of accomplishment started to creep in and I felt like stopping. Still so much ahead, yet that “I think that’s enough for today” feeling starts to kick in. A bad habit of mine.
That’s all for today!
ud83dudcda Wood Deck Build Log u2014 7 of 19
u2190 Build #32: Foundation Pt.2 u00b7 Series Index u00b7 Build #34: Pipe Painting u2192
DIY Renovation Quote Review Manual
How to read, compare, and negotiate contractor quotes. This manual saved me u00a5800,000 on a single renovation project.
ud83cudfe0 More from DIY Father
15 years of landlord experience u00b7 3 apartment buildings u00b7 DIY renovations that saved millions of yen. Browse all articles at diytosan.com