ud83dudcda Wood Deck Build Log u2014 9 of 19
u2190 Build #34: Pipe Painting u00b7 Series Index u00b7 Build #36: Floor Joists u2192
2026 Update from DIY Dad: Construction Begins u2014 Foundation to Skeleton Assembly
ud83duded2 RECOMMENDED PRODUCTS
Pressure-Treated Deck Lumber
Pressure-treated lumber is the baseline u2014 skip it and you’ll be rebuilding in 5 years.
After a long planning phase, construction finally begins! From setting the footing stones to assembling the steel pipe skeleton u2014 this is the heart of the wood deck build.
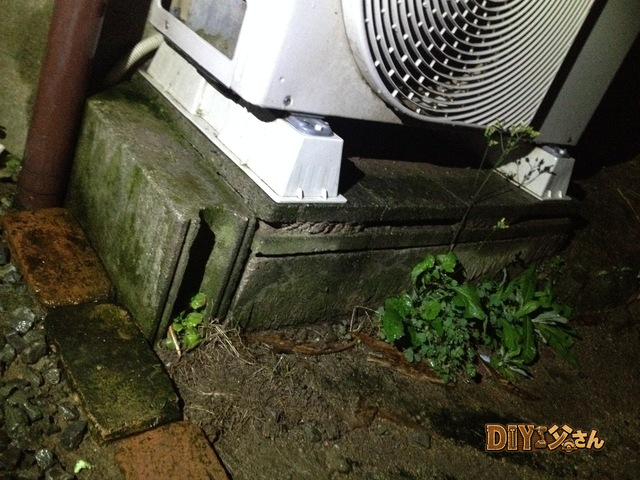
Footing Stone Installation Steps
- String a layout line over the installation area for positioning (layout marking)
- Dig the hole, fill with gravel and compact it
- Set the footing stone while checking level with a spirit level
- Align the height of each footing stone with the neighboring ones (using the layout line as reference)
The most critical step is getting all footing stones at the same height. If this is off, it affects the entire skeleton assembly that follows.
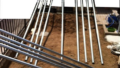
Rust-Proof Painting of the Steel Pipes
Since the steel scaffold pipes are made of steel, rust-proof painting is essential. Apply rust-inhibiting primer, let it dry, then apply a topcoat. Make sure to paint the cut ends as well. Apply paint to the areas where clamps will grip before starting assembly.
This extra step makes a huge difference in durability 10 years down the line. I treated it as an upfront investment to reduce future maintenance.
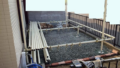
Skeleton Assembly Sequence
- Fix the bundle posts (vertical) to the footing stones
- Fix the beams / oki (horizontal) to the bundle posts
- Fix the floor joists / neta (cross members supporting the decking) to the beams
- Final-tighten each connection while confirming level and plumb
Always follow the sequence: temporary tighten u2192 check overall level and plumb u2192 final tighten. If you final-tighten one spot before moving on, you won’t be able to adjust later.
Construction Log
ud83duded2 RECOMMENDED PRODUCTS
Deck Stains & Waterproof Sealers
Stain every 2u20133 years. It’s the single cheapest way to double deck lifespan.
Hi, I’m DIY Dad.
Continuing with the exterior renovation series. Once the pipe painting was finished, it was time to assemble the columns, bundle posts, and beams.
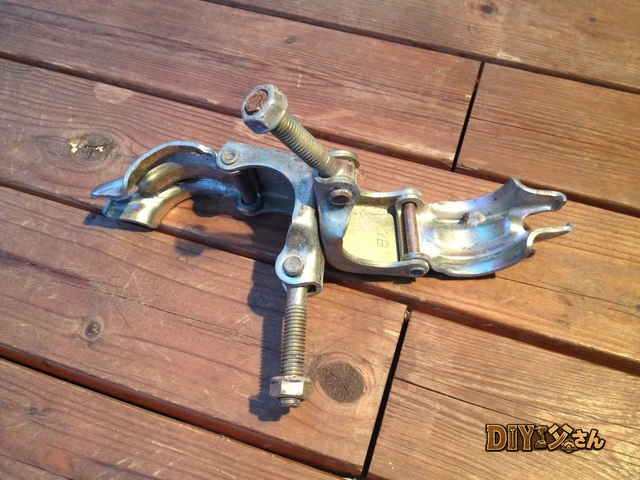
For the joints, I’m using right-angle clamps (u76f4u884cu30afu30e9u30f3u30d7) and swivel clamps (u81eau5728u30afu30e9u30f3u30d7).
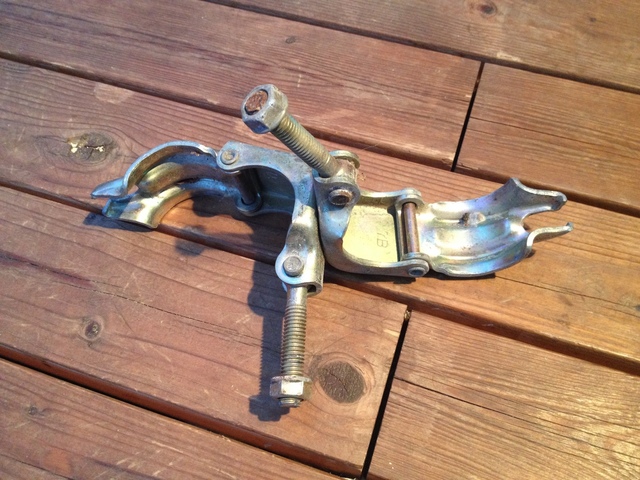
u2191 Right-angle clamp u2014 no photo of new ones, unfortunately.
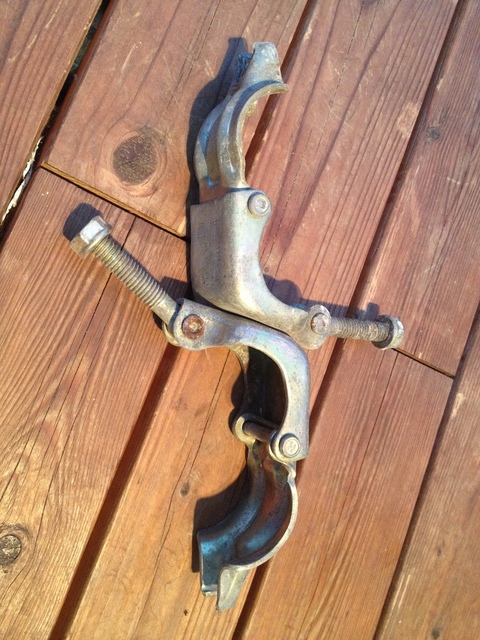
u2191 Swivel clamp u2014 no new photo for this one either.
The columns and bundle posts are inserted into jack bases for initial positioning.
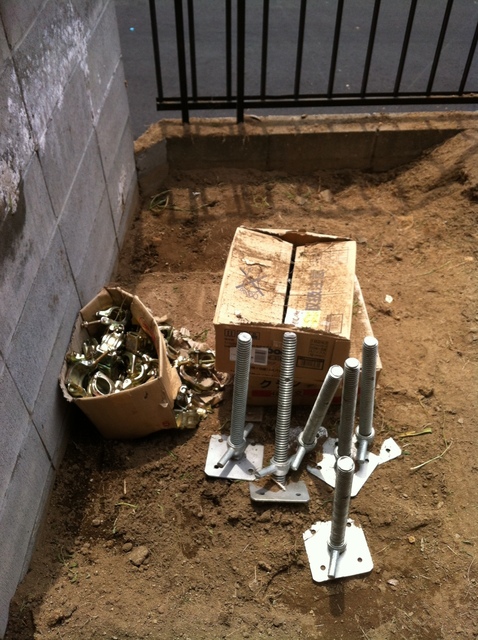
u2191 Jack base u2014 this one’s brand new!
Since DIY Dad works solo almost exclusively, standing up the first column was quite a struggle. Columns are heavy, long, and won’t stand on their own, so I had to build temporary supports first and then assemble each one.
Staring at the tape measure and spirit level, adjusting the jack and clamps to get everything level and plumb. If I mis-assembled something and it came toppling down, it could mean serious injury or damage to the house wall or windows u2014 so I proceeded very carefully.

u2191 Columns, bundle posts, and beams assembled
That’s all for today!
ud83dudcda Wood Deck Build Log u2014 9 of 19
u2190 Build #34: Pipe Painting u00b7 Series Index u00b7 Build #36: Floor Joists u2192
DIY Renovation Quote Review Manual
How to read, compare, and negotiate contractor quotes. This manual saved me u00a5800,000 on a single renovation project.
ud83cudfe0 More from DIY Father
15 years of landlord experience u00b7 3 apartment buildings u00b7 DIY renovations that saved millions of yen. Browse all articles at diytosan.com