ud83dudcda Tools & Materials Guide u2014 7 of 10
u2190 Tools Vol.3d: Wall Base Prep u2014 Sand Plaster Pt.2 u00b7 Series Index u00b7 Tools Vol.4: Masking & Protection u2192
u270fufe0f Originally published: 2021-07-30 / ud83dudd04 Updated: May 8, 2026
- u270fufe0f 2026 Update from DIY Dad: Tools for Sand-Plaster Walls and Painting
- How to Handle Sand-Plaster and Fiber Walls
- Substrate Preparation After Stripping
- As a Landlord: The Cost Efficiency of Painting
- ud83cudfe2 For Anyone Considering Apartment Investment or Renovation
- Hello, this is DIY Dad. ^ ^
- ud83dudd27 DIY Dad’s Recommended Power Tools
- 📚 関連記事
u270fufe0f 2026 Update from DIY Dad: Tools for Sand-Plaster Walls and Painting
ud83duded2 RECOMMENDED PRODUCTS
18V Professional Impact Driver
My most-used tool. If you own one power tool, make it this.
This post covers the tools for dealing with sand-plaster and fiber walls common in older apartments, and the tools needed for painting work. Deciding whether to work with the existing wall or rebuild the substrate from scratch is a critical judgment call. ^ ^
How to Handle Sand-Plaster and Fiber Walls
ud83duded2 RECOMMENDED PRODUCTS
Power Tool Combo Kit (18V)
Combo kits are always better value than individual tools u2014 one battery charges all.
Method 1: Seal and Wallpaper Over It
Apply a sealer over the sand-plaster, dry, smooth with putty, then apply wallpaper. Relatively simple and affordable u2014 though heavy irregularities may affect the final finish.
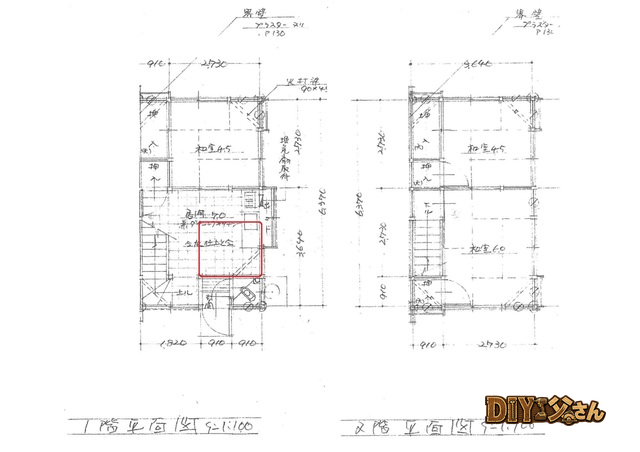
Method 2: Strip and Rebuild the Substrate
Completely remove the sand-plaster and rebuild with plasterboard or plywood. More work and cost, but the cleanest result. DIY Dad used this approach for apartment tatami room renovations. m(_ _)m
Substrate Preparation After Stripping
- Inspect the existing wall base (wood lath, metal lath, etc.)
- Remove and repair decayed or softened sections
- Apply 12.5 mm gypsum board
- Fill joints with putty (joint compound)
- Skim the entire surface with a thin putty coat for smoothness
- After drying, sand smooth u2192 wallpaper or paint
Screw spacing for gypsum board: 300 mm maximum. Always locate studs and blocking first. ^ ^
As a Landlord: The Cost Efficiency of Painting
ud83duded2 RECOMMENDED PRODUCTS
Tool Storage & Workshop Organizer
A well-organized toolbox saves 20 minutes on every job. Multiply that by 100 repairs.
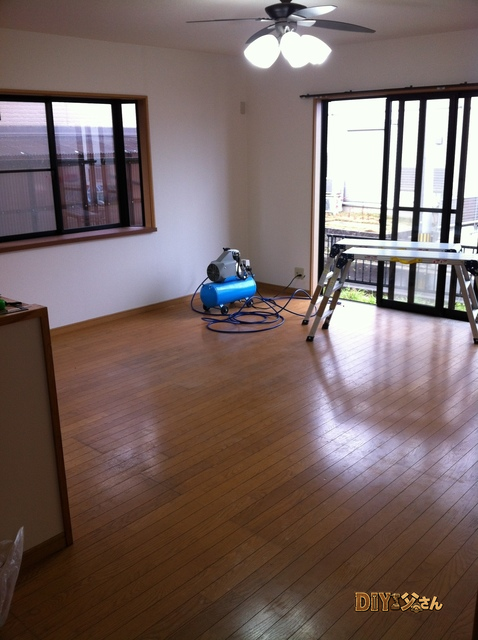
Painting is one of the best-value renovation investments u2014 repainting walls and ceilings white brightens the room dramatically and impresses prospective tenants.
Hiring a contractor for a 6-mat room: 50,000u201380,000 yen. DIY cost: paint only u2014 about 3,000u20135,000 yen. ^ ^
ud83cudfe2 For Anyone Considering Apartment Investment or Renovation
Cost-effectiveness is everything. DIY Dad drastically reduces costs by doing the work himself. ^ ^
Marutoku Shop | Renovation materials and lumber online u00bb
![]()
Hello, this is DIY Dad. ^ ^
This post introduces the tools and materials used for wall base preparation before hanging wallpaper. The treatment varies depending on the existing wall condition.
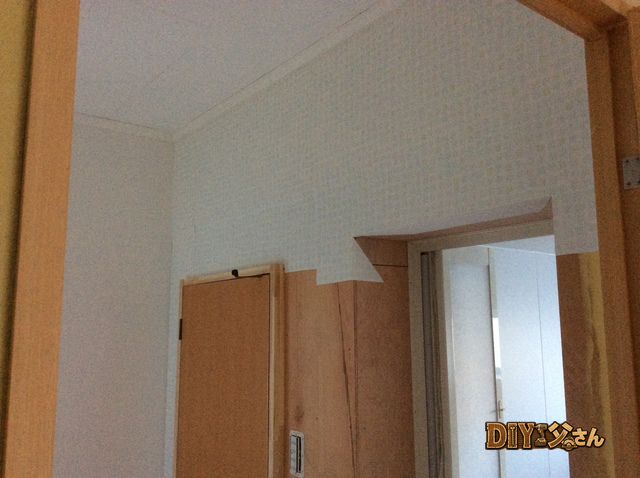
5) When the Existing Wall Has Plywood or Plasterboard Applied Over It
Screw holes and joint seams create surface irregularities that the wallpaper will pick up u2014 resulting in a poor finish. The solution is putty work. DIY Dad uses Wide Super putty for this.
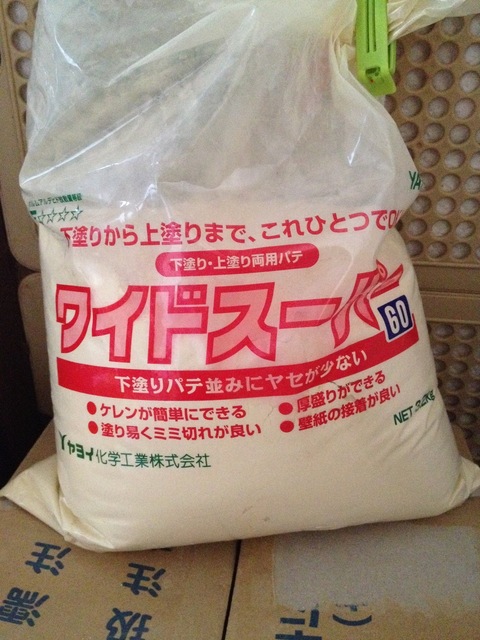
Wide Super Putty
Mix water into the powder in a mixing bowl and work it to the right consistency.
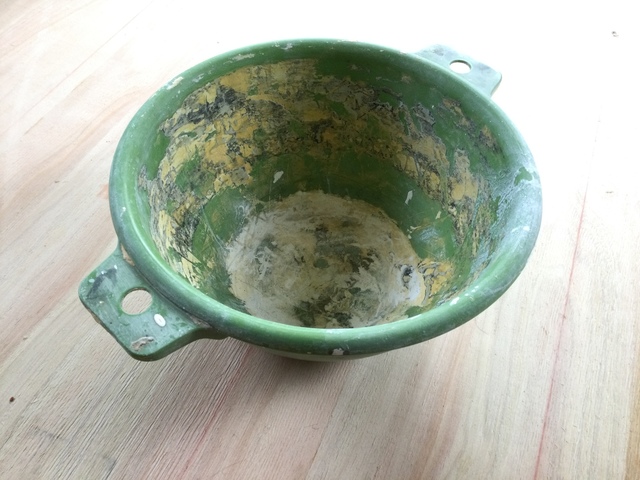
Mixing Bowl
A silicone spatula is handy for mixing the putty in the bowl.
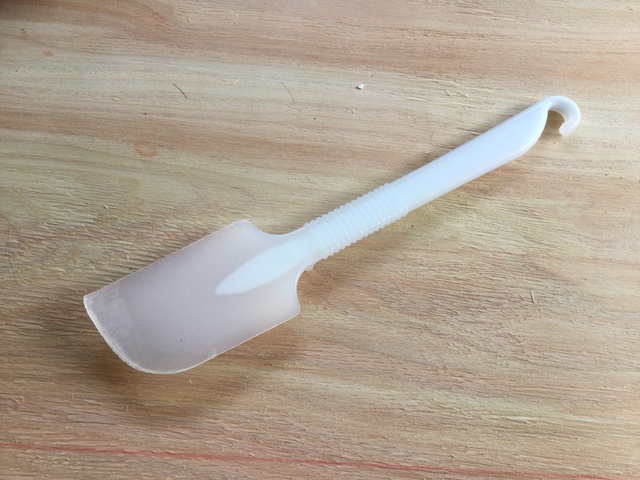
Silicone Spatula
Use this for mixing. Once mixed, use a trowel to spread the putty smoothly across the wall surface.
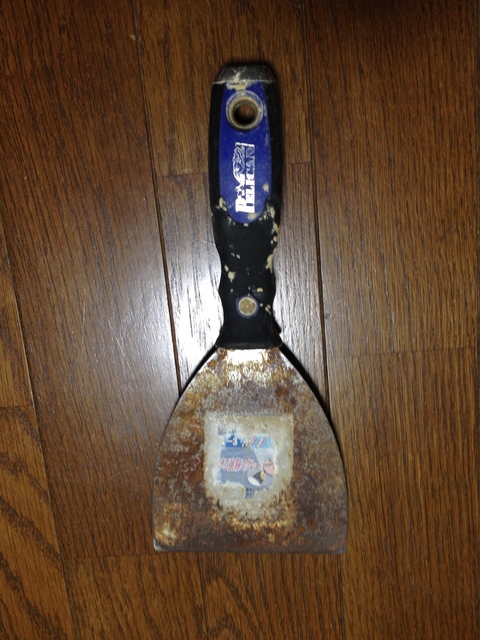
Putty Trowel
Putty shrinks slightly as it dries and hardens, so layering multiple coats is normal. For high spots, sand them down with sandpaper. Once dry, run your fingertips across the surface to feel for irregularities, then sand smooth.
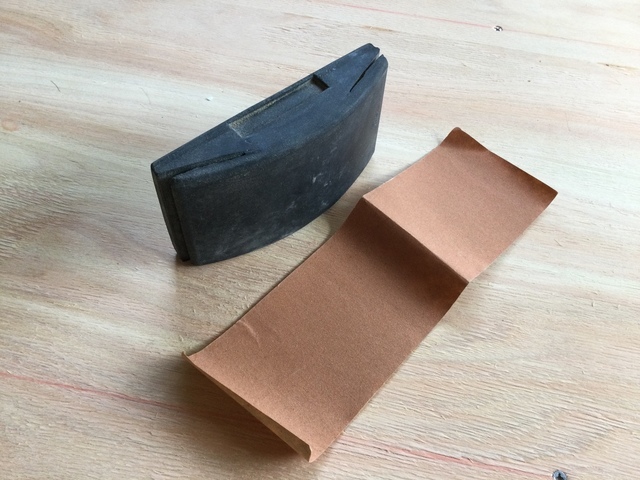
Sandpaper Holder
Using a holder makes it much easier to achieve a flat, even surface.
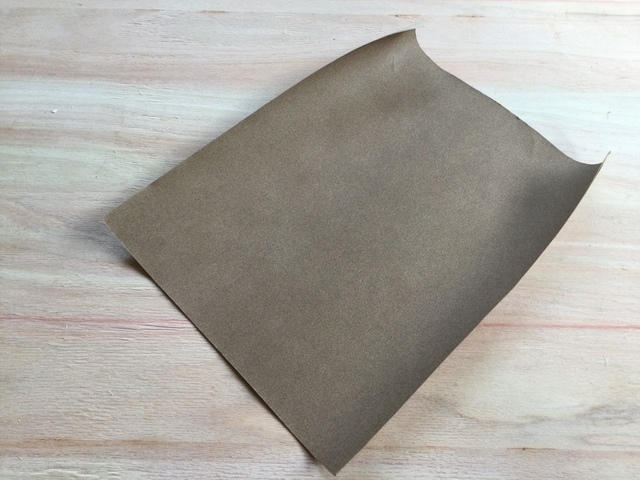
Sandpaper (front)
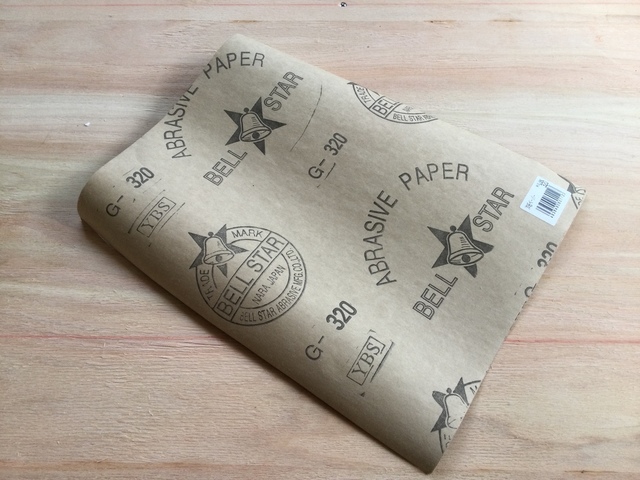
Sandpaper (back)
Front and back views. This one is #320 grit u2014 more than sufficient for smoothing out putty irregularities. Coarser might even work better.
That’s all for today! (^^)/~~~
ud83dudd27 DIY Dad’s Recommended Power Tools
A compact, USB rechargeable cordless driver set that’s easy for anyone to use u2014 even beginners.

ud83dudcdd DIY Dad’s note u2014 Premium Article
Real Cost & Timeline Database for DIY Renovation
u00a5500 u2014 View the real numbers u2192

ud83dudcdd DIY Dad’s note u2014 Premium Article
DIY Renovation Estimate Review Manual
u00a5300 u2014 Scrutinize the quote u2192
ud83dudcda Tools & Materials Guide u2014 7 of 10
u2190 Tools Vol.3d: Wall Base Prep u2014 Sand Plaster Pt.2 u00b7 Series Index u00b7 Tools Vol.4: Masking & Protection u2192
ud83cudfe0 More from DIY Father
15 years of landlord experience u00b7 3 apartment buildings u00b7 DIY renovations that saved millions of yen. Browse all articles at diytosan.com