ud83dudcda Kitchen 2 Renovation Series u2014 22 of 45
u2190 Kitchen2 Vol.21: IH Cooktop Installation u00b7 Series Index u00b7 Kitchen2 Vol.23: Dishwasher Install Vol.1 u2192
-> Back to all English articles
First published: 2017-02-06 / Updated: May 2026
2026 Note from DIY Dad: Kitchen Floor CF, IH Cooktop, and Built-in Dishwasher
ud83duded2 RECOMMENDED PRODUCTS
Modern Kitchen Cabinet Handles
New handles cost u00a53,000u20138,000 and make a kitchen feel 10 years newer instantly.
Once the floor repair is done, it’s time for the cushion floor finishing. Then the IH cooktop, then the built-in dishwasher installation. Installing a dishwasher is advanced-level appliance DIY.
Kitchen Floor CF, IH Cooktop, and Dishwasher u2014 Overview
ud83duded2 RECOMMENDED PRODUCTS
Kitchen Faucets
A faucet upgrade is the single highest-impact kitchen DIY per yen spent.
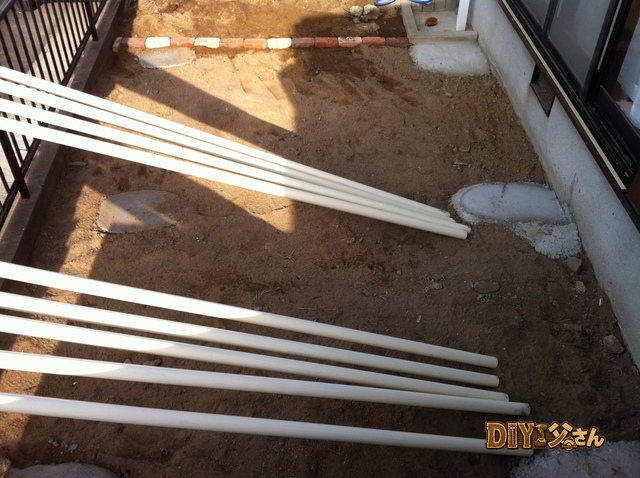
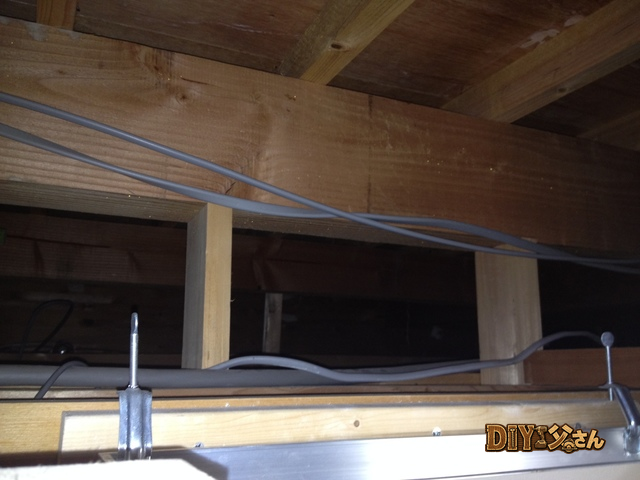
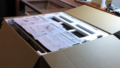
Take careful paper templates for CF laying; choose water and oil resistant material. IH cooktop needs a dedicated 200V circuit and proper gas line closure. Dishwasher installation involves cabinet opening work, supply/drain plumbing, dedicated power, leveling, front panel, and test run. m(_ _)m
Hi, it’s DIY Dad! Lots of photos today u2014 I’m testing whether image-heavy posts slow down page loading. Continuing the 1F kitchen renovation!
Next up: applying silicone caulking. Tools and materials: silicone caulking, masking tape.
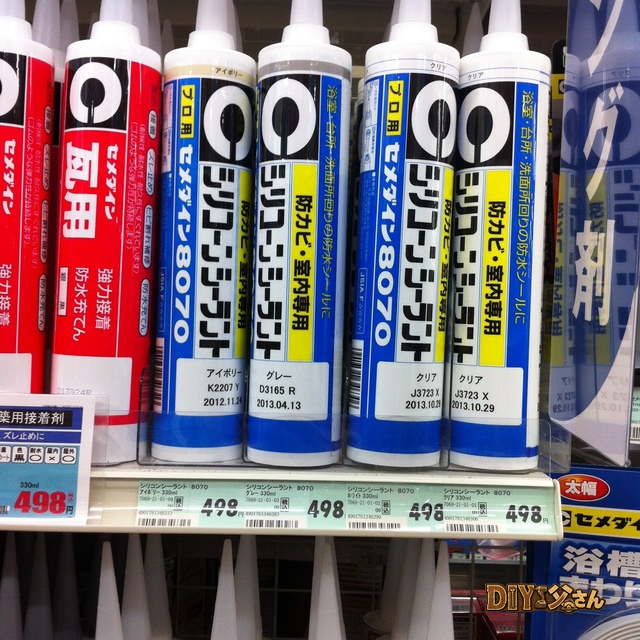
Silicone caulking serves as both waterproofing and adhesive. There are many types u2014 for wet areas like this, I use mold-resistant silicone caulking.
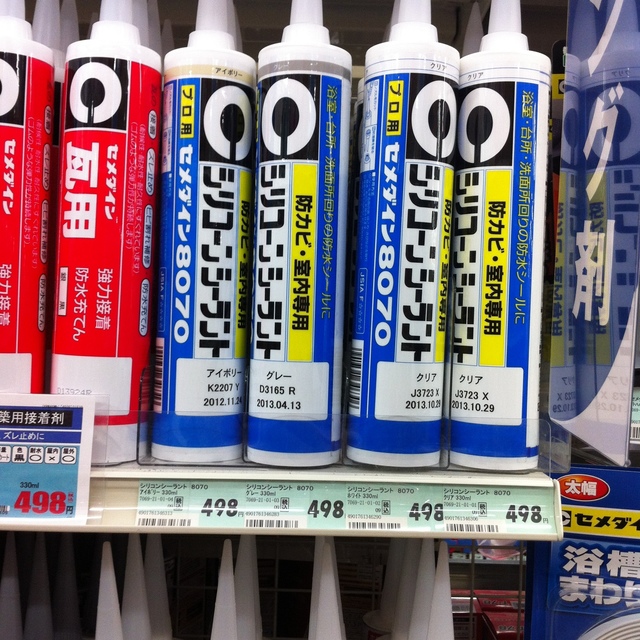
Mold-resistant silicone caulking.
Procedure
- Remove the old caulking (already done in the previous step)
- Apply masking tape u2014 this is critical! The quality of your masking directly determines the quality of the finished line
- Apply the caulking
- Smooth with a finger u2014 DIY Dad always uses a finger rather than a finishing tool. The secret is to get it right in one pass; the more you touch it, the messier it gets
- Peel the masking tape before the caulking cures
- Allow to fully cure
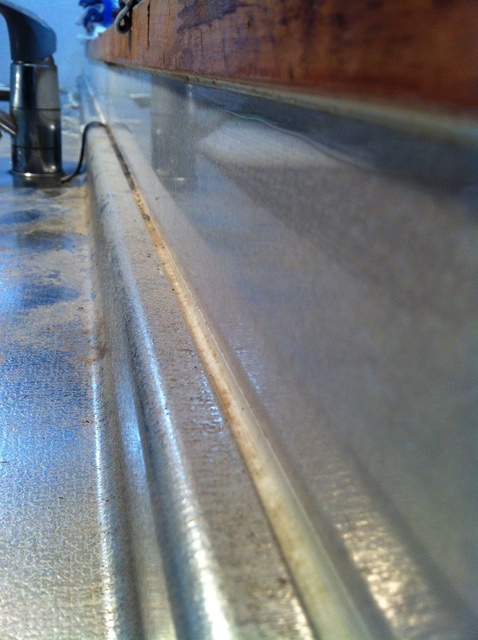
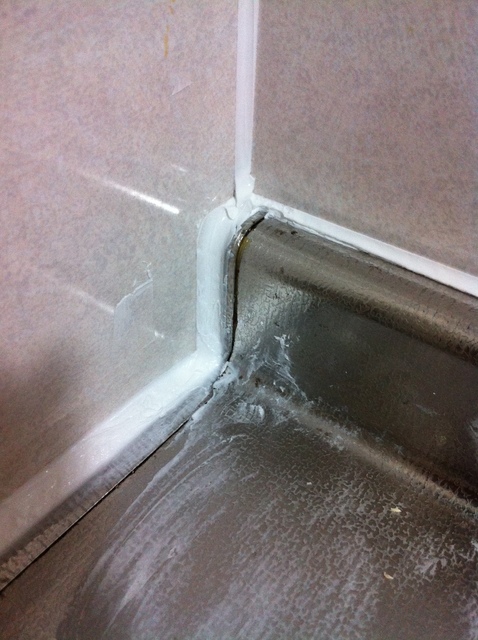
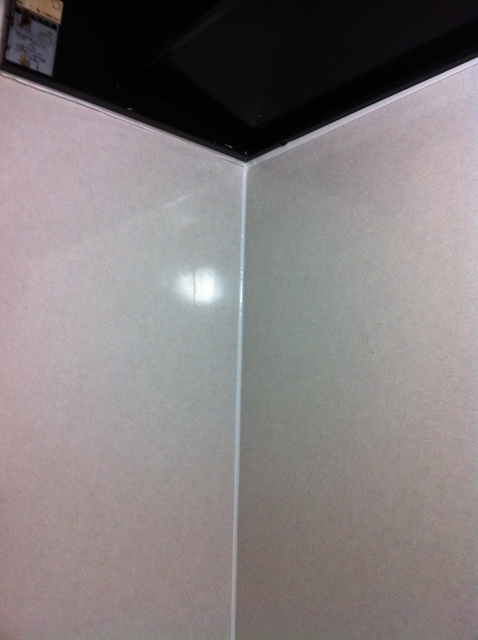
Before re-caulking.

After re-caulking.
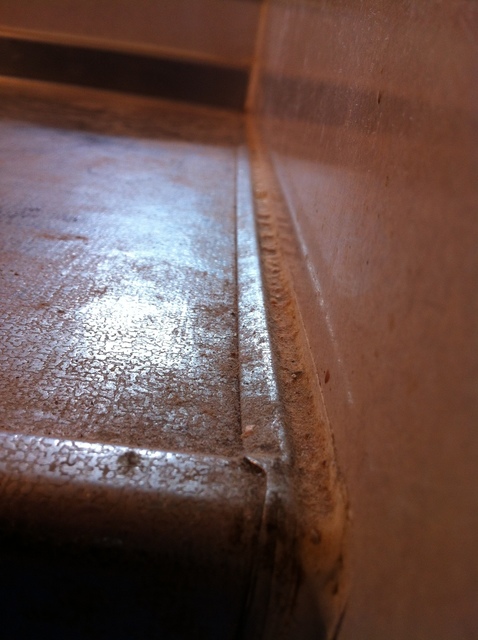
Before re-caulking.
After re-caulking.
Before re-caulking.

After re-caulking.
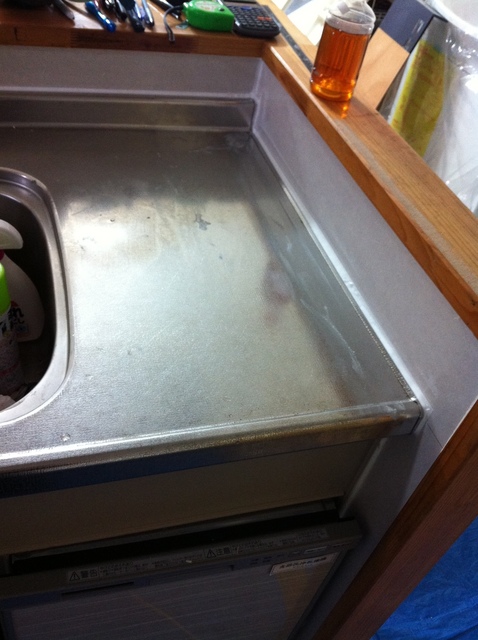
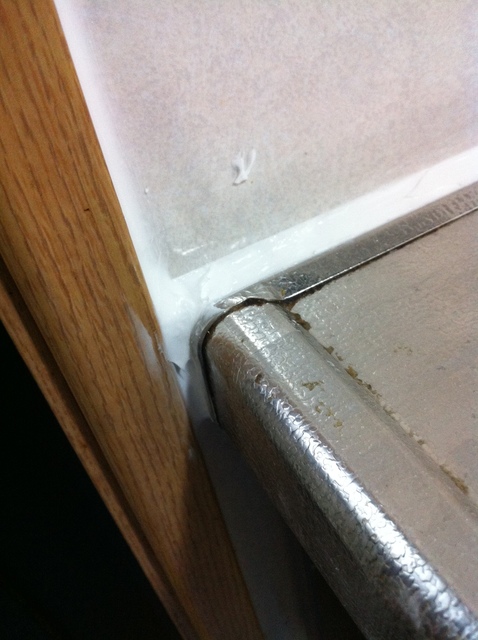
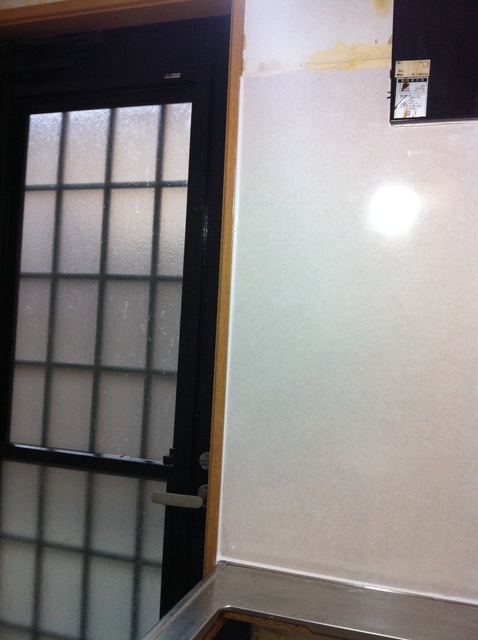
Right front of the kitchen.
Left side of the kitchen.
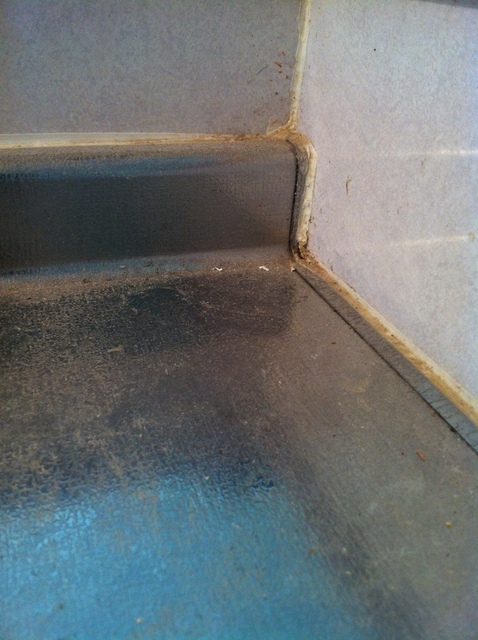
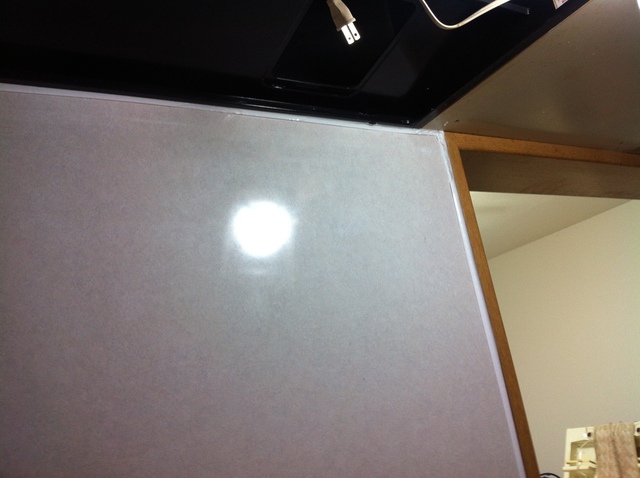
IH cooktop front edge.
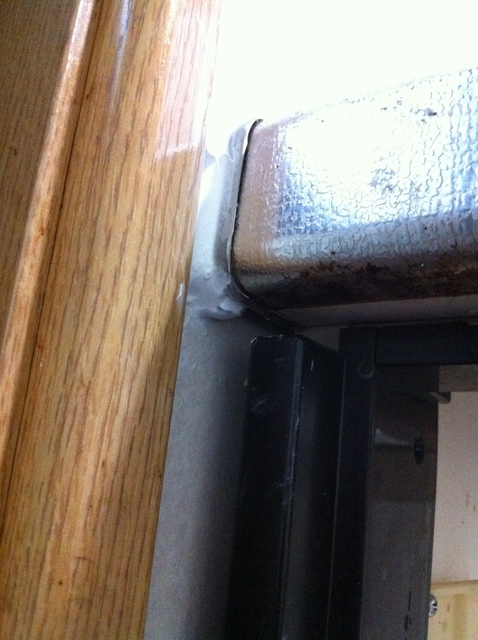
IH cooktop front edge.
IH cooktop edge trim.
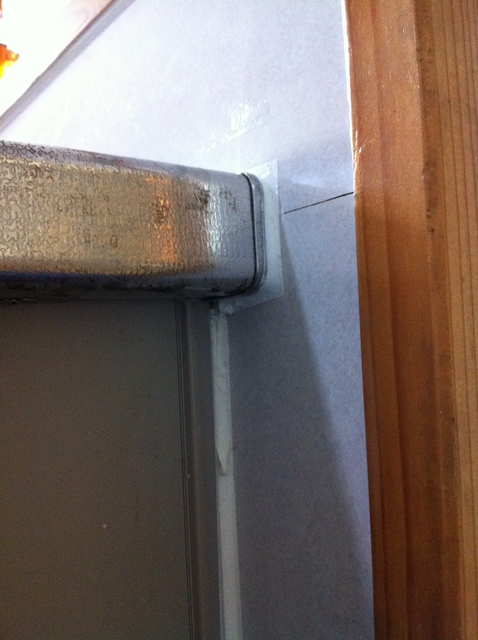
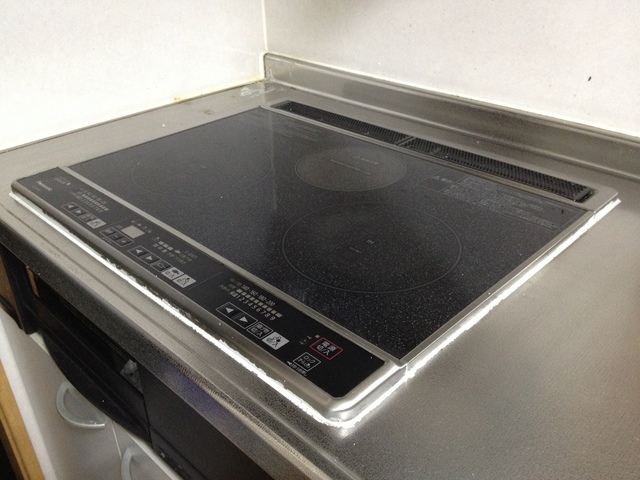
Kitchen panel.
Kitchen panel.
Kitchen panel.
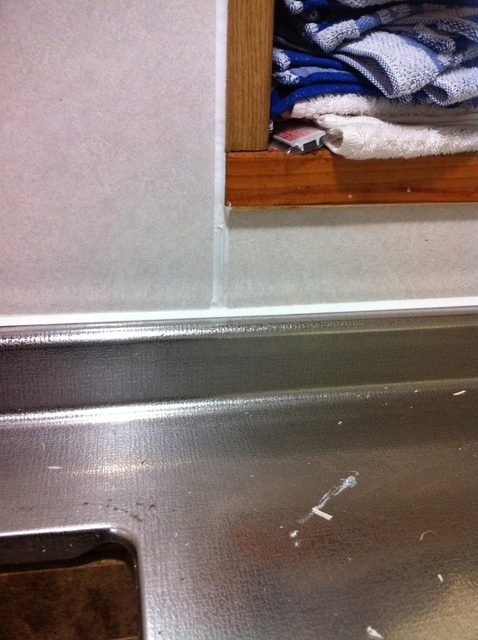
Kitchen panel. There are a few slightly wavy spots here and there, but within acceptable range. Looking much cleaner! That’s all for today!
ud83dudcda Kitchen 2 Renovation Series u2014 22 of 45
u2190 Kitchen2 Vol.21: IH Cooktop Installation u00b7 Series Index u00b7 Kitchen2 Vol.23: Dishwasher Install Vol.1 u2192
DIY Renovation Quote Review Manual
How to read, compare, and negotiate contractor quotes. This manual saved me u00a5800,000 on a single renovation project.
ud83cudfe0 More from DIY Father
15 years of landlord experience u00b7 3 apartment buildings u00b7 DIY renovations that saved millions of yen. Browse all articles at diytosan.com
💡 DIY工具・建材はヤフーショッピングで
DIYに必要な工具・建材はヤフーショッピングで。送料無料商品多数。