ud83dudcda Kitchen 2 Renovation Series u2014 21 of 45
u2190 Kitchen2 Vol.20: Cushion Floor Laying u00b7 Series Index u00b7 Kitchen2 Vol.22: Silicone Caulking u2192
u270fufe0f Originally published: 2017-02-05 / ud83dudd04 Updated: May 8, 2026
- 2026 Update u2014 Kitchen Floor Finishing, IH Cooktop, and Built-in Dishwasher
- Kitchen Floor: Laying the Cushion Floor (CF)
- IH Cooktop Installation
- Built-in Dishwasher Installation
- Cabinet Opening Work for the Dishwasher
- Now to the Step-by-Step u2014 IH Cooktop Install
- Thinking About a Kitchen Renovation?
2026 Update u2014 Kitchen Floor Finishing, IH Cooktop, and Built-in Dishwasher
ud83duded2 RECOMMENDED PRODUCTS
Modern Kitchen Cabinet Handles
New handles cost u00a53,000u20138,000 and make a kitchen feel 10 years newer instantly.
Once the floor repairs were done, it was time to lay the cushion floor finish. After that came the IH cooktop installation, and finally the big project: fitting the built-in dishwasher. Installing a dishwasher is one of the most advanced tasks in kitchen DIY. ^ ^
Kitchen Floor: Laying the Cushion Floor (CF)
ud83duded2 RECOMMENDED PRODUCTS
Kitchen Faucets
A faucet upgrade is the single highest-impact kitchen DIY per yen spent.
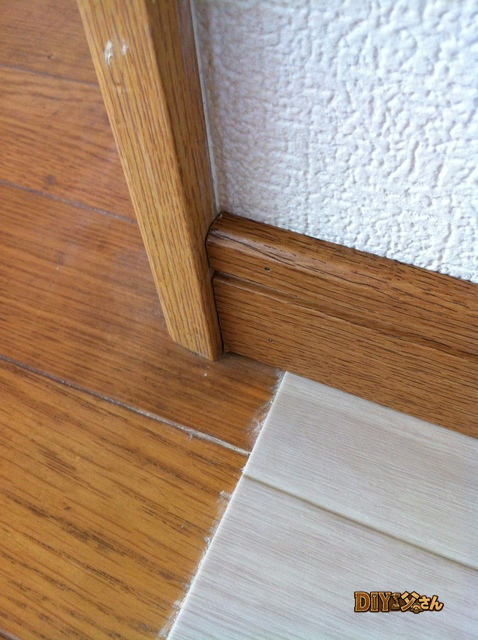
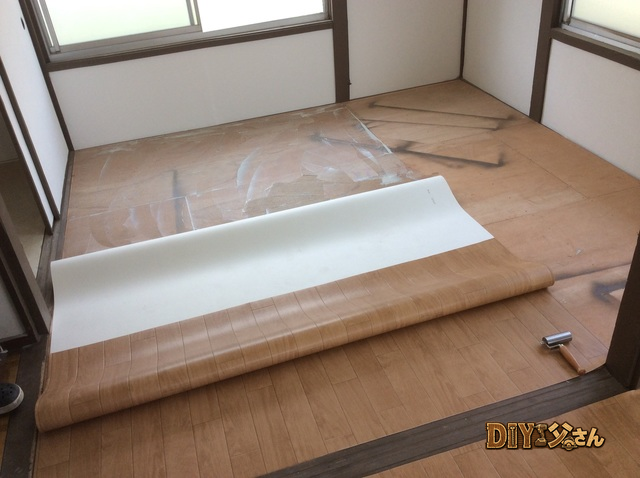
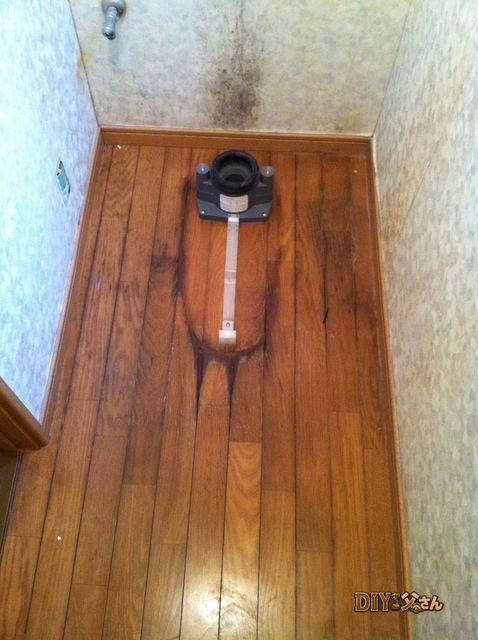
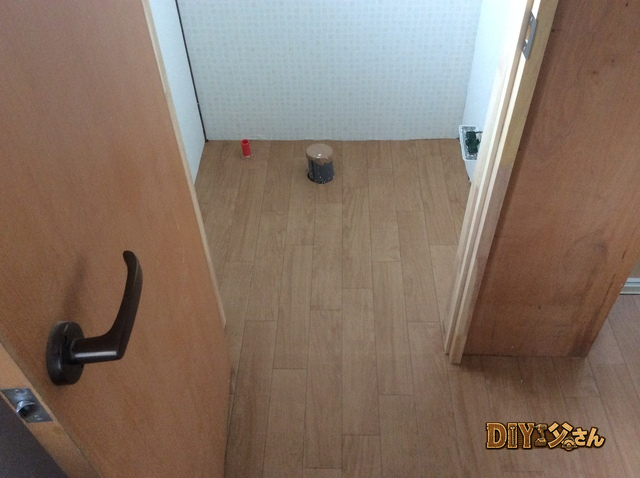
Laying cushion floor in a kitchen involves a lot of cutouts u2014 around the drain, the dishwasher opening, and the cooktop area u2014 which makes it time-consuming. The key is to take careful templates first.
CF Installation Steps
- u2460 Measure the floor shape using template material (scrap CF or cardboard)
- u2461 Cut openings slightly smaller than needed, then trim to fit on-site
- u2462 Apply double-sided flooring tape to the substrate (full adhesion is ideal)
- u2463 Position the CF, then press down from one end
- u2464 Use a roller to push out air as you bond
- u2465 Install base molding and transition strips to finish
For kitchen CF, choose a water- and oil-resistant type. Renovation-use CF has a thin backing that makes it easier to lay over an existing floor.
IH Cooktop Installation
Switching from a gas cooktop to an IH (induction) cooktop requires closing off the gas valve and running a dedicated 200V circuit for the IH unit.
Key Points to Note
- IH cooktops require a dedicated 200V circuit u2014 a licensed electrician’s work
- Have the gas company close off the gas valve u2014 do not do this yourself
- Confirm the existing cooktop cutout matches the IH unit dimensions
- Check the countertop cutout size as well
Installing an IH cooktop in a rental property means tenants can’t use gas appliances, so DIY Dad selects gas or IH on a property-by-property basis. ^ ^
Built-in Dishwasher Installation
ud83duded2 RECOMMENDED PRODUCTS
Kitchen Backsplash Tile Kits
A tiled backsplash protects the wall and dramatically upgrades the kitchen appearance.
Installing a built-in dishwasher is the most demanding task in kitchen DIY. It involves cabinet modification, water supply, drainage, and electrical u2014 all at once.
Steps Required
- u2460 Modify the kitchen cabinet to create the dishwasher opening
- u2461 Branch the water supply (add a branch fitting at the shut-off valve)
- u2462 Connect the drain line (to the trap under the sink)
- u2463 Provide a dedicated 100V outlet
- u2464 Slide the unit in and level it
- u2465 Attach the front panel
- u2466 Test run and check for leaks
There’s a lot to do, so tackling it in stages is the smart approach. Take extra care with the water supply and drain connections u2014 a leak will work its way under the floor.
Cabinet Opening Work for the Dishwasher
When carving out space in an existing cabinet, you’ll need to remove drawers and shelves to widen the opening. DIY Dad used a circular saw to cut the existing cabinet structure and create the necessary clearance.
Finish cut edges with a router or sandpaper, then apply edge tape as a trim. Even in areas no one sees, a tidy finish makes future maintenance a pleasure rather than a chore. ^ ^
Now to the Step-by-Step u2014 IH Cooktop Install
Hi, it’s DIY Dad! ^ ^
Super Sentai u2014 you know it, right? Most boys were obsessed with it as kids. Right now my own child is in the thick of it. Each Sentai series runs for a year with a complete story arc. This year it’s Doubutsu Sentai Zyuohger!
When my child first started talking, “Shark” was “Pi-pi” and “Tiger” was “Gaa-gaa.” Now they say them properly. It feels like we’ve grown up alongside the Sentai. And today is the final episode u2014 DIY Dad is looking forward to it, and so is my child! But honestly, I’m a little sad. The kid, though? Already looking ahead to the next series, Uchu Sentai Kyuranger, before this one even ends. Kids are so positive. ^ ^
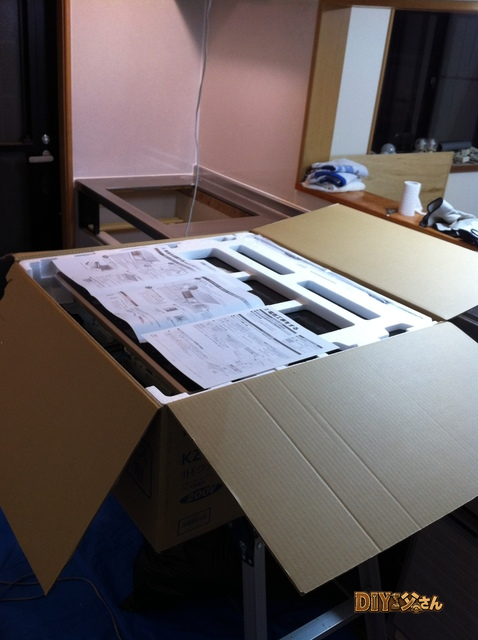
Now, continuing with the 1F kitchen renovation. Next up: installing the IH cooktop. Tools and materials used: a screwdriver. Let’s open the box.
New products always feel great to unbox! ^ ^
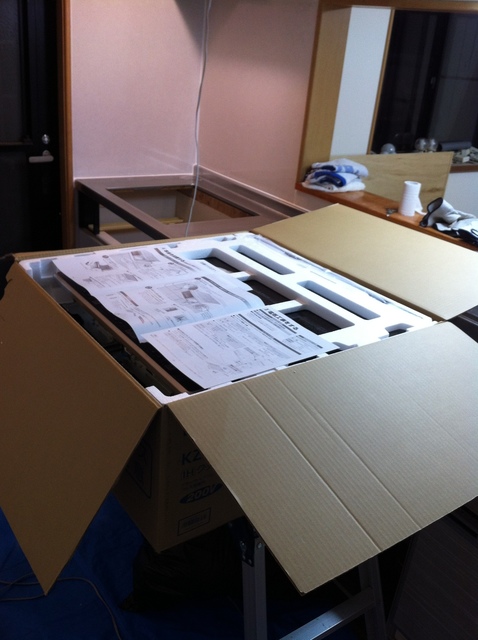
^ The packaging box.
Unbox the unit. Remove the decorative cover from the IH cooktop. Slide the cooktop body into the kitchen cutout.
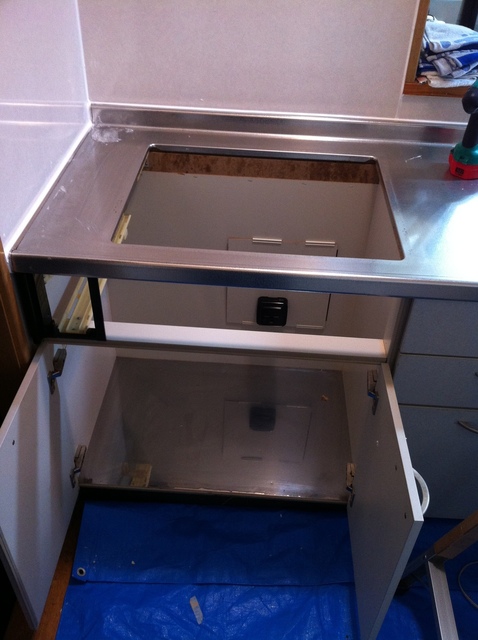
^ The cutout opening.
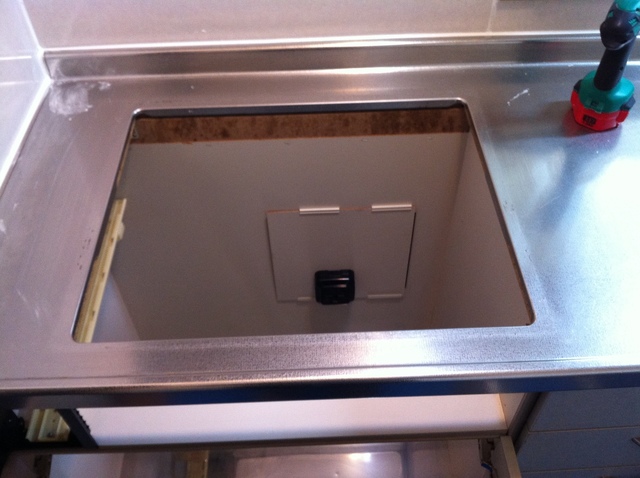
^ The opening from another angle.
Shift the cooktop body to align the front control panel gap. Secure from below with screws. Attach the decorative cover. Installation complete! ^ ^
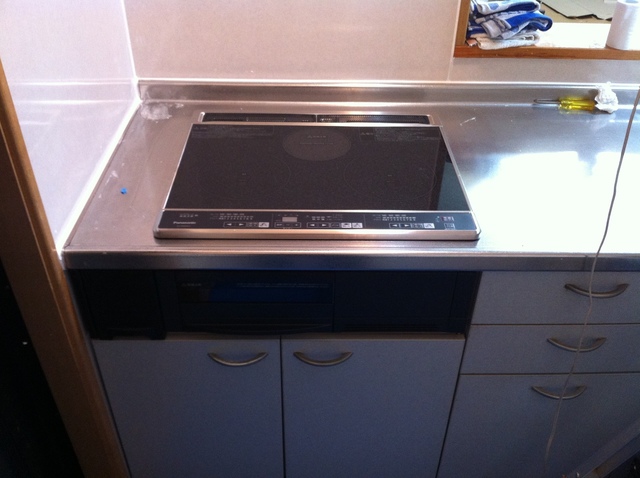
^ The IH cooktop installed.
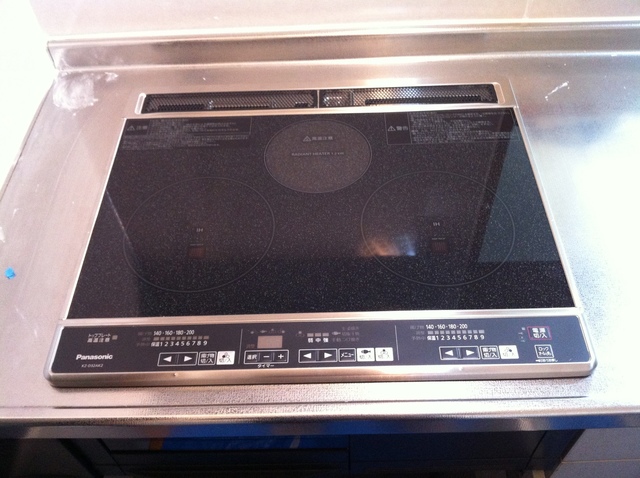
^ The IH cooktop installed.
The cooktop is in, but the kitchen renovation will stay a bit messy until everything wraps up. To protect the glass top surface, I’ll leave the packaging box on top of it for now. ^ ^
After installation, I also applied caulk around the gap between the cooktop and the countertop. The manufacturer doesn’t specifically recommend this u2014 it wasn’t mentioned in the installation guide u2014 but leaving the gap open means water and debris will get in and become impossible to clean. Better to seal it and keep things hygienic from the start. ^ ^
Thinking About a Kitchen Renovation?
Visiting a showroom to see the real thing in person helps avoid the “this isn’t what I expected” problem. Most showrooms are free to visit, so make good use of them. ^ ^
![]()
That’s all for today! (^^)/~~~
ud83dudcda Kitchen 2 Renovation Series u2014 21 of 45
u2190 Kitchen2 Vol.20: Cushion Floor Laying u00b7 Series Index u00b7 Kitchen2 Vol.22: Silicone Caulking u2192
DIY Renovation Quote Review Manual
How to read, compare, and negotiate contractor quotes. This manual saved me u00a5800,000 on a single renovation project.
ud83cudfe0 More from DIY Father
15 years of landlord experience u00b7 3 apartment buildings u00b7 DIY renovations that saved millions of yen. Browse all articles at diytosan.com