ud83dudcda Living Room Renovation Series u2014 6 of 20
u2190 Living Room Renovation Vol.5: Wallpaper Removal u00b7 Series Index u00b7 Living Room Renovation Vol.7: Roof Leak Repair u2192
Hi there u2014 DIY Dad here! Continuing the first-floor living room renovation. With the wallpaper stripped, it’s time to prep the walls for new wallpaper. First step: seal up the holes. The main tool for this stage is mesh tape.
Mesh tape is exactly what the name suggests u2014 tape with a mesh embedded in it. You apply it over any holes or gaps in the drywall. A good tip is to leave plenty of overlap around the hole and keep the tape pulled taut as you press it down.
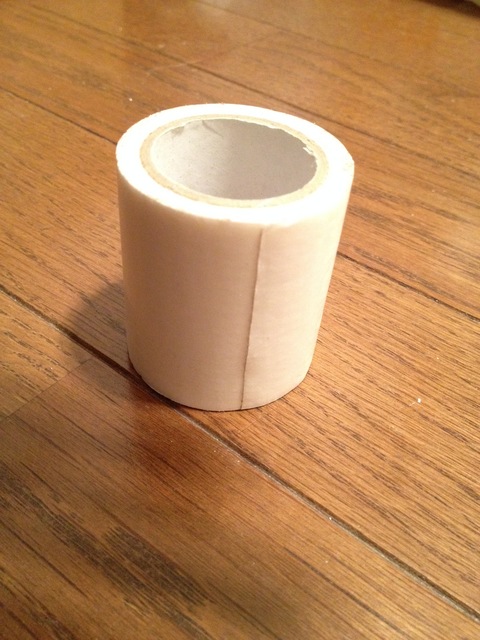
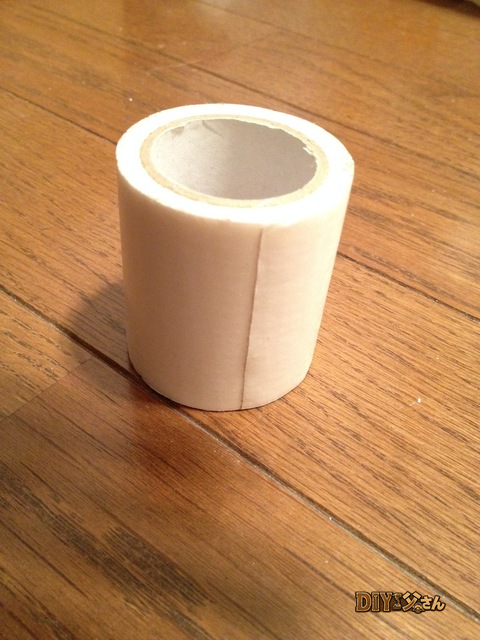
The mesh tape. At a glance it looks like ordinary tape.
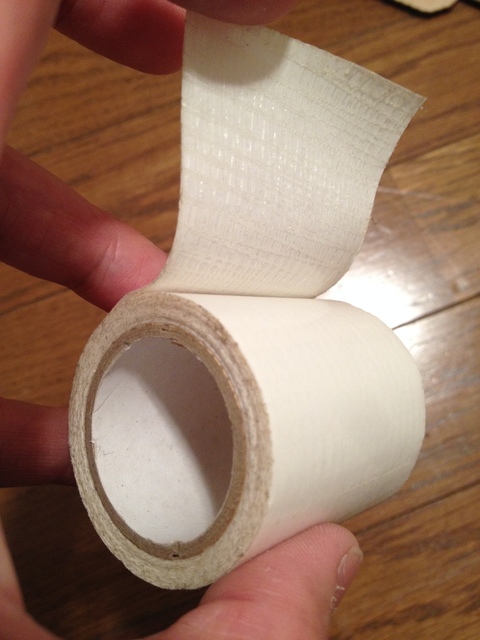
Peel back the tape and you can see the mesh inside. This mesh gives the joint compound something to grip, reinforcing the patch and preventing cracks from reappearing.
2026 Update u2014 The Big Picture of the Living Room Renovation
ud83duded2 RECOMMENDED PRODUCTS
Cordless Drill & Driver Kit
The single most-used tool across 15 years of rental property repairs.
The living room was by far the most involved part of the whole renovation u2014 wallpaper removal, substrate prep, roof leak repair, ceiling reinforcement… Honestly, there were moments where I thought: how can there possibly be this much to do?
Start by Removing Everything Attached to the Walls
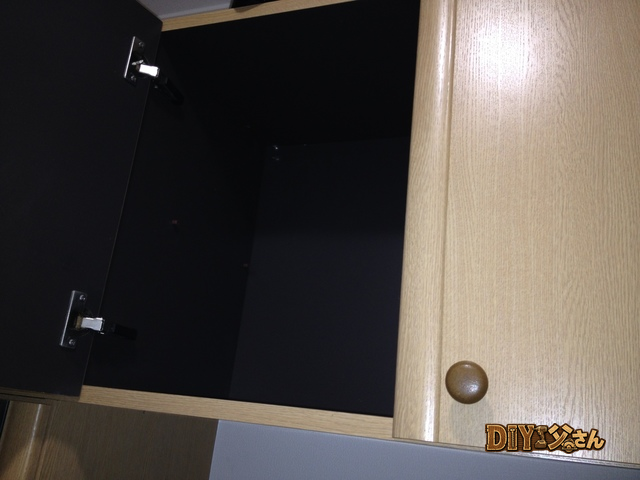
The first rule of any wallpaper replacement job is to strip everything off the walls before you start u2014 switch and outlet covers, light fixtures, curtain rails, all of it. Try to work around them and the finished result will look terrible, guaranteed.
A common beginner mistake is attempting to replace wallpaper while leaving switch plates in place. The paper bunches up around the edges, or tears. Thinking like an engineer: complete the prep stage fully before moving to the main stage.
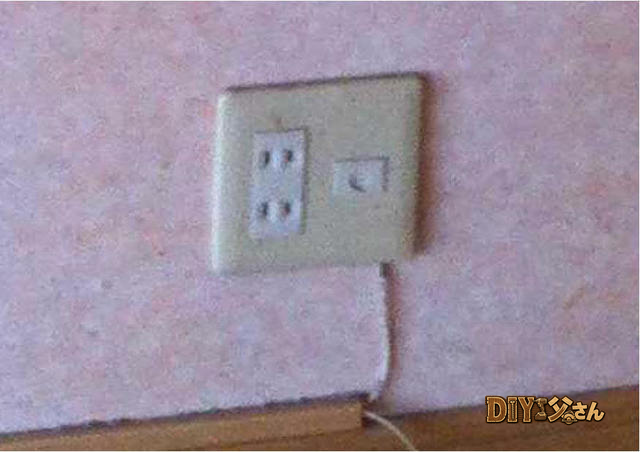
Removing Outlet Covers u2014 What to Watch For
Turn off the breaker first u2014 that’s non-negotiable. Then it’s just a matter of unscrewing the plate with a screwdriver. Do not touch the wires themselves. In older buildings you may find a green or yellow-green ground wire attached; that just unscrews from its terminal the same way. Old buildings sometimes also have an intercom with wiring running through the wall cavity. If you plan to reuse those wires for a new unit, photograph exactly which wire connects where before you disconnect anything. DIY Dad takes a phone photo every single time.
Floor Protection u2014 More Is More
Scratching the floor during wallpaper work means a repair job on top of a repair job. Lay masking film (the kind with integrated tape along one edge) across the entire floor and secure it with tape. No gaps u2014 then if putty or adhesive drops, it peels right off.
“It’s just floor protection, how bad can it be?” u2014 skip this step and you’ll spend an hour chiseling hardened putty off your floor. Especially for a first-time project, protect the floor like you mean it.
Tips for Stripping Wallpaper
Insert a wide scraper blade parallel to the wall surface and work it under the paper slowly. Ripping it off by force pulls the drywall face paper away with it u2014 handle with care. If the paper is stubborn, dampen it lightly with a sponge or spray bottle. Go too wet, though, and the gypsum board soaks up the water and becomes fragile. Find the balance.
One thing DIY Dad noticed: older wallpaper tends to come away more easily than newer paper, which is typically bonded more aggressively to the substrate.
Wall Substrate Prep (Puttying) Makes or Breaks the Finish
After stripping the wallpaper the wall surface will have screw holes, seams, and various bumps. Fill them with joint compound until everything is flat before hanging new paper. Skip this step and every imperfection telegraphs right through the new wallpaper. Nine times out of ten, a bad-looking wallpaper job traces back to skimped substrate prep.
Apply mesh tape over any holes u2014 overlap the edges u2014 then skim compound over the tape. Once dry, sand smooth and you’re ready for paper.
Originally published: November 12, 2016 (old Seesaa blog) | Rewritten: May 7, 2026
ud83dudcda Living Room Renovation Series u2014 6 of 20
u2190 Living Room Renovation Vol.5: Wallpaper Removal u00b7 Series Index u00b7 Living Room Renovation Vol.7: Roof Leak Repair u2192
DIY Renovation Quote Review Manual
How to read, compare, and negotiate contractor quotes. This manual saved me u00a5800,000 on a single renovation project.
ud83cudfe0 More from DIY Father
15 years of landlord experience u00b7 3 apartment buildings u00b7 DIY renovations that saved millions of yen. Browse all articles at diytosan.com