ud83dudcda Living Room Renovation Series u2014 14 of 20
u2190 Living Room Renovation Vol.13: Door Adjustment Pt.1 u00b7 Series Index u00b7 Living Room Renovation Vol.15: Switch Panel Installation u2192
u270fufe0f Originally published: December 18, 2016 / ud83dudd04 Updated: May 8, 2026
2026 Note from DIY Dad: Looking Back on the Living Room Finishing Work
ud83duded2 RECOMMENDED PRODUCTS
Cordless Drill & Driver Kit
The single most-used tool across 15 years of rental property repairs.
This is the second half of the living room series u2014 door adjustments, switch restoration, video intercom replacement, ceiling fan, and air conditioner installation. A stretch of electrical work all in a row. As a mechanical engineer I kept telling myself “once you understand how electricity works, there’s nothing to fear” u2014 but every first-time job still made me nervous. ud83dude04
Door Adjustment After Wallpaper Replacement
ud83duded2 RECOMMENDED PRODUCTS
Complete Home Repair Tool Set
A complete kit beats buying individual tools every time u2014 cheaper and always ready.
After replacing the wallpaper, interior doors can shift and no longer hang properly. The fix is straightforward: loosen the hinge screws and nudge the door into the correct position. In most cases, slightly repositioning the top and bottom hinges is all it takes.
Hello u2014 It’s DIY Dad! ud83dudc4b
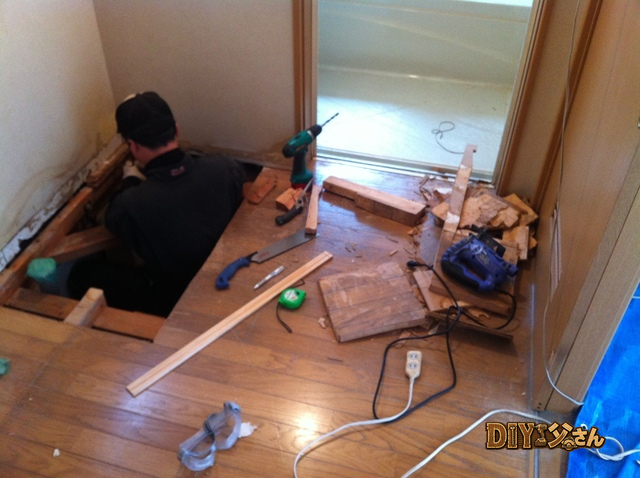
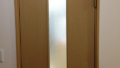
This is a continuation of the 1F living room renovation series. I’ve decided to accept the floor scratches for now u2014 but I will eliminate the cause to prevent any more damage. The culprit is the door dragging along the floor. Tools and materials used: a disc grinder and a screwdriver.
This type of door normally has an adjustment mechanism built into the hinge, allowing up/down and left/right clearance adjustments.
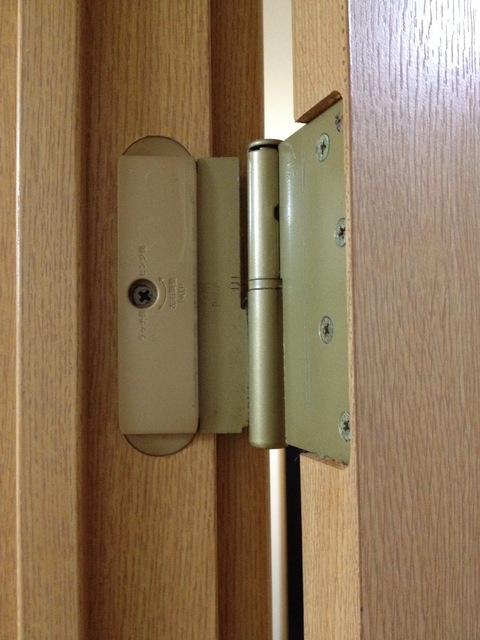
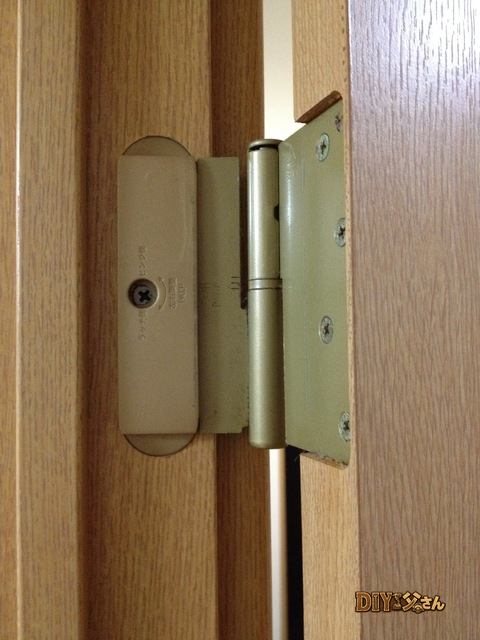
u2191 The hinge area.
Remove the cover.
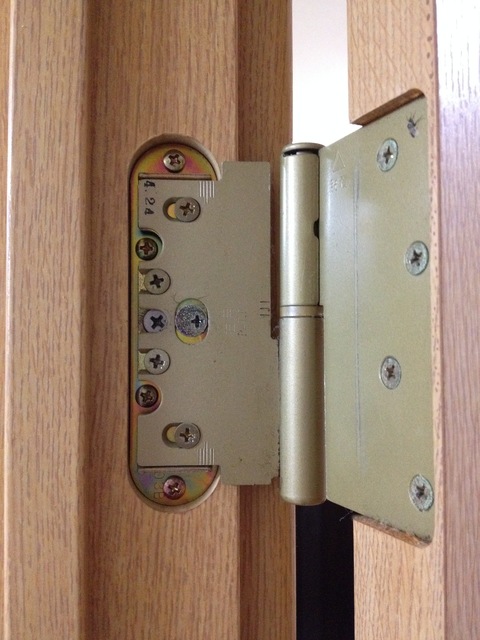
u2191 The hinge adjustment mechanism. Turn these screws to make adjustments.
DIY Dad had assumed that adjusting the hinge would solve the problem no matter what. But it turned out the door was already adjusted as far as possible in the direction to stop the dragging.
…Why? The more I thought about it, the more the strange puzzle I noticed before starting made sense u2014 and not in a good way. I had a bad feeling about it. I didn’t want to think about it.
So DIY Dad simply stopped thinking about it u2014 and just ground the door down instead. I took the door off, and used the disc grinder to shave down the bottom edge.
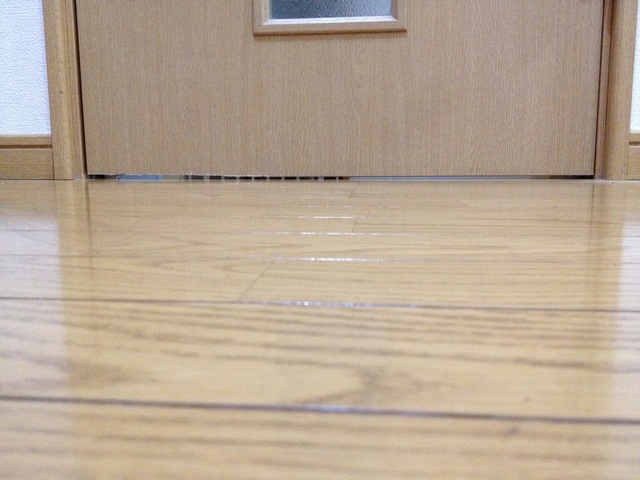
u2191 There’s clearance now!
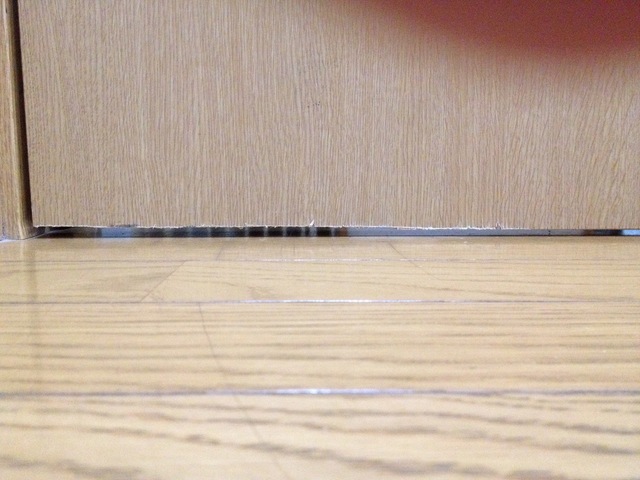
u2191 Closer look. Not bad, right? This turned into door modification rather than door adjustment u2014 but the dragging is fixed, so I’ll call that a win. That’s all for today u2014 see you next time! ud83dudc4b
ud83dudcda Living Room Renovation Series u2014 14 of 20
u2190 Living Room Renovation Vol.13: Door Adjustment Pt.1 u00b7 Series Index u00b7 Living Room Renovation Vol.15: Switch Panel Installation u2192
DIY Renovation Quote Review Manual
How to read, compare, and negotiate contractor quotes. This manual saved me u00a5800,000 on a single renovation project.
ud83cudfe0 More from DIY Father
15 years of landlord experience u00b7 3 apartment buildings u00b7 DIY renovations that saved millions of yen. Browse all articles at diytosan.com