u2192 Back to all English articles
u270fufe0f Originally published: 2021-10-22 / ud83dudd04 Updated: May 2026
Hi, it’s DIY Dad! After removing the tatami mats (traditional thick straw-mat flooring), it’s time to lay the subfloor underlayment u2014 and for this step, I hired it out.
- 2026 DIY Dad Notes: Tatami-to-Cushion-Floor Conversion
2026 DIY Dad Notes: Tatami-to-Cushion-Floor Conversion
ud83duded2 RECOMMENDED PRODUCTS
Fusuma Replacement Paper Kits
Fusuma renewal is the fastest Japanese-room refresh u2014 paper, paste, and 2 hours.
With the walls and ceiling already done, we move on to the floor u2014 the final step in converting this Japanese room (u548cu5ba4 washitsu, a traditional tatami-floored room) into a Western-style living space.
Removing the Tatami Mats and Checking the Subfloor
Removing tatami mats is fairly straightforward, but inspecting the subfloor underneath is critical:
- Lift and remove the tatami mats (a 6-mat room typically has 6u20138 mats)
- Inspect the condition of the joists (subfloor timber) beneath
- Replace any rotted or softened joists before proceeding
- Consider adding insulation (e.g., styrofoam board) beneath the subfloor to reduce cold drafts
- If the floor creaks, reinforce the joists
In older apartments, you may find exposed structural framing under the tatami. If the joists are in poor shape, repair them before laying any new flooring.
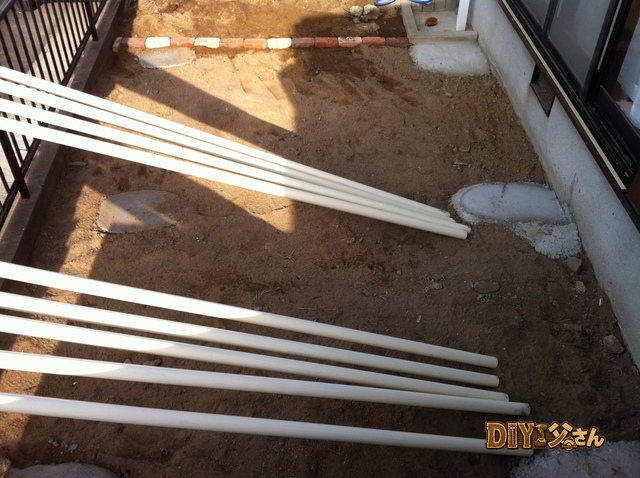
Choosing Cushion Floor (CF) Vinyl Sheeting
Key points for selecting cushion floor for a rental renovation:
- Thickness: Choose 2.3 mm or thicker u2014 anything thinner will show subfloor unevenness
- Pattern: Wood-grain and stone-look designs are popular; wood-grain suits former Japanese rooms well
- Features: Anti-bacterial and stain-resistant finishes are ideal for rentals
- Durability: Residential grade is sufficient; commercial grade lasts even longer
At a home improvement store, expect to pay around u00a5500u20131,000 per meter. A 6-mat room (approx. 10 mu00b2) typically runs u00a55,000u201310,000 in materials.
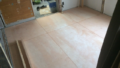
How to Install Cushion Floor: Step by Step
- Clean the floor and check for uneven spots (fill joist-level gaps with leveling compound)
- Measure the room and cut the CF slightly oversized (+10u201320 cm margin on all sides)
- Dry-fit the CF to confirm positioning
- Apply double-sided tape (or full-spread adhesive for a permanent bond)
- Press the CF down from the center outward, pushing out any air bubbles
- Trim edges at walls and around columns using a straightedge and utility knife
- Roll the entire surface with a floor roller for full adhesion
The trickiest part for beginners is cutting cleanly at the walls. Press the straightedge firmly against the wall, then run your knife along it u2014 you’ll get a crisp, straight line.
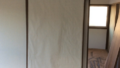
Patching the Shikii and Kamoi (Door Track Frames)
The timber door frames in a Japanese room also need attention:
- Shikii (u6577u5c45): The lower horizontal timber set into the floor with grooves that guide sliding doors (fusuma and shoji)
- Kamoi (u9d28u5c45): The upper horizontal timber above the shikii, at ceiling level
Old shikii and kamoi are often scratched and stained. Simply filling the damage with wood filler and repainting makes a significant visual difference. If the fusuma sliding doors feel stiff, applying sliding tape to the shikii grooves fixes the problem easily.
Cushion Floor Complete u2014 The Room is Now Western-Style
Once the tatami-to-cushion-floor conversion is done, the Japanese room transforms into a modern Western-style room. The real-world impact DIY Dad noticed:
- Prospective tenants started saying “I could see myself living here”
- Especially popular with young singles and couples
- More inquiries compared to when the room kept its tatami
- Even with a u00a55,000u201310,000 rent increase, applications still came in
With floors, walls, and ceiling all renovated, the old Japanese room was reborn as a contemporary living space. Apt. 1’s large-scale DIY renovation was steadily nearing completion.
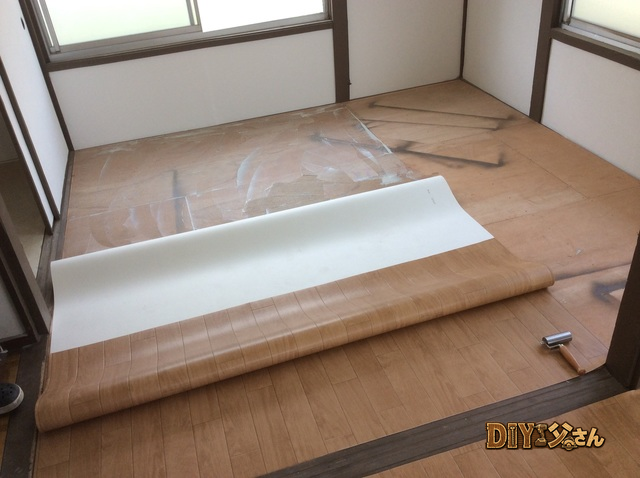
Back to the actual work log u2014 after the subfloor underlayment was done (by a hired contractor), it was time to lay the cushion floor myself.
I used a wood-grain pattern. Here’s how the installation went: first, I cut the CF slightly larger than the floor area, folded it in half, applied cushion-floor adhesive to the subfloor, waited for the open time, then pressed the folded half down and rolled it from near to far to push out air.

Applying cushion-floor adhesive
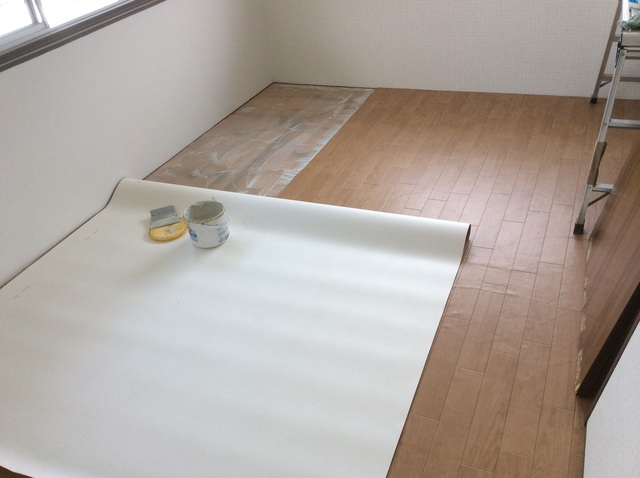
Pressing down the cushion floor
I then folded back the other half, applied adhesive there too, waited for the open time, and pressed it down the same way.
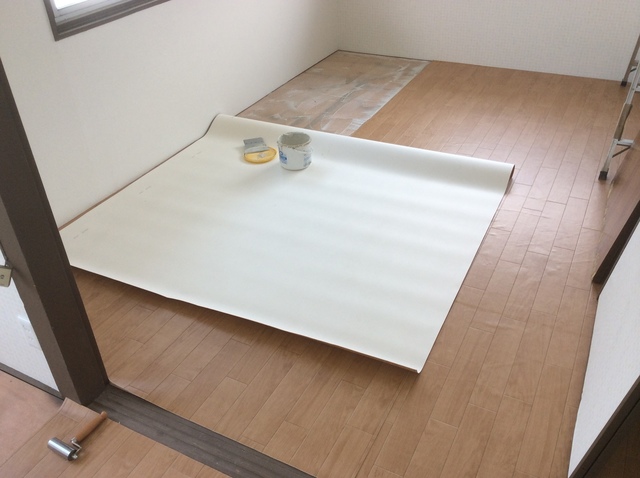
Applying adhesive to the second half
Then I trimmed the edges to fit the room shape.
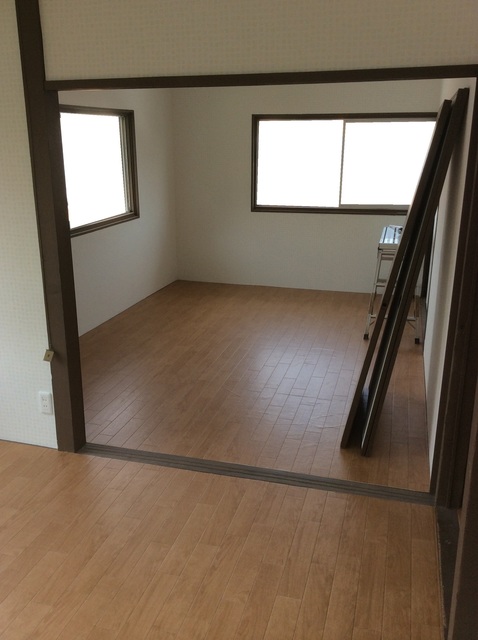
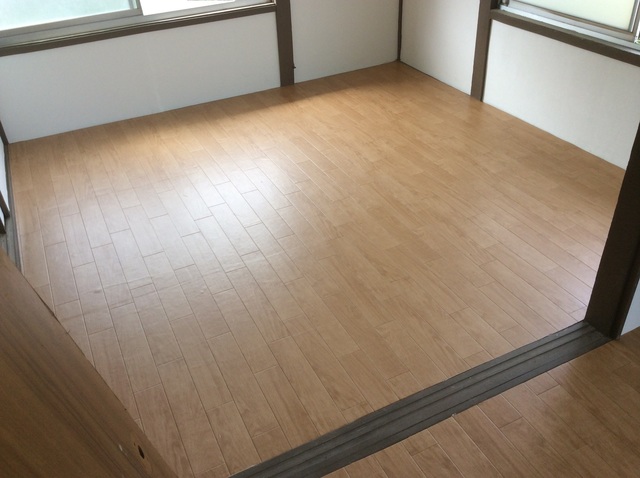
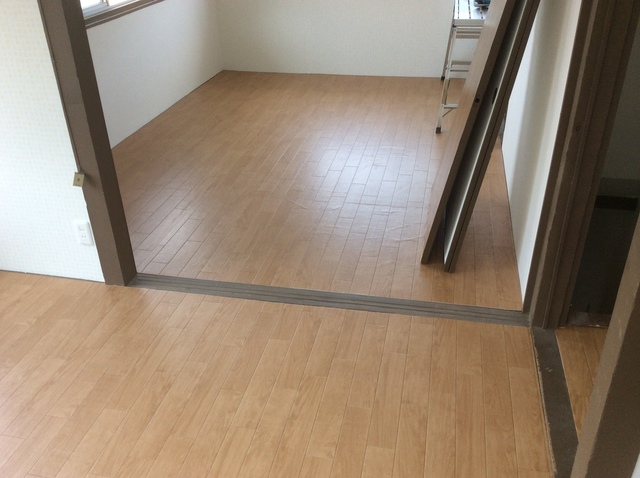
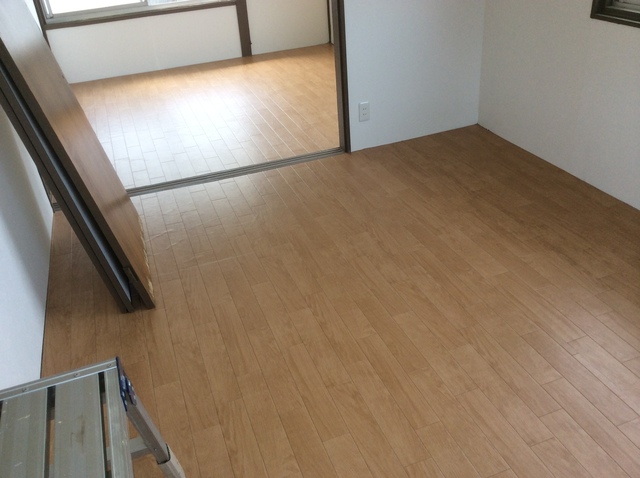
Finished cushion floor
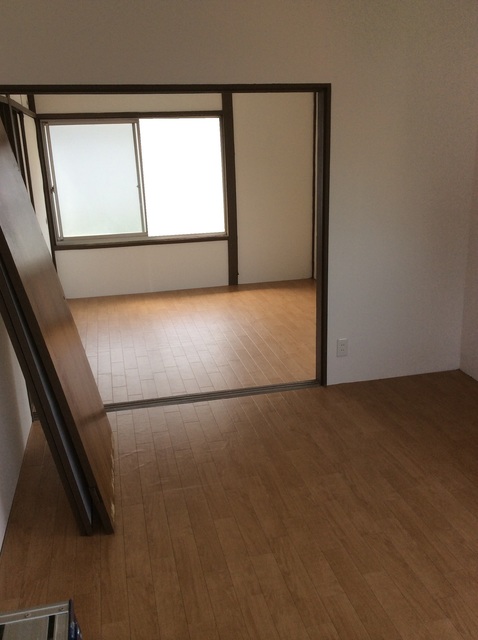
Finished cushion floor
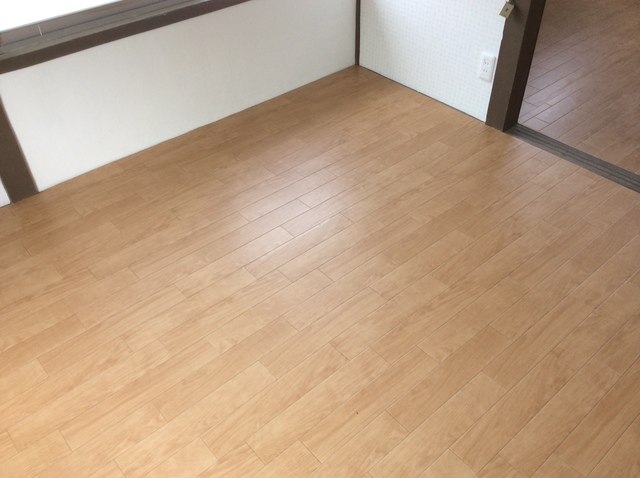
Finished cushion floor
Finished cushion floor
Finished cushion floor
Finished cushion floor
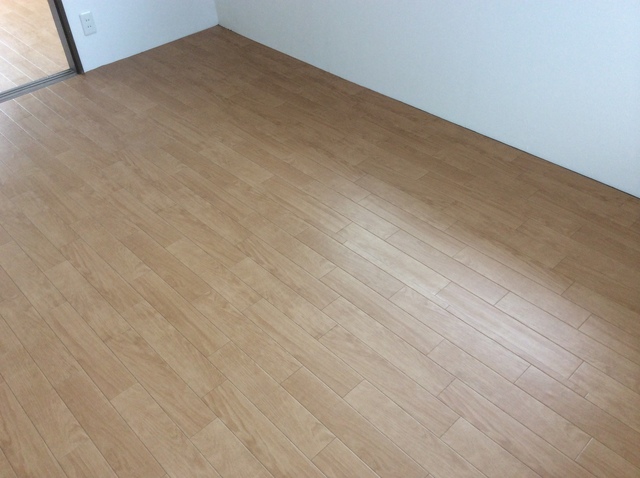
Finished cushion floor
Finally, I applied sealer caulk along the seam. You can’t really see the seam in the photos u2014 which is exactly the point!
That’s all for today. See you next time!
![]()
DIY Renovation Quote Review Manual
How to read, compare, and negotiate contractor quotes. This manual saved me u00a5800,000 on a single renovation project.
ud83cudfe0 More from DIY Father
15 years of landlord experience u00b7 3 apartment buildings u00b7 DIY renovations that saved millions of yen. Browse all articles at diytosan.com